SQL Server 2016: View Designer
The View Designer is a visual tool that can help you build views.
The View Designer is just like the Query Designer, in that it provides a visual way of designing a query. It saves you the trouble of designing the query in Query Designer, then doing the extra coding to convert the query into a view (like we did previouslya).
Now we will use the View Designer to create another view.
-
Launch the View Designer
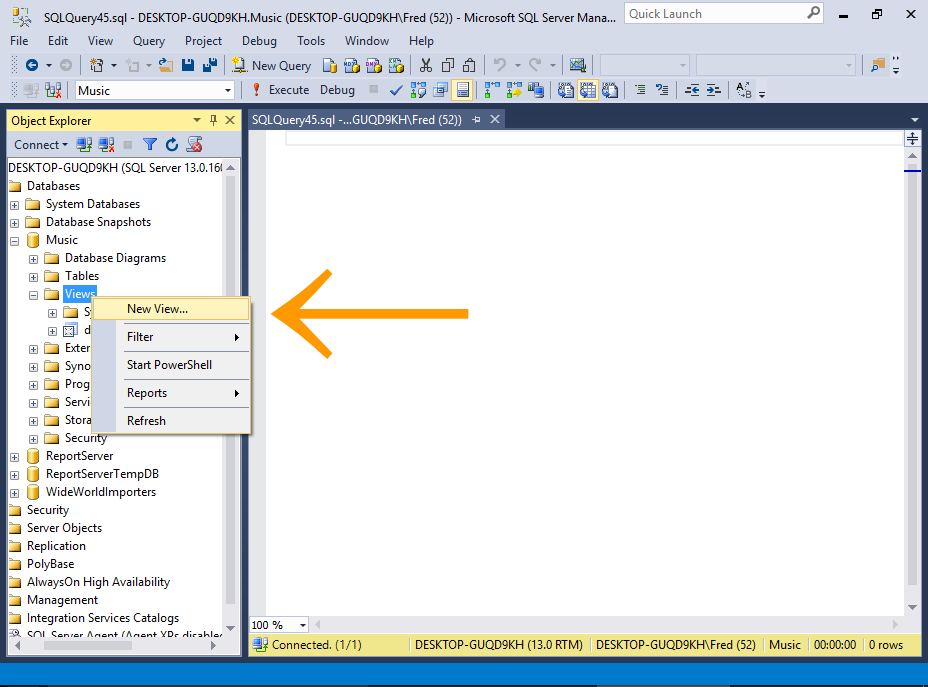
Right-click on the Views node and select New View....
-
Add the Tables

Select the tables that you want to include in your view.
In our case, select all and click Add, then click Close to close the dialog box.
-
Design the View
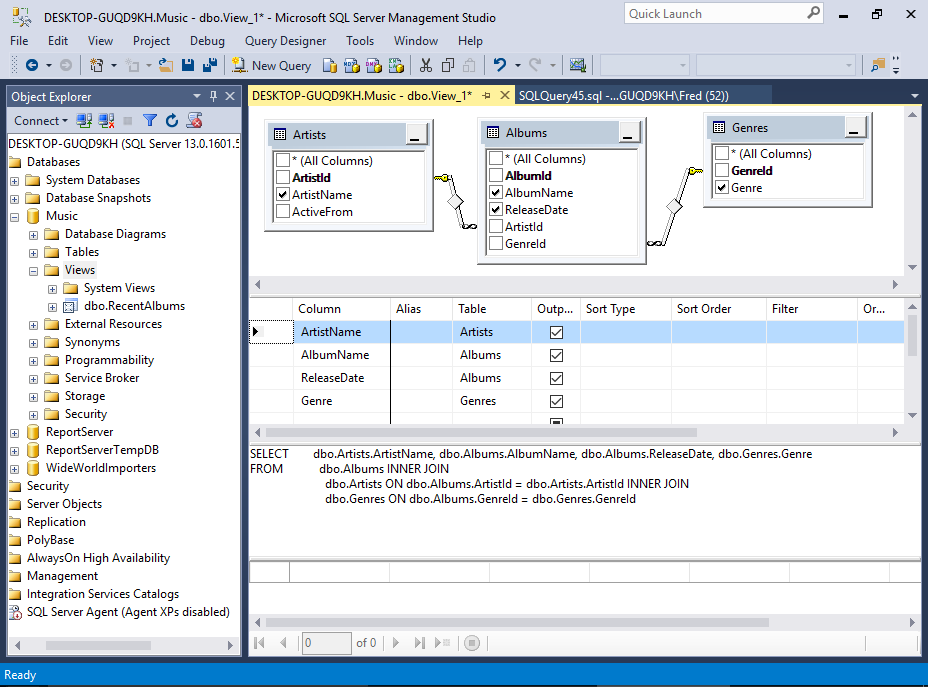
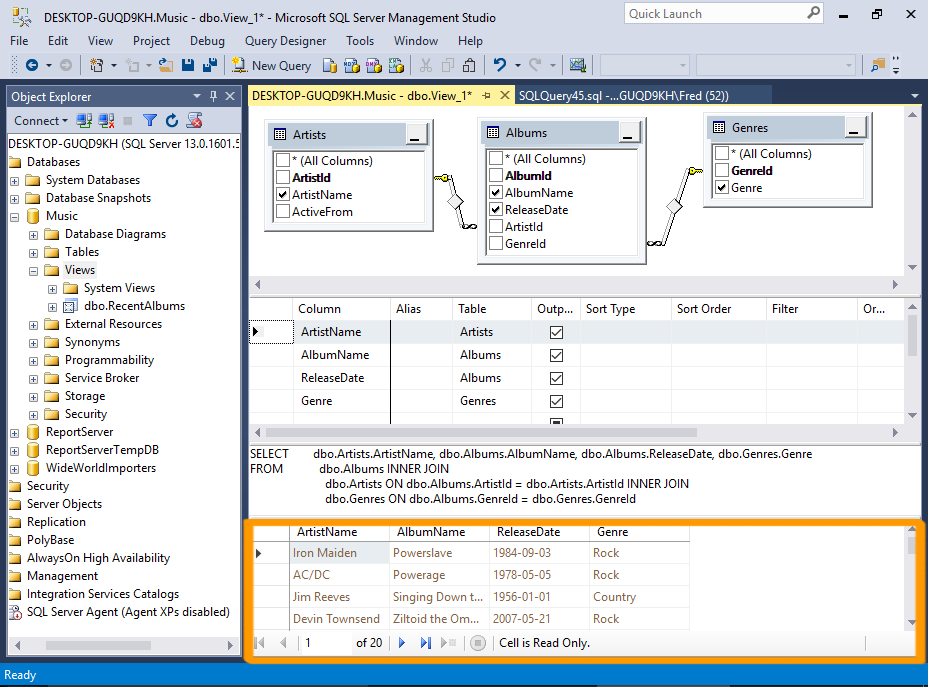
You will now see the selected tables, and their relationships — just like in the Query Designer.
One difference is that the View Designer is sitting inside a query window. When we used the Query Designer, it was opened in a pop-up dialog, which prevented us from accessing any of the toolbar options, etc.
But having the View Designer opened inside a query window allows us to access the toolbar and other options as required.
Another difference is that we now have a fourth pane — the Results Pane. This allows us to execute the SQL to see what effect it has on the results before we save the view.
Our Example
We'll keep it simple this time and select four columns from the three tables. We won't provide any criteria.
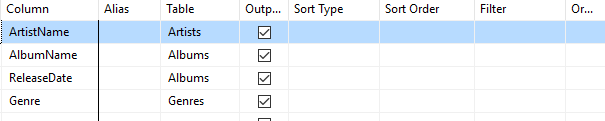
Here's a close-up of the Criteria Pane:
-
Execute the SQL
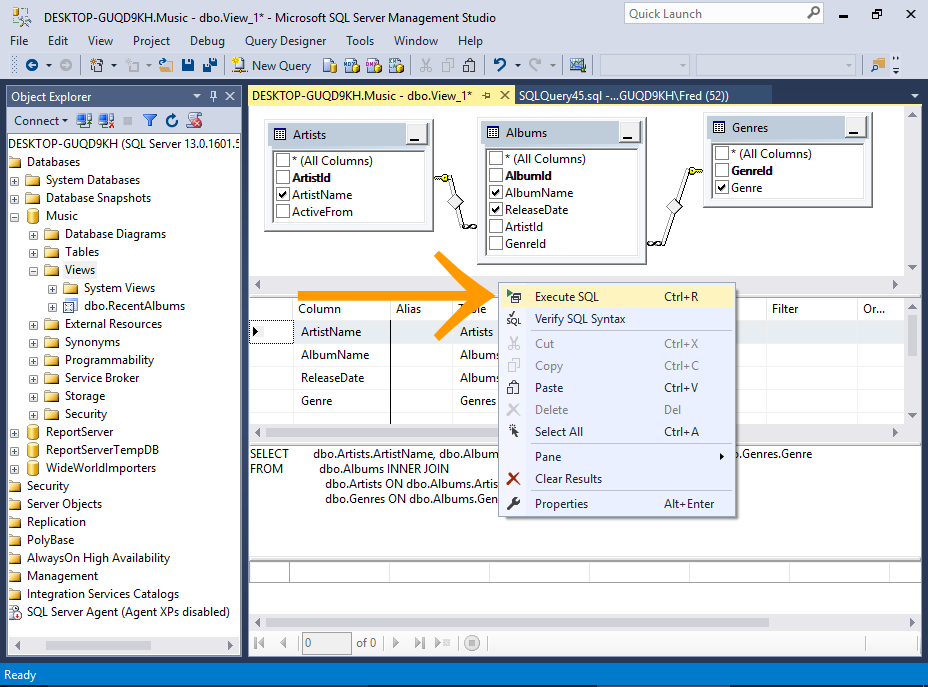
You can test the view before you save it by executing the SQL while in the View Designer.
To do this, right-click anywhere in the design area and select Execute SQL (or press Ctrl+R on your keyboard).
-
The Results
The results appear in the Results Pane at the bottom.
-
Save the View
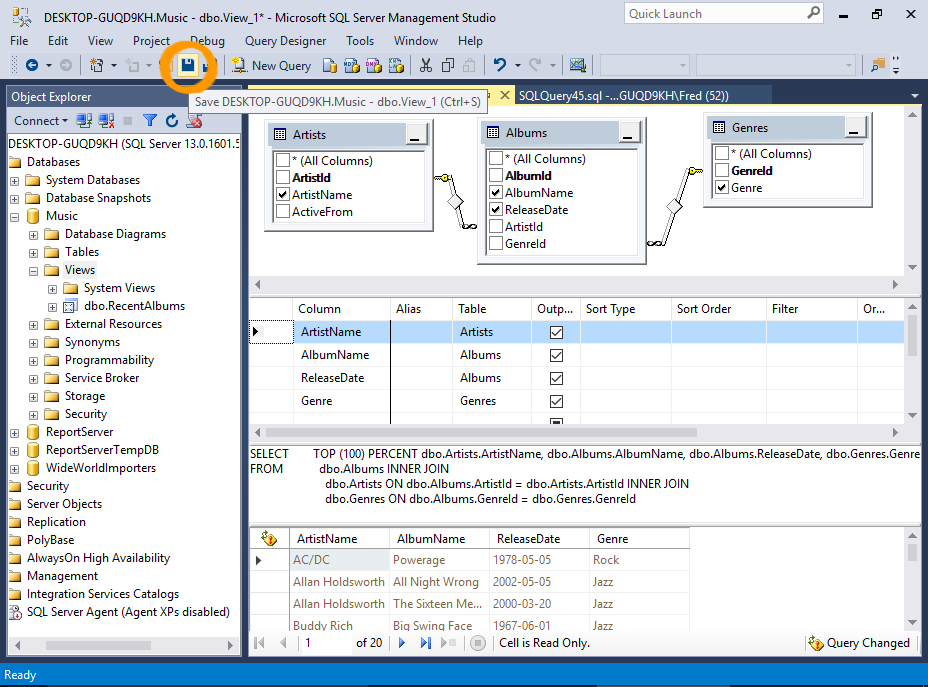

To save the view, click the Save icon on the toolbar, then name the view at the prompt.
-
Query the View
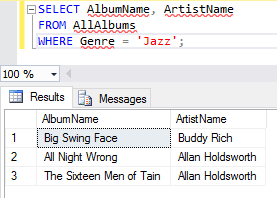
Now you can query the view with a
SELECTstatement as if it were a table.
Naming Conventions
Some database developers like to prefix their name view names with v or v_ or similar to help distinguish between views and other database objects.