SQL Server 2016: Backup a Database
SQL Server provides an easy way to create a backup of a database. Backups can be done either with Transact-SQL, PowerShell, or via the SQL Server Management Studio GUI.
Here, I'll demonstrate how to create a backup using the SQL Server Management System GUI, then using Transact-SQL, then finally, with SQL Server Powershell.
Create a Backup via the GUI
-
Launch the Back Up Database Dialog Box
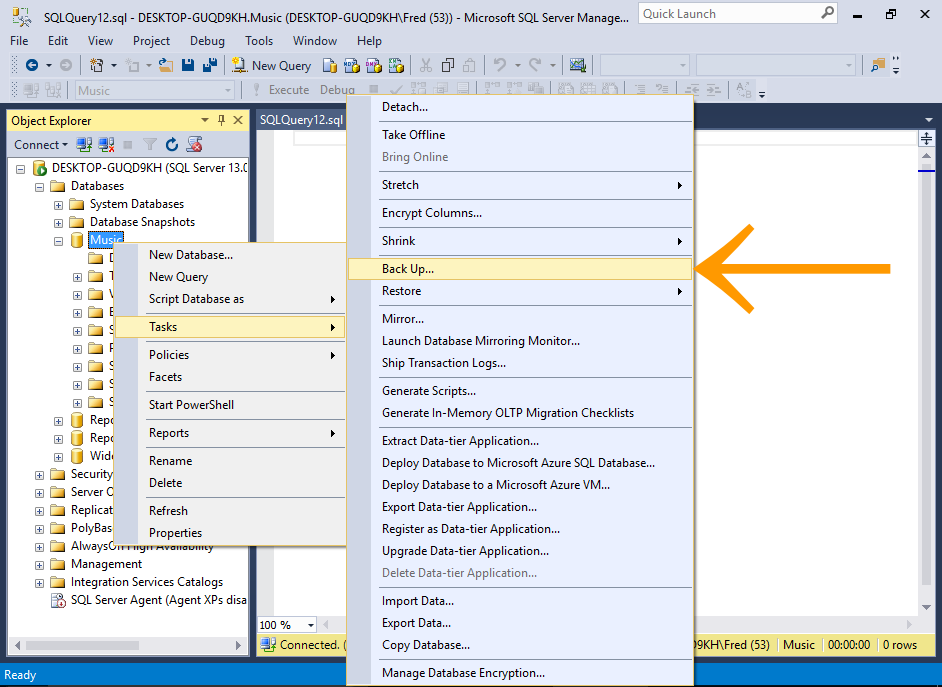
In the Object Explorer, right-click on the database you'd like to back up, and select Tasks > Back Up... from the contextual menu.
-
Review the Backup Settings
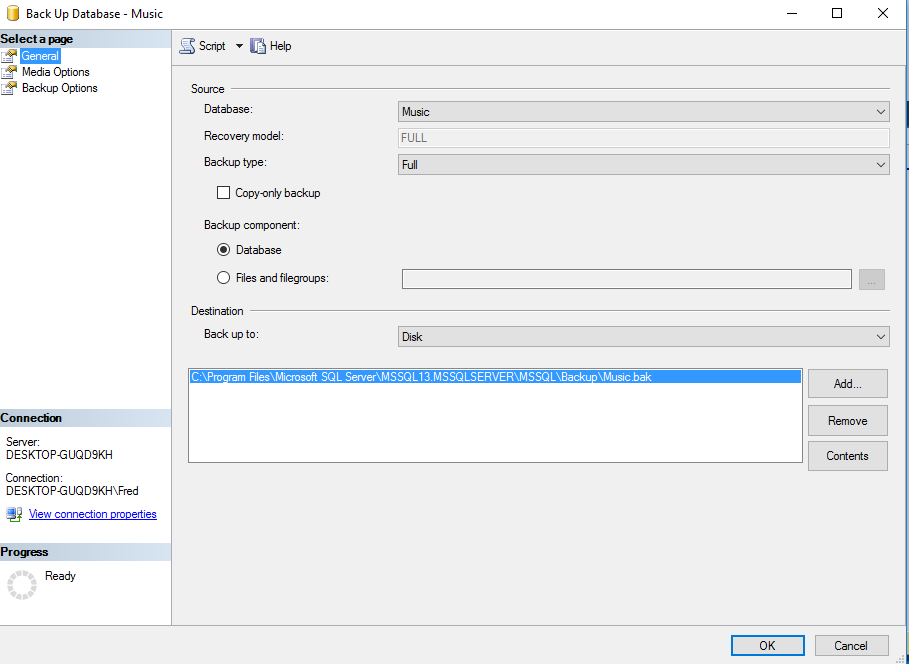
This dialog box gives you the opportunity to change any of the settings if required.
For our example, leave it at the default settings and click OK to create the backup.
You can change the database here if you accidentally selected the wrong one at the previous step.
-
Backup Complete
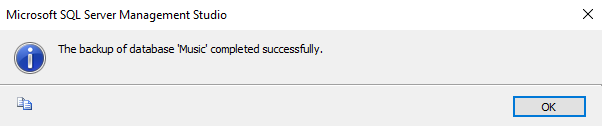
You'll receive a message when the backup is complete.
Click OK to close the message and dialog box.
The backup file will now be located at the specified location.
Backup a Database Using Transact-SQL
-

You can perform the same backup as above using SQL.
To do this, open a new query window and execute a
BACKUPstatement.The
BACKUPstatement accepts various options (just like the GUI option), but you can also run a simple backup with a minimum of code.Sample Code
Below is an example of a simple backup script that specifies the database to backup, and the location to back it up to.
After running this code, the backup file will be located at the specified location.
You can see the full syntax for the
BACKUPstatement at the Microsoft website.
Backup a Database using PowerShell
SQL Server 2016 supports Windows PowerShell, which is a scripting shell, typically used to automate administration and deployment tasks.
The PowerShell language supports more complex logic than Transact-SQL scripts, which gives you the ability to build more sophisticated scripts for your backups and other tasks.
-
Open PowerShell
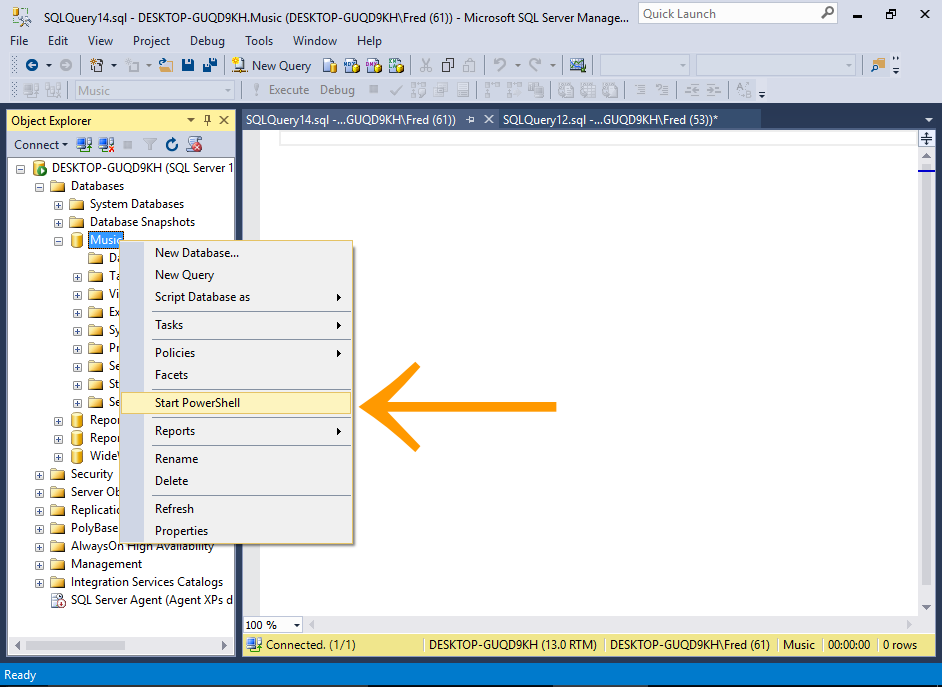
Right-click on the database and select Start Powershell.
-
Run the Backup Command
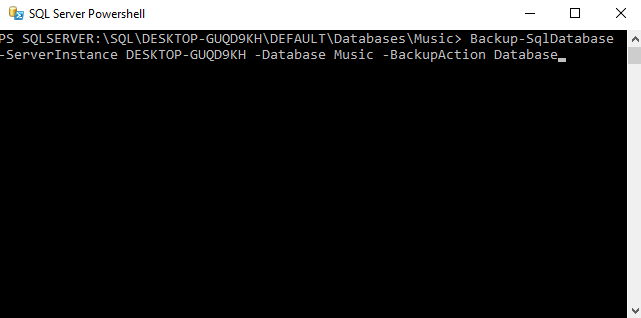
Enter the command for creating the backup and press Enter (or Return, depending on your keyboard).
The backup will run immediately.
Sample Code
The following code will create a backup just like the previous examples. Just replace
MyServerwith the name of your server.After running this code, the backup file will be located at the default location.
You can also specify a location
You can also specify
-BackupAction Databaseto explicitly state that it is a full backup. However, this is the default option.You can see the full documentation for the
Backup-SqlDatabasecommand at the Microsoft website.
Overwriting Backup Files
If you ran all of the above examples exactly as they are, you might have noticed that each time you ran it, the file size of the backup file increased.
This is because each successive backup is adding itself to the existing file.
It's doing this because we are using the same file name, and we have not explicitly specified that each backup should overwrite any existing file.
There's an option that allows you to overwrite the existing file.
- Using the GUI, click on Media Options in the left menu of the Back Up Database dialog box, and select Overwrite all existing backup sets in the Overwrite Media section.
- Using SQL add
WITH INITto the SQL statement. - Using Powershell, add
-Initializeto the command.
Saving Backup Files
However, it's often a good idea to create a full backup with a unique filename (typically including the date in the file name). Having a unique filename will mean each backup will be a separate file.
Also, depending on the size of your database, and how much new data is being entered into it, you may wish to supplement your full backups with differential backups. A differential backup captures only the data that has changed since the most recent full backup.