How to Install SQL Server for Windows on a Mac
Here I show you how to install SQL Server for Windows on a Mac using VirtualBox.
The first step is to install VirtualBox and create a virtual machine. VirtualBox is free software that allows you to install different operating systems on your machine. By using VirtualBox, you can install Windows on your Mac (and therefore also SQL Server for Windows).
Once you've created a virtual machine, you can install Windows and SQL Server to that virtual machine.
Here's how to do that.
-
Install Windows
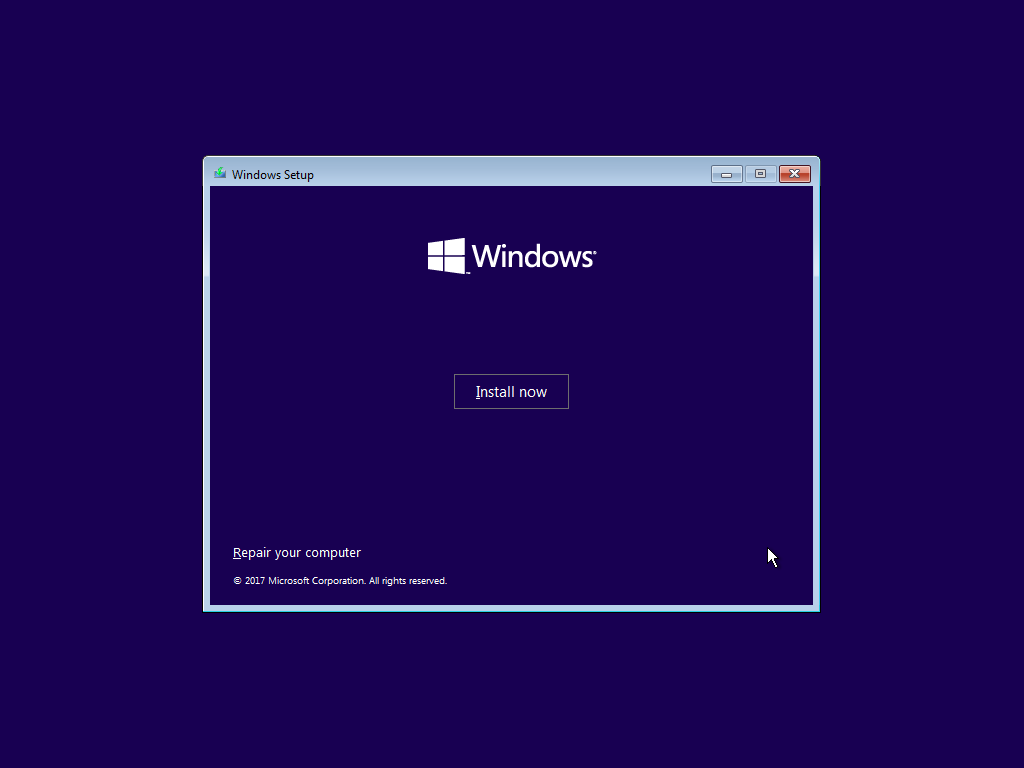
First step is to install Windows on your Mac:
- Download VirtualBox from the VirtualBox download page and install it.
- Using VirtualBox, create a new virtual machine (click New and follow the prompts). Be sure to allocate enough memory (say, 4 GB) to allow you to run Windows and SQL Server.
- Download Windows from Microsoft's Software Download page and install it (following the prompts).
-
Install SQL Server
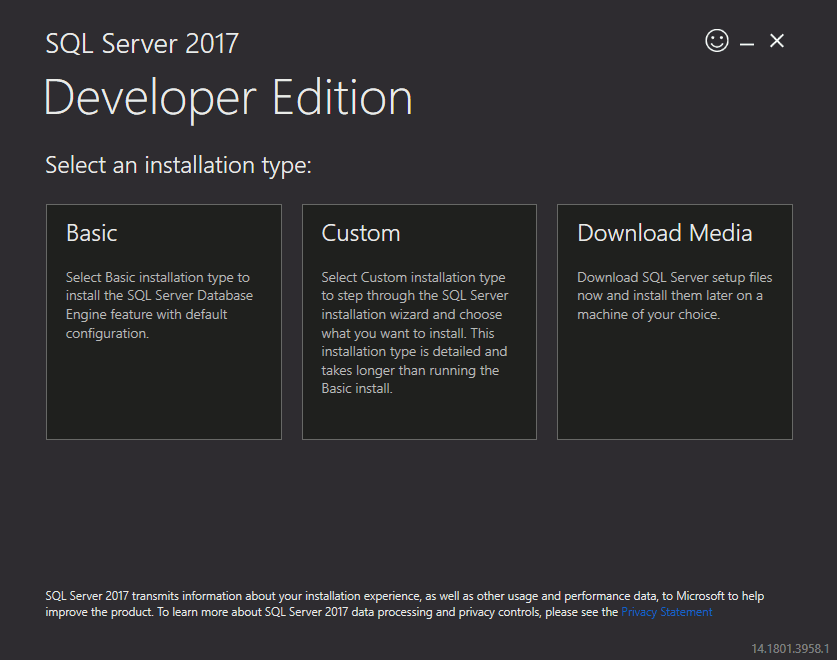
Once you've installed Windows in the previous step, you can go ahead and install SQL Server to that Windows operating system (inside your virtual machine).
- Using Windows (in the virtual machine you just created), download SQL Server from the SQL Server download page and install it, following the prompts.
- Again using Windows (in the virtual machine you just created), download SQL Server Management Studio (SSMS) from the SSMS download page and install it, following the prompts. This is a GUI management tool that allows you to work with SQL Server.
Once you've completed that, you're done! You'll have SQL Server for Windows running on your Mac. You'll be able to have Windows and Mac running simultaneously, which means you can switch back and forth between Windows and macOS as often as you like.