How to Install Windows on a Mac with VirtualBox
Here I explain how to install Windows on a Mac using the (free) virtualization software, VirtualBox.
VirtualBox is free software that allows you to install different operating systems on your machine. By using VirtualBox, you can install Windows on your Mac. This enables you to run Windows-only applications on your Mac.
Here are the main steps involved in installing Windows on a Mac:
- Download and Install VirtualBox
- Create a Virtual Machine
- Download and Install Windows
Here they are in more detail.
Download and Install VirtualBox
To run Windows on a Mac, you need to use virtualization software such as VirtualBox. While there are other options available (such as Parallels and VMware Fusion), VirtualBox is free. And while Bootcamp is also a free option, it doesn't let you run macOS and Windows simultaneously (you have to reboot the machine every time you want to switch to the other operating system). So with VirtualBox you get the best of both worlds — it's free, and it allows you to run both Windows and macOS simultaneously so you can switch between them as required without having to reboot.
-
Download VirtualBox
Go to the VirtualBox download page and click OS X Hosts.
-
Install VirtualBox
Double-click the VirtualBox.pkg icon to install VirtualBox. This will enable you to run VirtualBox from your Applications folder.
Create a Virtual Machine
Now that you've installed VirtualBox, you can create a virtual machine. This virtual machine is where you'll install Windows.
-
Launch VirtualBox
Launch VirtualBox via the Applications folder (just as you'd launch any other application).
-
Start the Wizard
Click New to start the process of creating a new virtual machine.
-
Name and Operating System
Enter a name for the virtual machine (make it descriptive, such as
Windows 10 or similar).Also choose Microsoft Windows and select the 64 bit version (unless you have reason to choose the 32 bit version).
Click Continue.

-
Set the Memory Allocation
Use the slider to specify how much memory is allocated to the virtual machine. I selected 4 GB (4000 MB), which should be sufficient to run SQL Server inside Windows. If your Mac has a lot more RAM, then you might be able to allocate more to the virtual machine.
Click Continue.
-
Hard Disk
Leave it at the default setting and click Create.
-
Hard Disk File Type
Leave it at the default setting and click Continue.
-
Storage on Physical Hard Disk
Leave it at the default setting and click Continue.
-
File Location and Size
Leave it at the default setting and click Create.

-
Done!
Your new virtual machine has been created. It appears in the left pane of the VirtualBox home screen.
This is where you launch your virtual machine from whenever you need to use Windows.
Download and Install Windows
-
Download the Windows Disk Image
Go to the Windows download page and select the latest version of Windows. Follow the prompts to download the ISO file to your Mac.
Alternatively, go to the Microsoft Evaluation Center and download a free evaluation trial. This is the option I used in this tutorial. This tutorial uses the Windows 10 Enterprise Evaluation edition (which is free to use for 90 days).
-
Start the Installation
Double-click on the virtual machine that you created previously.
-
Select the Windows Disk Image
Use the interface to browse to, and select, the Windows ISO file that you downloaded.
Click Start.
-
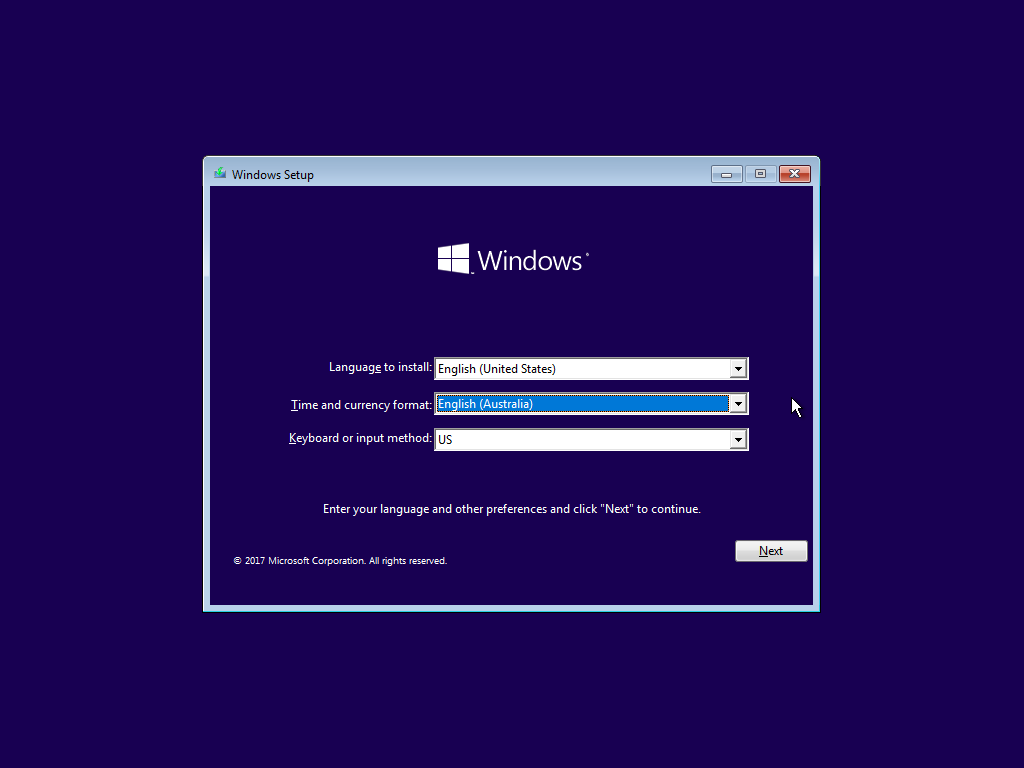
Select Language, etc
Select your language and other preferences, then click Next.
-
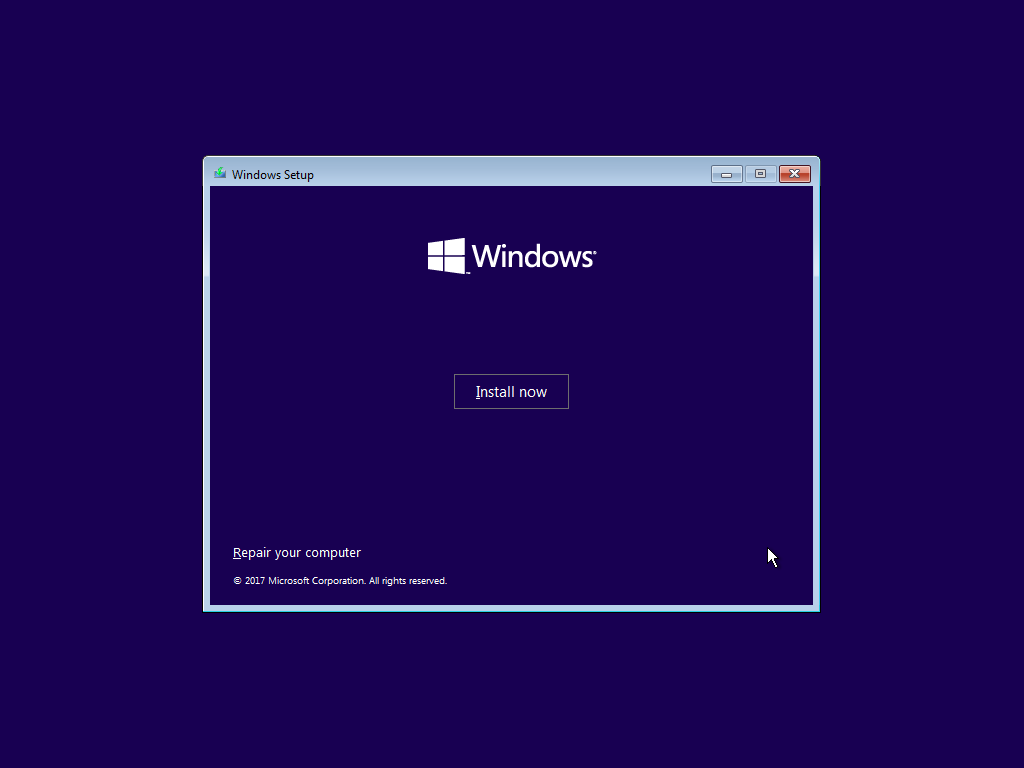
Start the Installation
Click Install now.
-
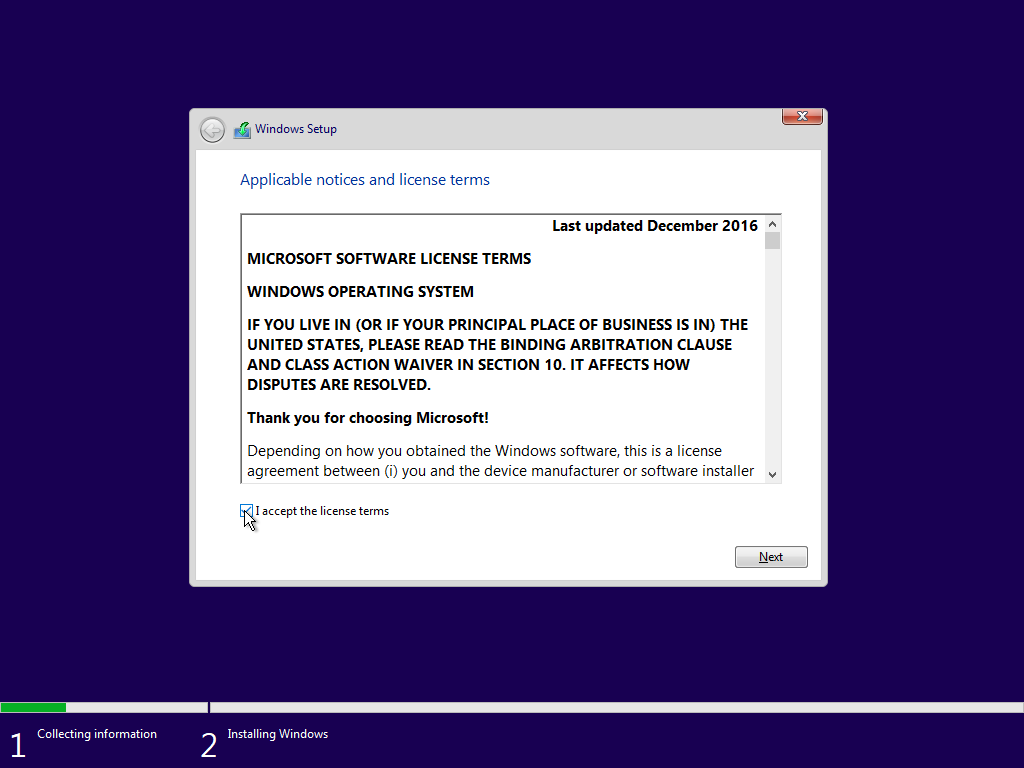
License Agreement
Select I accept the license terms and click Next.
-
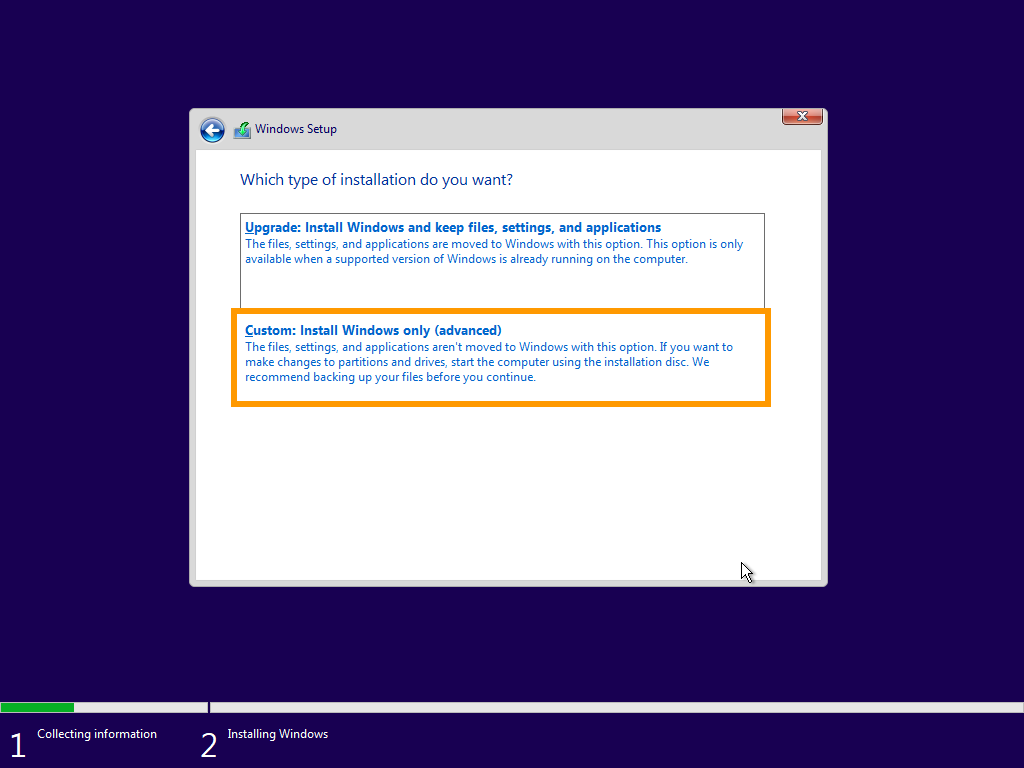
Installation Type
Select Custom: Install Windows only (advanced).
-
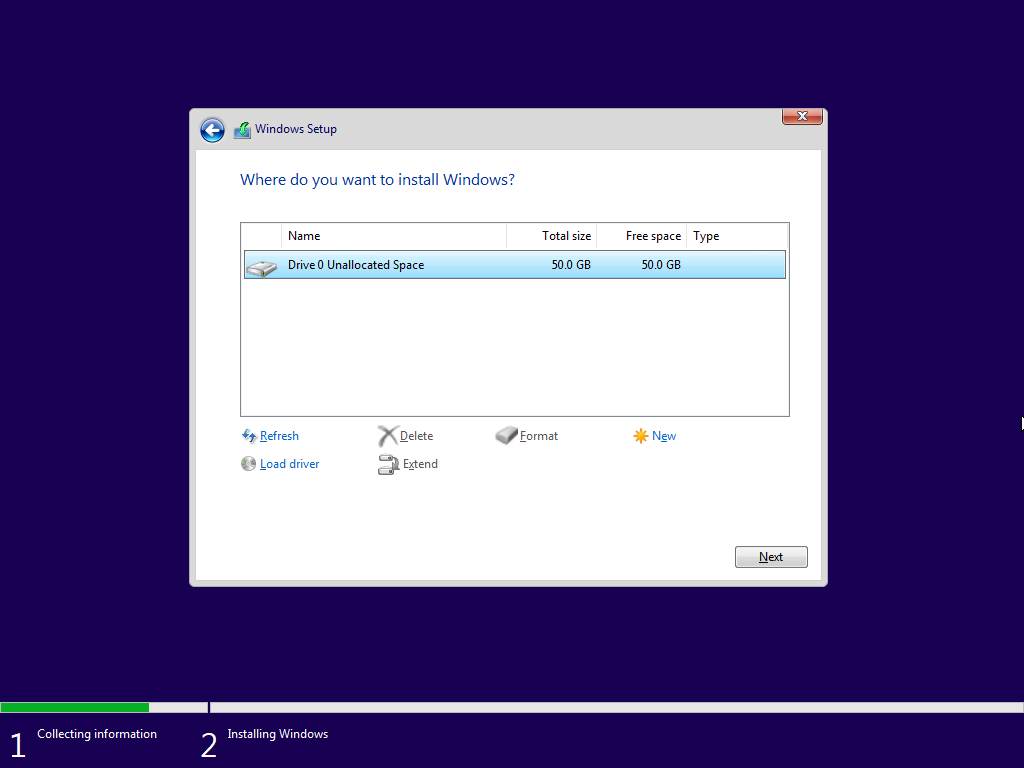
Select the Drive
Here, the 50 GB drive (that you created when you created your virtual machine previously) should already be selected. If not, select it.
Click Next.
-
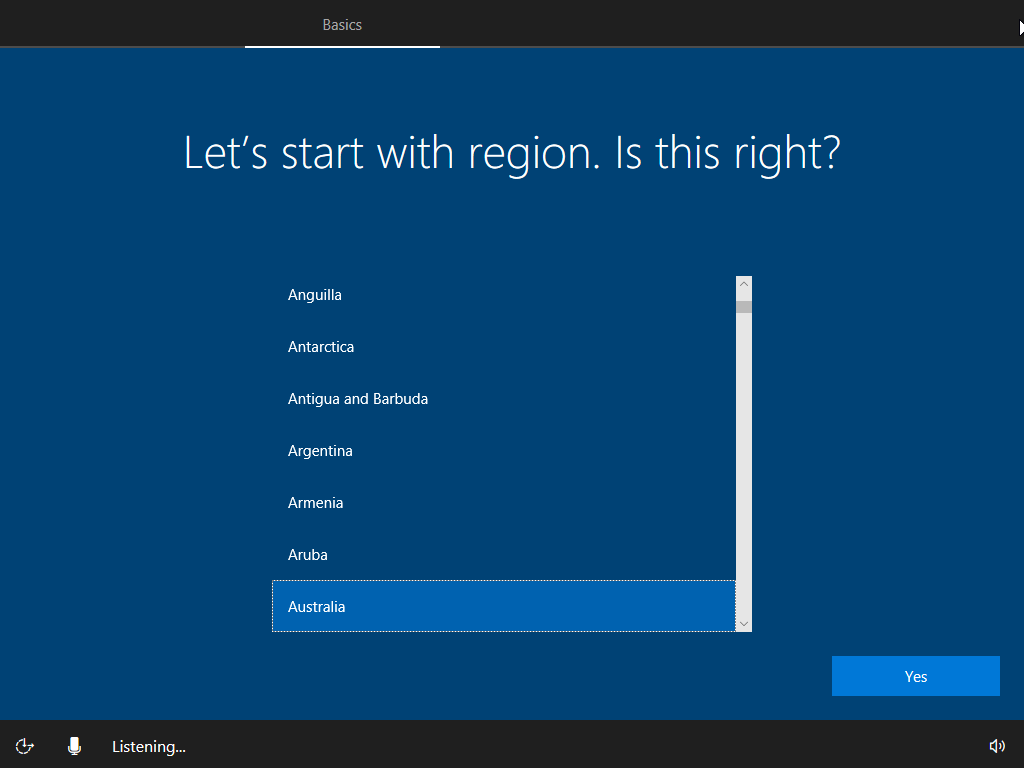
Select Region
Select your region and click Yes.
-
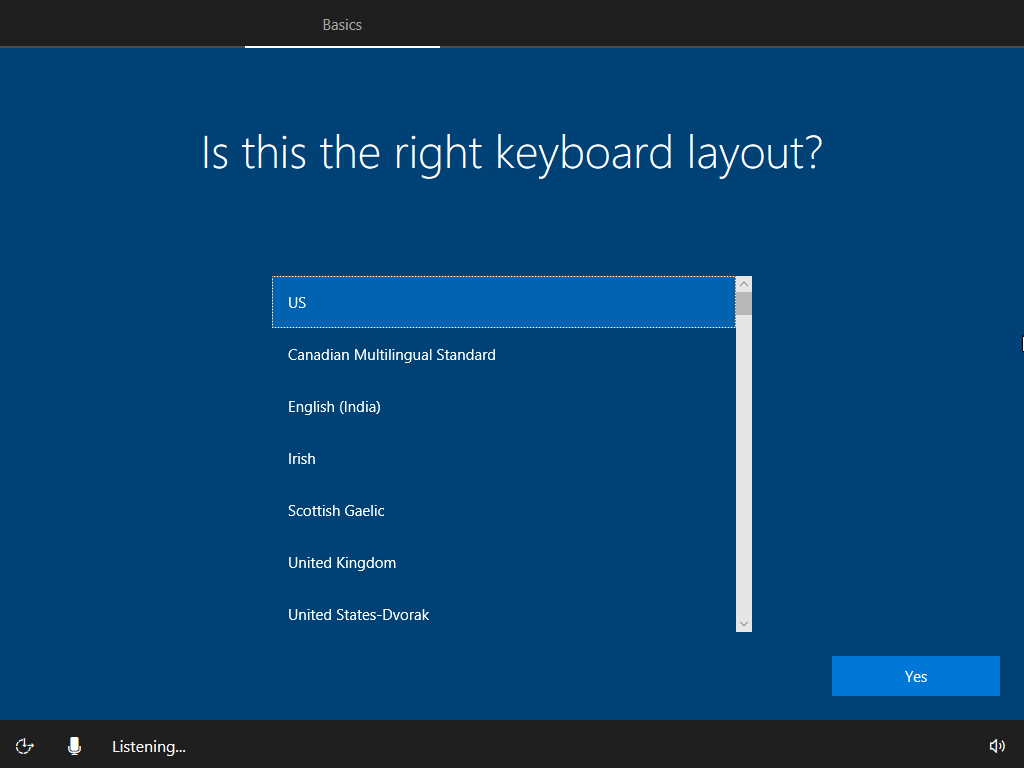
Select Keyboard Layout
Select your preferred keyboard layout and click Yes.
-
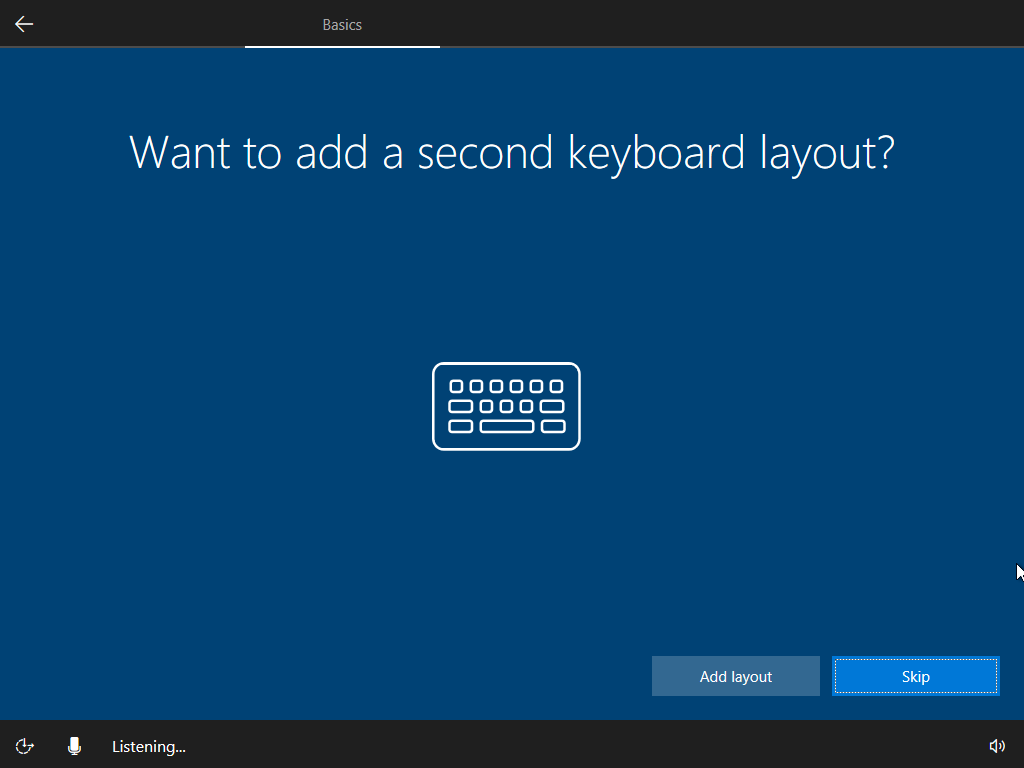
Add Another Keyboard?
Click Skip (unless you want to add another keyboard, in which case click Add layout and follow the prompts).
-
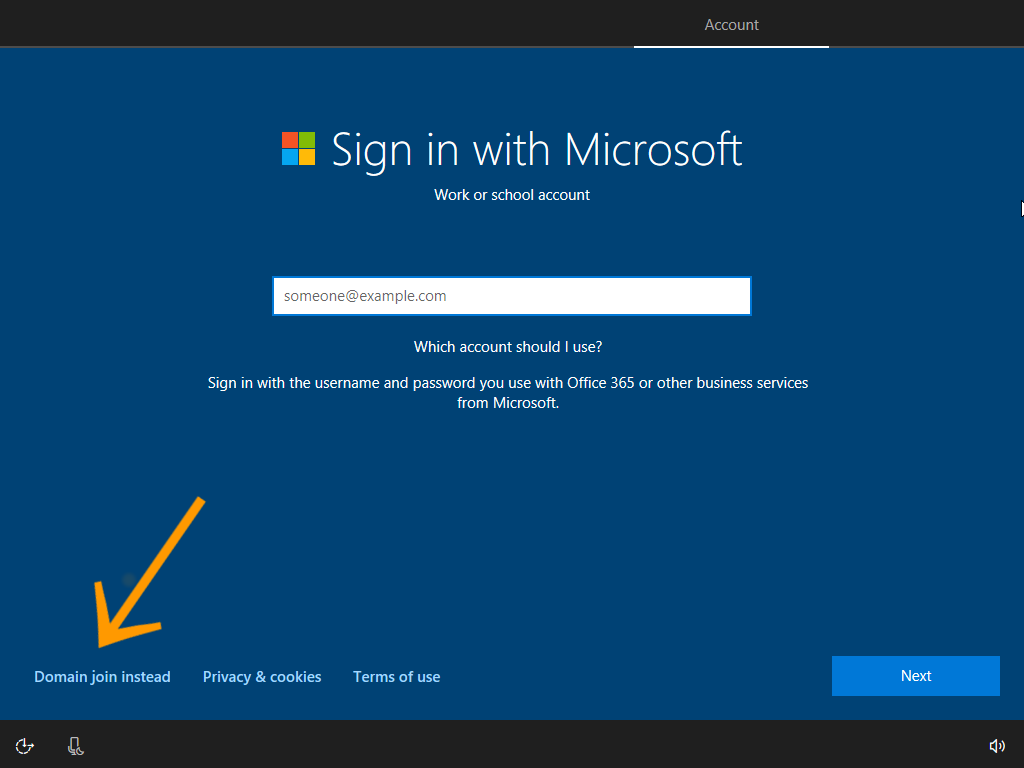
Join Domain
Microsoft wants you to sign in but for the purposes of this tutorial, we won't be doing that.
For this tutorial, click Domain join instead.
-
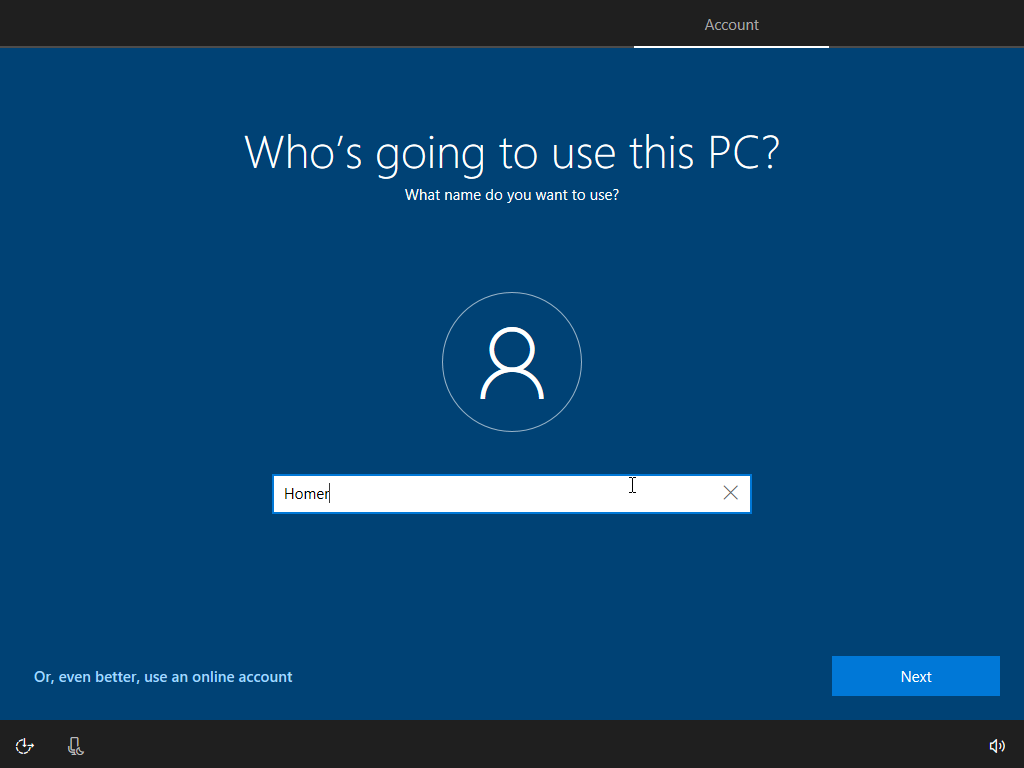
Add Name
Add your name (or pseudonym) and click Next.
-
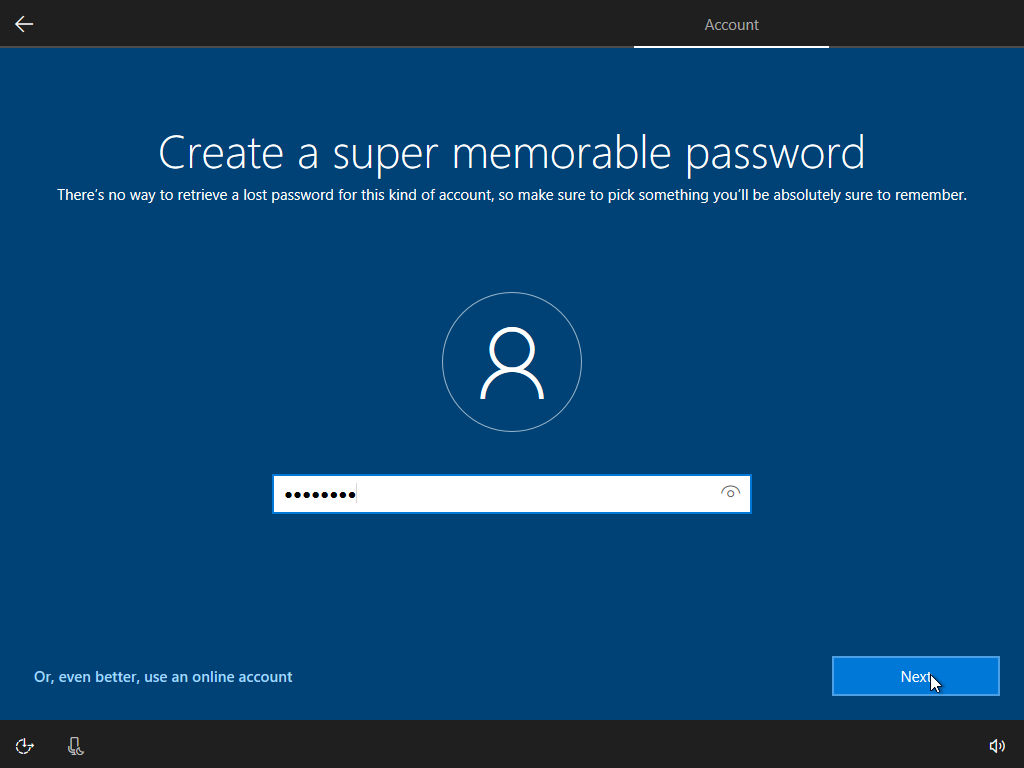
Create a Password
Enter a password and click Next.
-
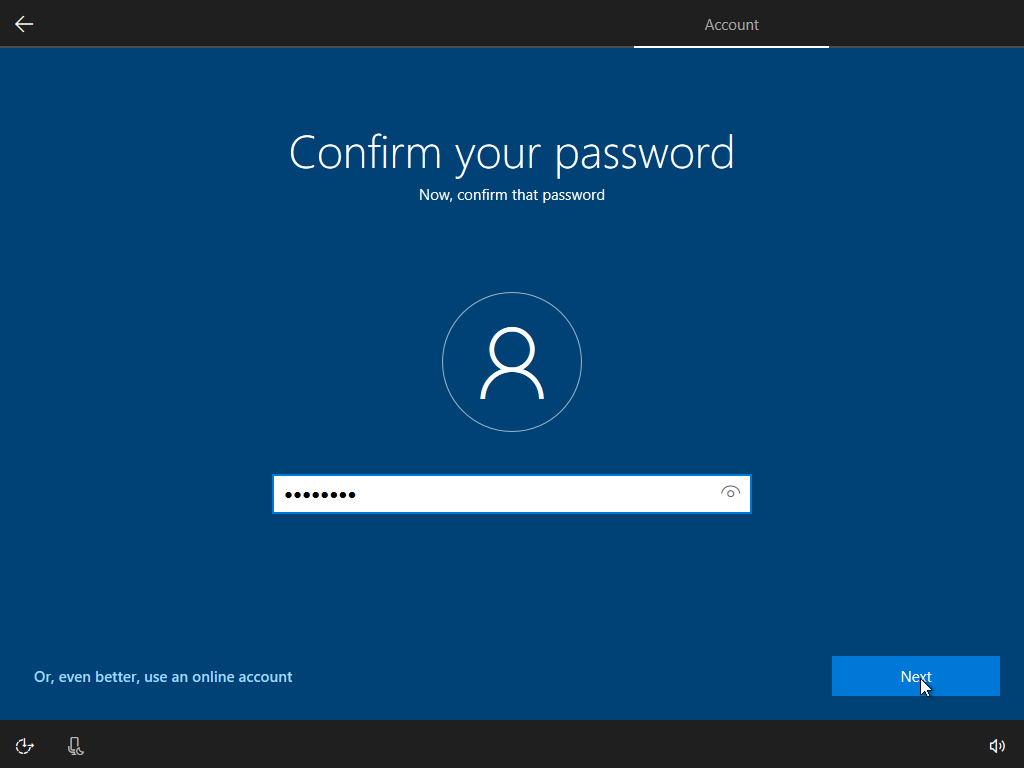
Confirm Password
Enter your password again to confirm and click Next.
-
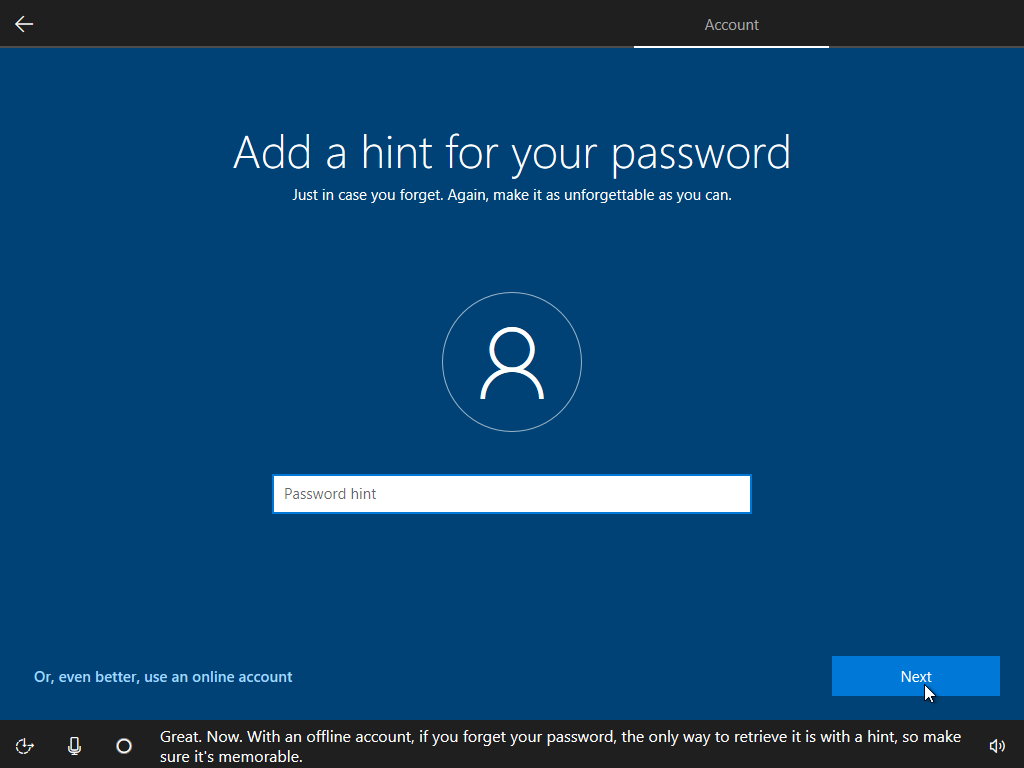
Password Hint
Add a password hint and click Next.
-
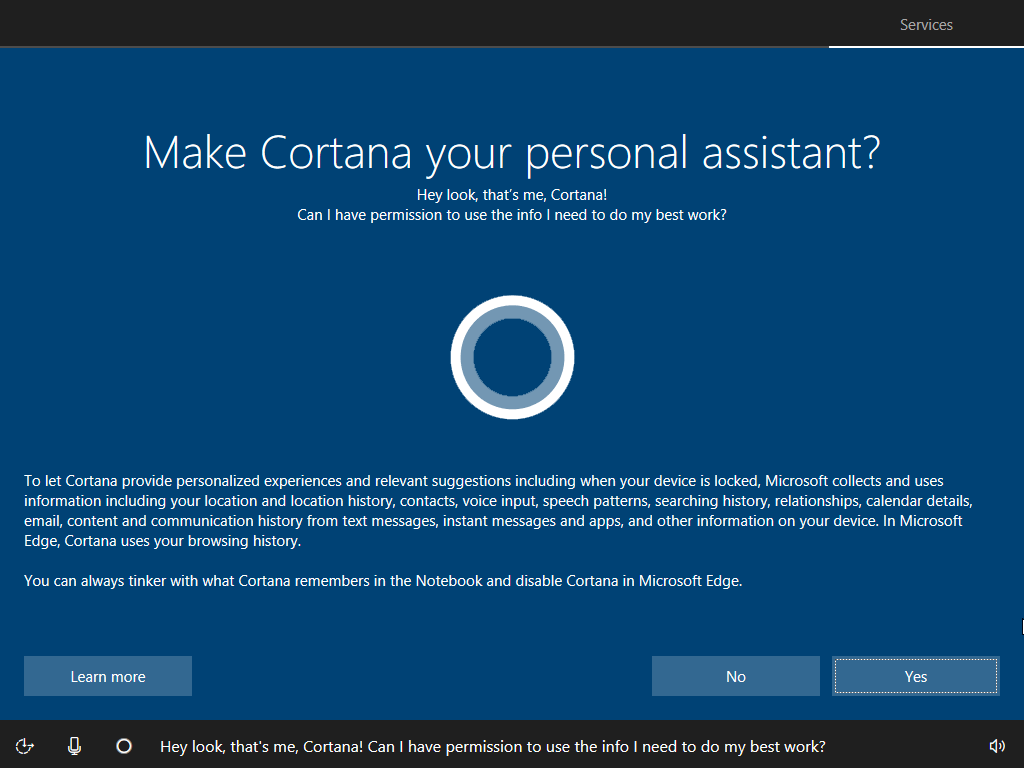
Cortana?
Click either Yes or No depending on whether you want to use the Cortana personal assistant. (In this case I chose No.)
-
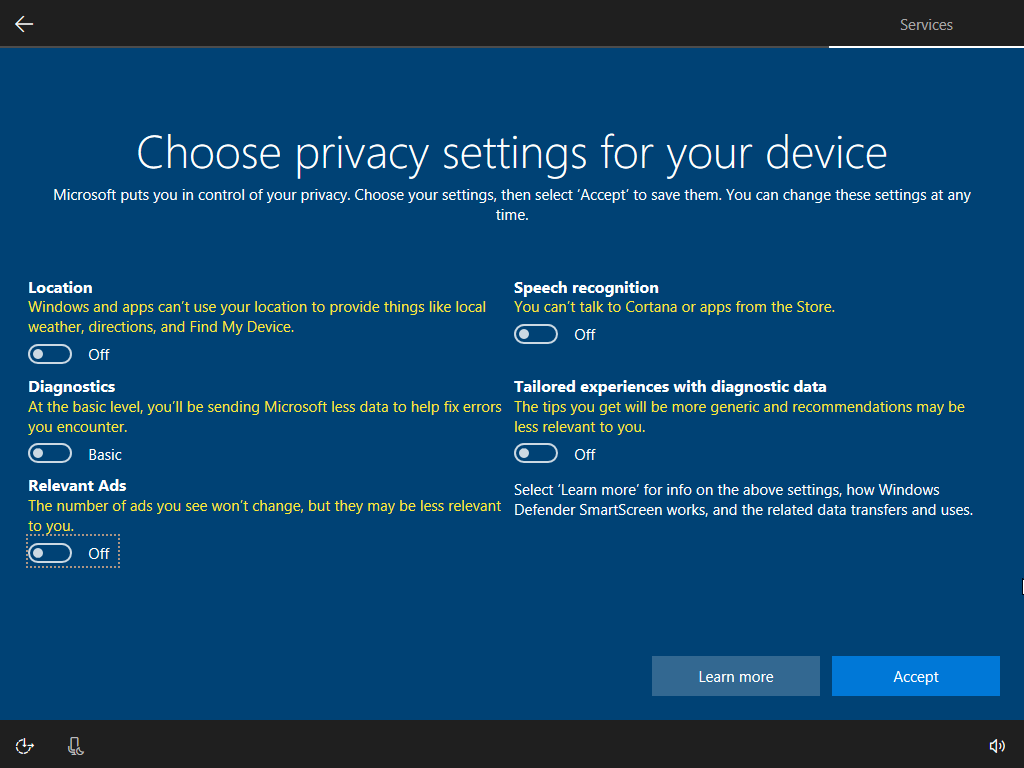
Privacy Settings
Disable any privacy settings you want to, then click Accept.
-
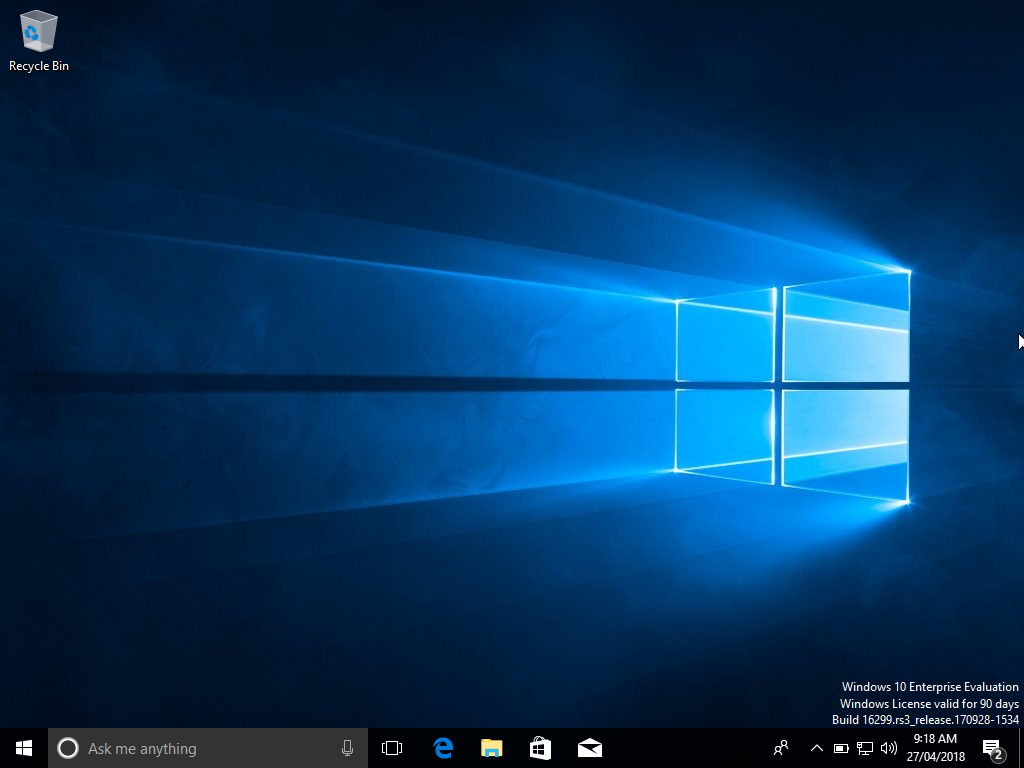
Finally... Done!
Windows is now installed. The Windows desktop is displayed, and you can now go ahead and start using Windows on your Mac!