Create a Table using MySQL Workbench
You can use the MySQL Workbench GUI to create a table. You can also do it programmatically but here's how to do it via the GUI.
In the following example, we create a new table called "Vegetables" in our VegeShop database.
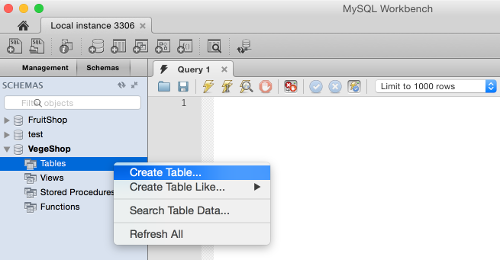
With the chosen database expanded in the SCHEMAS tab, right click on Tables and select Create Table…:
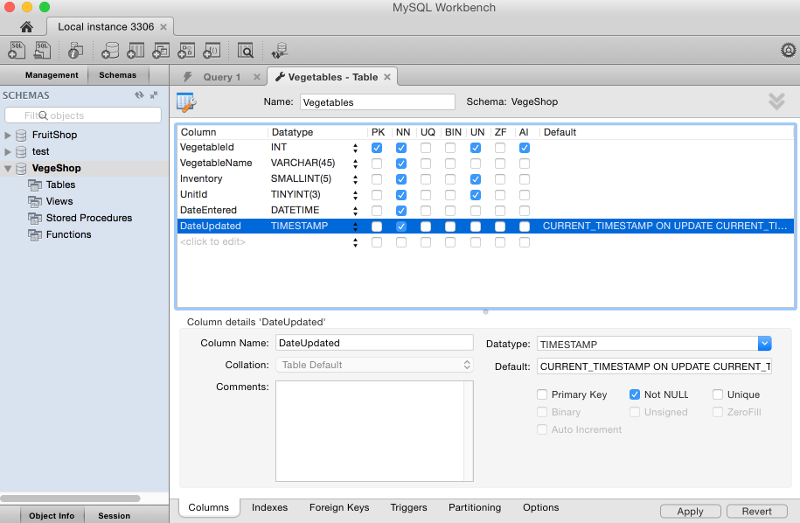
Enter the table name at the top (next to Name:) and add all column names, their data type, constraints, default values, and any other details you require. Here's my example:
You are prompted to review the SQL statement that will be run against the database. To run the statement (and create the database) click Apply:

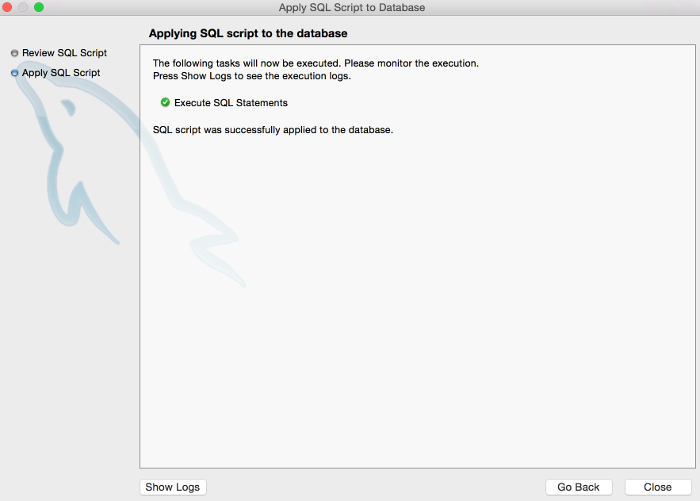
You should see the following screen once the table has been created. Click Close:
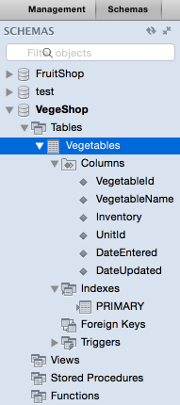
The table has now been created. You will now see your new table listed under the database in the SCHEMAS tab on the left pane. If you expand the nodes, you will see your new table and its columns, as well as the primary key index:
Creating Database Tables Programatically
As mentioned, you can also create your tables programmatically. This enables you to save a script and run it whenever you need to restore your tables (or the even whole database).