How to Create a Blank Form in Access 2016
You can create a blank form if you don't want to use the form wizard or form command.
Here's how to create a form using the Blank Form option in Access 2016.
-
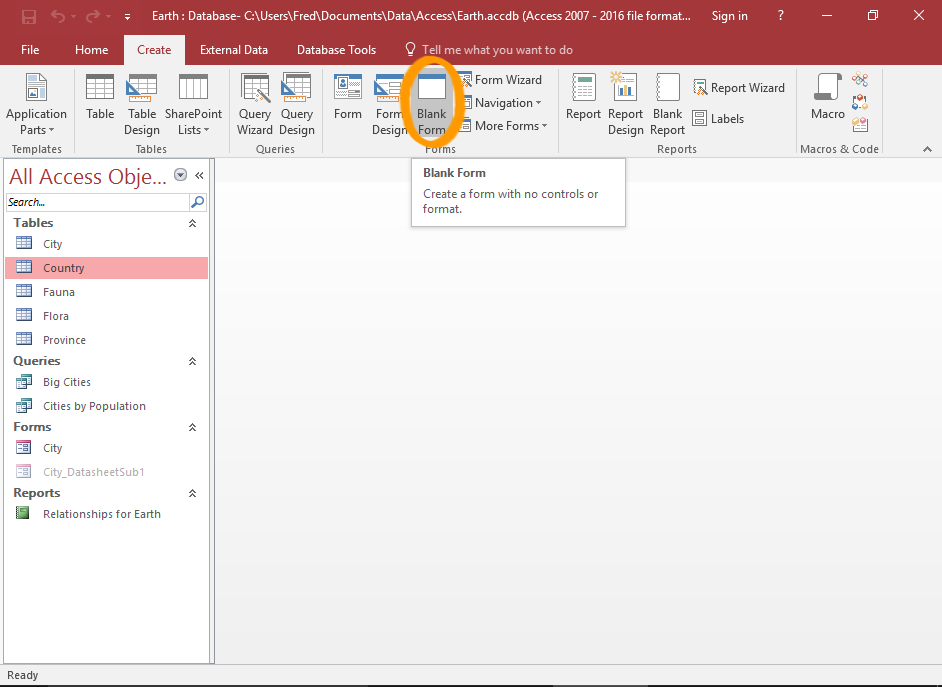
Create the Form
Click Blank Form on the Ribbon (from the Create tab).
-
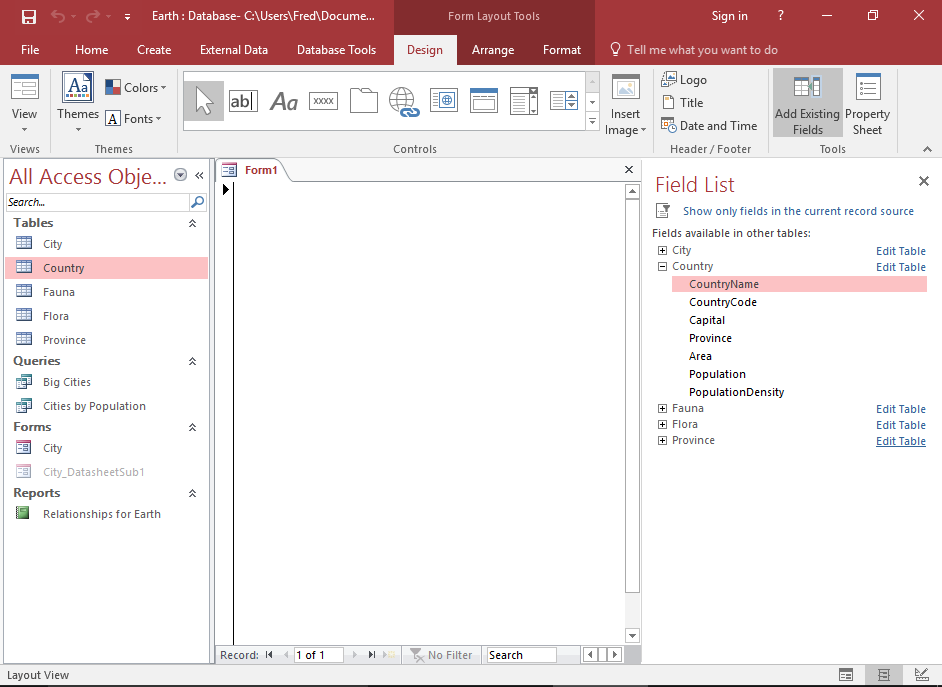
The Blank Form
A blank form appears, ready to have form elements added to it.
The form appears in Layout View, which is a view that enables editing. You can also switch to Design View for more controlled editing, and Form View to see how it looks to the user.
The Field List appears beside the form. This helps you to add fields to the form.
You can close the left Navigation Pane to provide more room for the form.
To do this, click the little « icon at the top of the Navigation Pane.
-
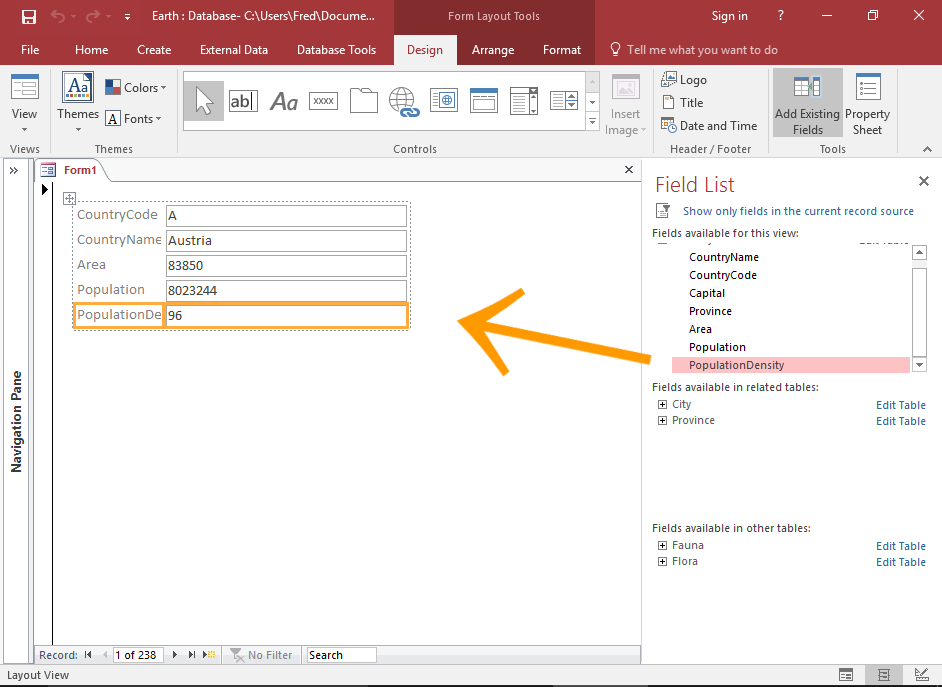
Add Fields
A blank form is not going to be very useful. We'll need to add some fields if we want people to use it.
The Field List pane displays a list of tables in the database. Expanding a table reveals its fields. You can add any field by navigating through the tables.
Double-click on a field in the Field List pane to add that field to the form.
You can also click and drag a field over to the form.
Formatting the Form
Once you've added all the fields you need, you can modify the form in other ways.
If you prefer your form not to be a simple blank white form, you will probably want to add some color.
Another common task is to touch up the labels so that they are clearer and bolder.
-
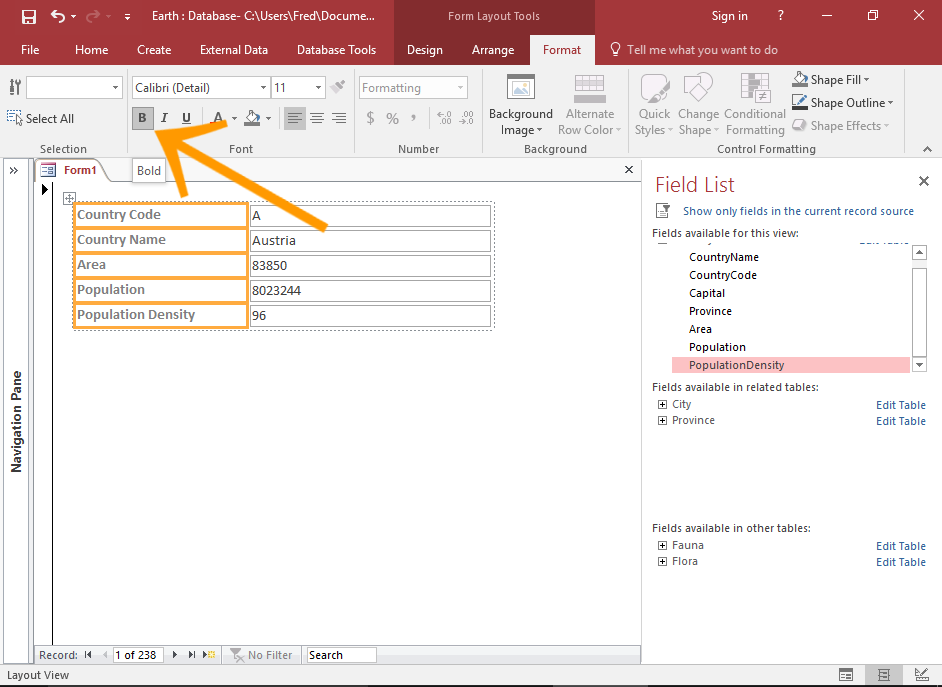
Bold the Labels
To change the labels to use a bold typeface, select them and click the Bold button from the Format tab in the Ribbon.
You can select multiple labels or controls at once. This enables you to bold all selected labels in one go.
To select all labels or controls, click the first one, then hold down the Shift key while you click the last one.
-
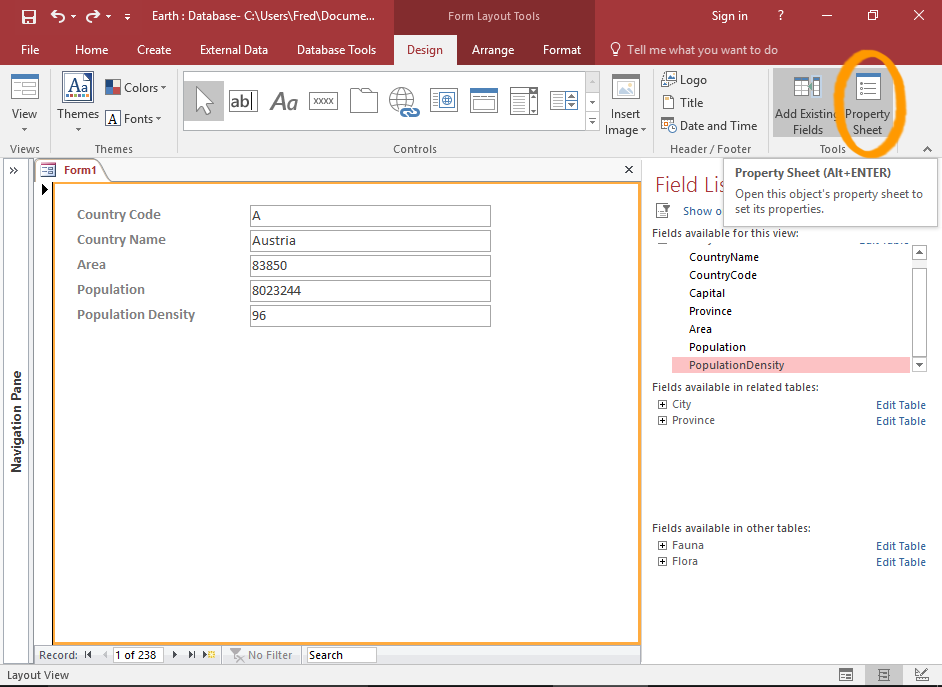
Open the Property Sheet
The Property Sheet provides you with complete control over adjusting the properties for each element on the form. It allows you to specify things like colors, size, data source, etc.
To open the Property Sheet, click Property Sheet from the Design tab in the Ribbon.
If the Property Sheet is already open when you select an element, it will automatically display the properties for that element.
-
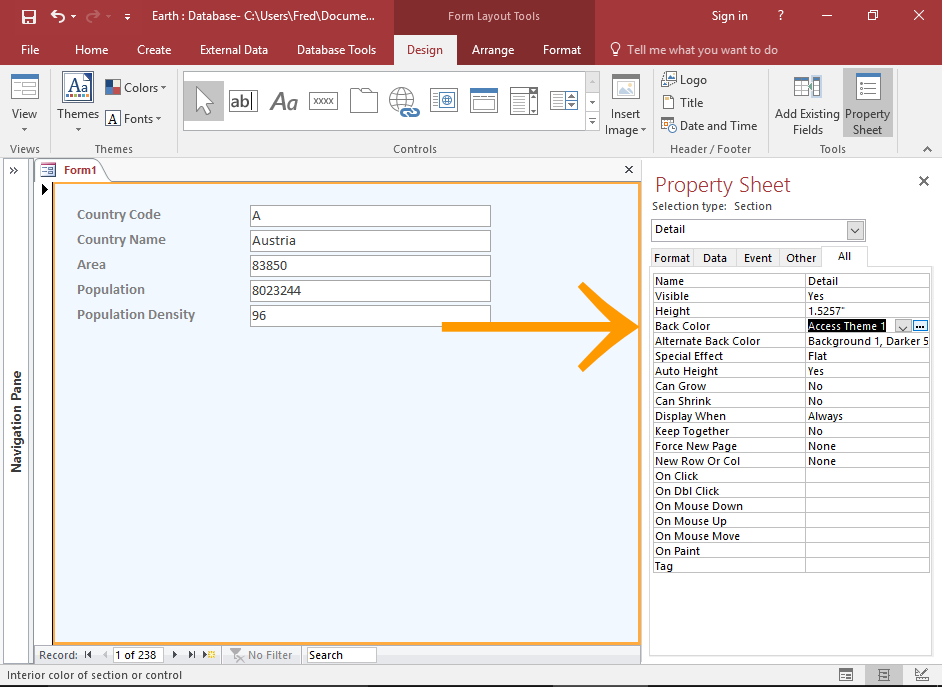
Change the Background Color
You can change the background color of the form by selecting it, and changing the appropriate property in the Property Sheet.
Select the form Detail section by clicking anywhere within it (but away from the controls).
Change the background color by using the Back Color property.
You can use either a preset theme color or select a specific color from the color picker.
-
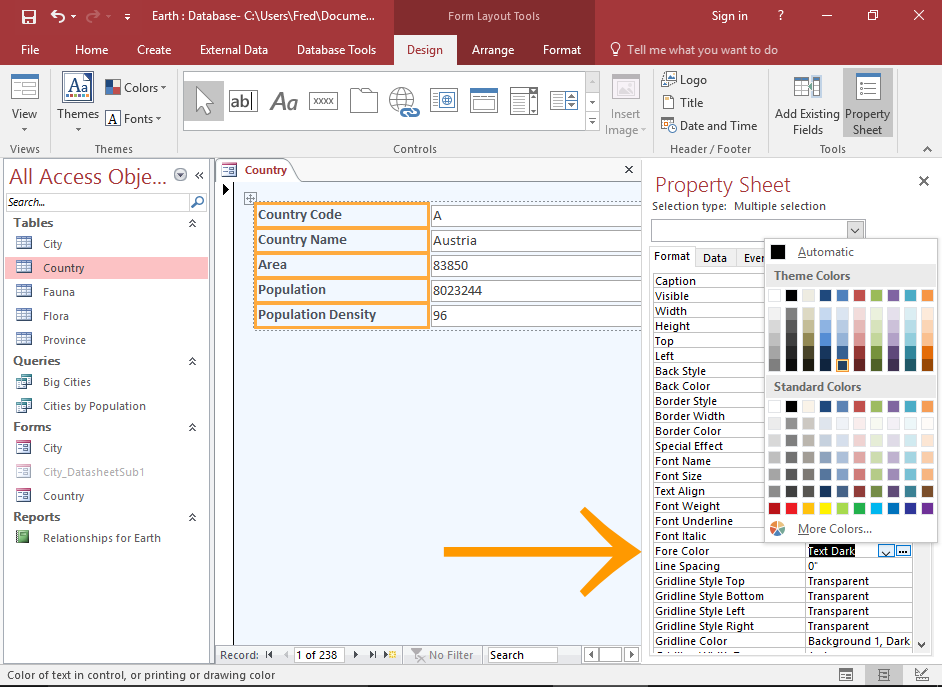
Change the Text Color
You can change the text color by using Fore Color on the Property Sheet.
On the Property Sheet, you can use the tabs to narrow down the properties.
In this example, we selected the Format tab.
You can make many other adjustments using the various properties on any element on the form. Go ahead and experiment.
Save the Form
As with any database object, you will need to save your form so that it can be used in the future.
-

Initiate the Save Command
Right click on the form's tab and select Save from the contextual menu.
You can also initiate the Save command by closing the form.
-
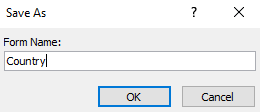
Name the Form
Provide a name for the form and click OK.
-
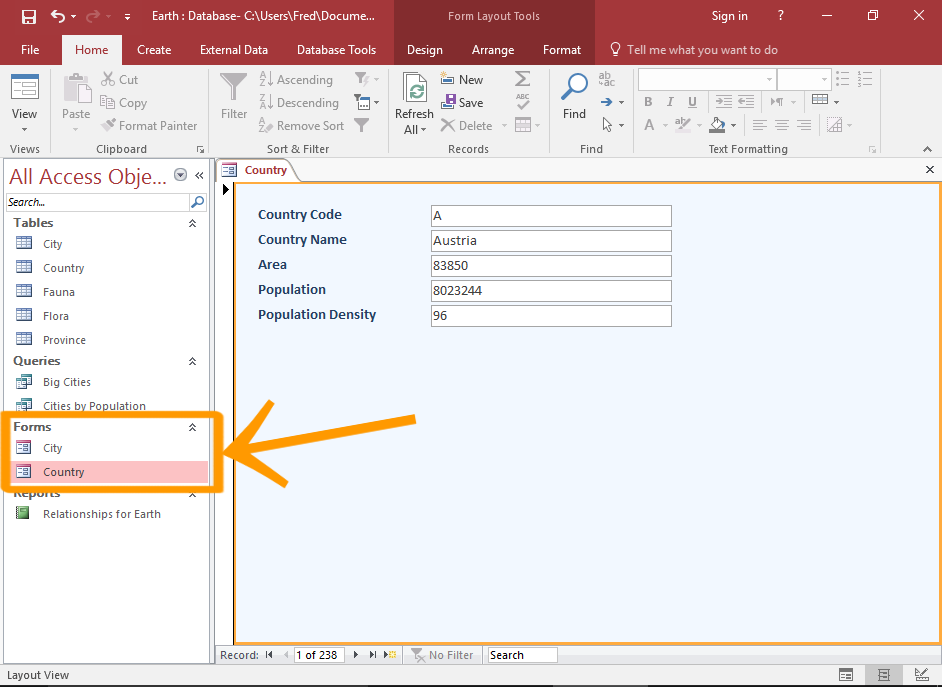
The Saved Form
The form has now been saved. It will appear in the left Navigation Pane under Forms (unless you've changed the way the Navigation Pane displays objects).
To make further modifications you can right-click on the form from the Navigation Pane, and select Layout View or Design View as required.