HTML Image Link Code
Above is an example of a linked image. You can copy and paste this code into your own HTML documents — just change the values of the src, alt, and href attributes to your own.
This example uses the HTML <img> and <a> elements to create the linked image. For more info on links, check out the HTML links page from the HTML tutorial.
Image Link Code: No Border
Some browsers might add a border to the image. You may or may not want this. To remove the border, use the CSS border property and set it to none.
Prior to HTML5, you could use the border attribute (eg, border="0" to remove any border). This attribute is not supported in HTML5.
Image Link Code: Thumbnails
You can link to a larger version of an image. When you do this, the smaller image is usually referred to as a "thumbnail" or "thumbnail image".
When using thumbnails, it's best to resize the image using an image editor (as opposed to just resizing it in the HTML). This means you should have two images: One full sized image, and one (smaller) thumbnail image.
Image Maps
Image maps allow you to create many "clickable" areas within a single image. Hover over the image below to see what I mean. As you hover, you'll notice the cursor turn into a hand as you hover over each link. There are 3 different links in the image below. See if you can find them!

To create an image map, check out how to create image maps.
Templates
You can use the following templates as a basis for your HTML image link codes. Simply fill in the blanks or remove uneeded attributes.
Link Code Template
To link an image, simply nest it inside a hyperlink tag. Here is the hyperlink tag including all possible attributes.
For an explanation of all the attributes, see <a>.
Image Code Template
Here is the image tag including all possible attributes.
For an explanation of all the attributes, see <img>.
HTML Reference
-
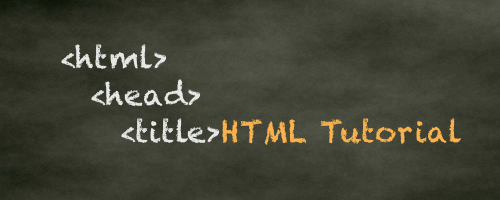
HTML Tutorial
Free HTML tutorial that explains how to code in HTML.
This tutorial explains what HTML elements and attributes are, and how to use them.
I explain the basics, such as what you need in order to write HTML and how to create your first web page.
I then cover other HTML topics including tables, adding color, images, forms, image maps, iframes, meta tags, and more.
I also explain the difference between HTML and CSS (and when to use each one).
Go to HTML Tutorial -

HTML Tags
Full list of all HTML elements.
This is an alphabetical list of HTML elements, linking to a full page of details for each element.
All elements are based on the official HTML5 specification, and include usage notes, full attribute list, as well as links to the various specifications for each element (i.e. HTML4 spec, HTML5 spec, WHATWG spec).
Go to HTML Tags -
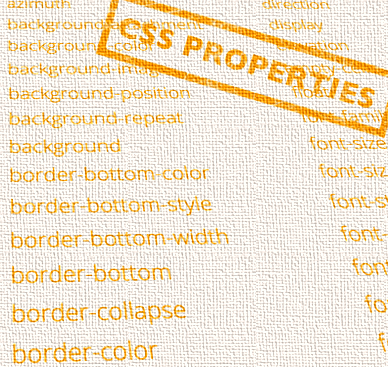
CSS Properties
Full list of CSS properties.
Alphabetical list of CSS properties as per the W3C specifications.
CSS stands for Cascading Style Sheets. CSS is the standard way to style web pages.
You can use CSS to set the style for a whole website in one place. CSS allows you to set colors, fonts, widths, heights, margins, padding, and much more.
Go to CSS Properties