Neo4j - Import Data from a CSV File using Cypher
You can import data from a CSV (Comma Separated Values) file into a Neo4j database. To do this, use the LOAD CSV clause.
Being able to load CSV files into Neo4j makes it easy to import data from another database model (for example, a relational database).
With Neo4j, you can load CSV files from a local or remote URL.
To access a file stored locally (on the database server), use a file:/// URL. Otherwise, you can import remote files using any of the HTTPS, HTTP, and FTP protocols.
Load a CSV File
Let's load a CSV file called genres.csv using the HTTP protocol. It's not a large file — it contains a list of 115 music genres, so it will create 115 nodes (and 230 properties).
This file is stored on Quackit.com, so you can run this code from your Neo4j browser and it should import directly into your database (assuming you are connected to the Internet).
You can also download the file here: genres.csv
You can leave out certain fields from the CSV file if required. For example, if you don't want the first field to be imported into the database, you can simply omit GenreId: line[0], from the above code.
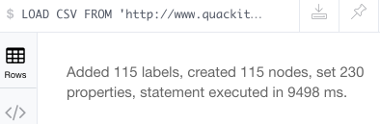
Running the above statement should produce the following success message:
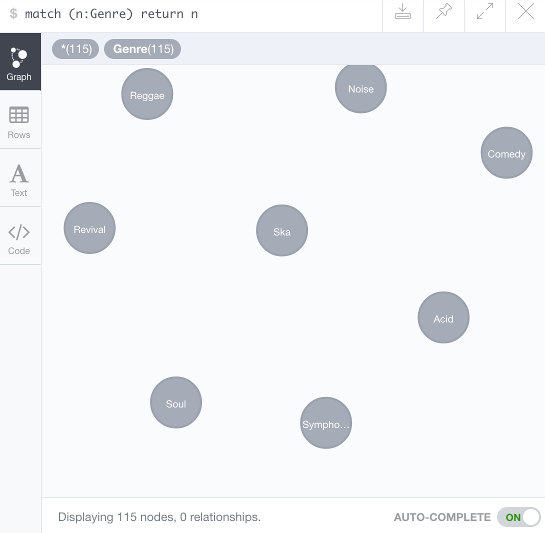
You can follow that up with a query to see the newly created nodes:
Which should result in the nodes scattered around the data visualisation frame:
Import a CSV file containing Headers
The previous CSV file didn't contain any headers. If the CSV file contains headers, you can use WITH HEADERS.
Using this method also allows you to reference each field by their column/header name.
We have another CSV file, this time with headers. This file contains a list of album tracks.
Again, this one's not a large file — it contains a list of 32 tracks, so it will create 32 nodes (and 96 properties).
This file is also stored on Quackit.com, so you can run this code from your Neo4j browser and it should import directly into your database (assuming you are connected to the Internet).
You can also download the file here: tracks.csv
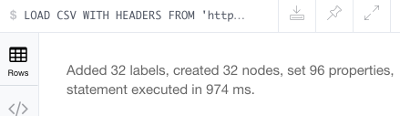
This should produce the following success message:
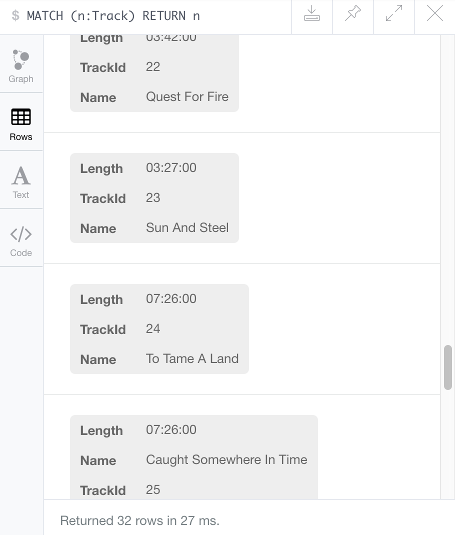
Followed up with a query to view the newly created nodes:
Which should result in the new nodes scattered around the data visualisation frame.
Click on the Rows icon to see each node and its three properties:
Custom Field Delimiter
You can specify a custom field delimiter if required. For example, you could specify a semi-colon instead of a comma if that's how the CSV file is formatted.
To do this, simply add the FIELDTERMINATOR clause to the statement. Like this:
Importing Large Files
If you're going to import a file with a lot of data, the PERODIC COMMIT clause can be handy.
Using PERIODIC COMMIT instructs Neo4j to commit the data after a certain number of rows. This reduces the memory overhead of the transaction state.
The default is 1000 rows, so the data will be committed every thousand rows.
To use PERIODIC COMMIT just insert USING PERIODIC COMMIT at the beginning of the statement (before LOAD CSV)
Here's an example:
Setting the Rate of Periodic Commits
You can also change the rate from 1000 row default to another number. Simply add the number after USING PERIODIC COMMIT:
Like this:
CSV Format/Requirements
Here's some information on the how the CSV file should be formatted when using LOAD CSV:
- The character encoding must be UTF-8.
- The end line termination is system dependent, for example,
\non Unix or\r\non Windows. - The terminator must be a comma
,unless specified otherwise using theFIELDTERMINATORoption. - The character for string quotation is the double quote
"(these are stripped off when the data is read in). - Any characters that need to be escaped can be escaped with the backslash
\character. LOAD CSVsupports resources compressed with gzip, Deflate, as well as ZIP archives.