ColdFusion 11 Installation
UPDATE: This article has become slightly outdated, as it discusses a previous version of ColdFusion. For a more up to date version see ColdFusion 2016 Installation.
As mentioned in the introduction, you need to install ColdFusion before you can build ColdFusion applications on your local computer.
You can download ColdFusion from the Adobe website (Adobe is the company that produces ColdFusion). Adobe has this comparison of the ColdFusion editions to ensure you download the correct edition.
Don't forget that the (free) developer edition actually gives you the same functionality as the full-blown enterprise version. The only limitation is that you can only access the website from the local computer and two other IP addresses. This means that you won't actually need to pay for ColdFusion in order to build your website. And as long as your web hosting provider supports ColdFusion, you won't need to pay anything else to use ColdFusion.
Screen Shots of Installation
To give you an idea of what ColdFusion installation involves, below are the steps that I took when installing ColdFusion 11 Developer edition onto an iMac.
This page was created when ColdFusion 11 was the current version. If by the time you read this, you have a later version of ColdFusion, the steps may differ slightly from below.
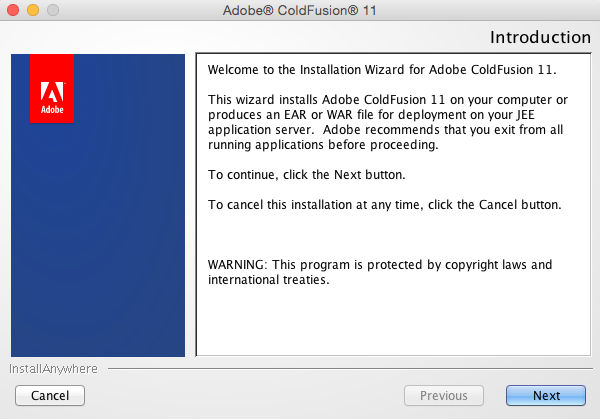
Introduction
Once you've downloaded ColdFusion, double click on the icon. This should launch the following window. Click Next to install ColdFusion.
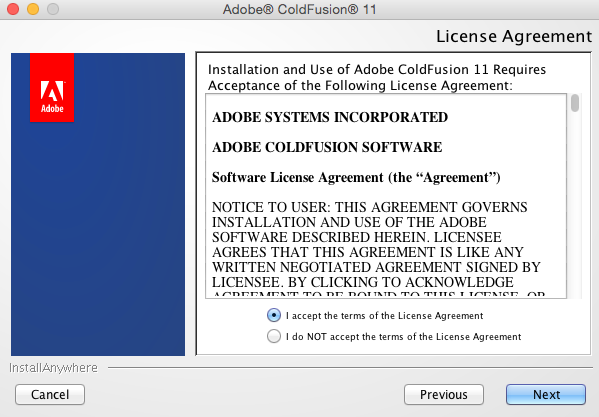
Licence Agreement
Confirm that you've read and agree to the licence agreement:
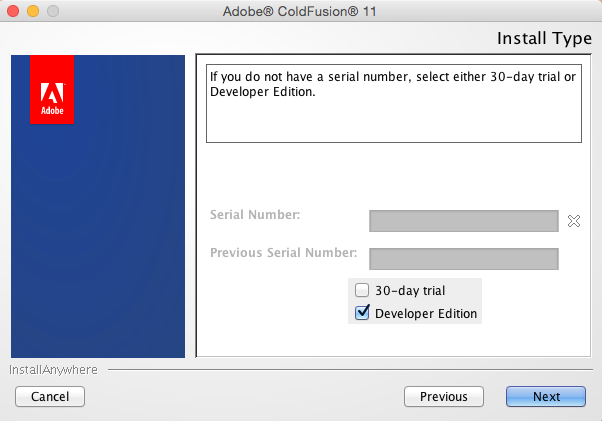
Install Type
Select the installation type.
If you have purchased a copy of ColdFusion, enter your serial number at this screen.
If you don't want to purchase ColdFusion, select Developer Edition.
Alternatively, you could select 30 Day Trial if you need to be able to access your website from more than 2 external IP addresses (in addition to the website's local computer). Once the 30 days is up, ColdFusion will revert to the Developer edition (unless you pay for the Standard or Enterprise version).
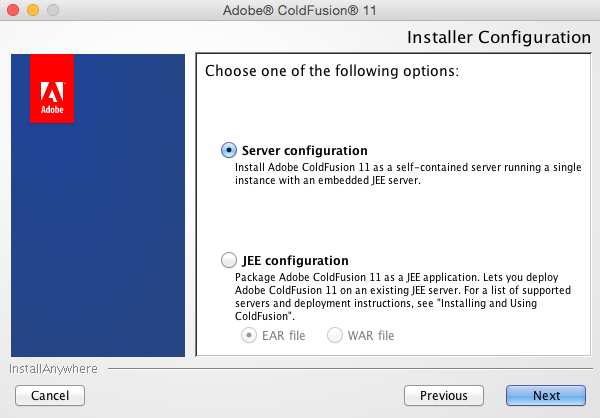
Installer Configuration
Select an installer option.
The first option (Server configuration) is the most common option. The JEE configuration option is useful for running multiple instances of ColdFusion on your computer. If you choose the JEE configuration option, you should refer to the ColdFusion documentation.
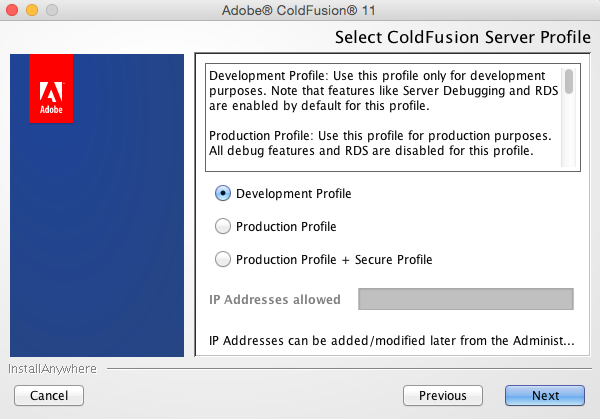
Select ColdFusion Server Profile
Select an installer option.
The first option (Server Configuration) is fine. The other options are useful for running multiple instances of ColdFusion on your computer. If you choose the second or third option, you should refer to the ColdFusion documentation.
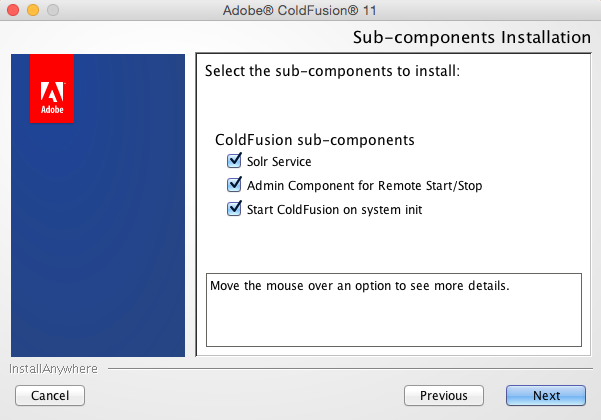
Sub-components Installation
Select the sub-components you want to install. By default, all sub-components are selected.
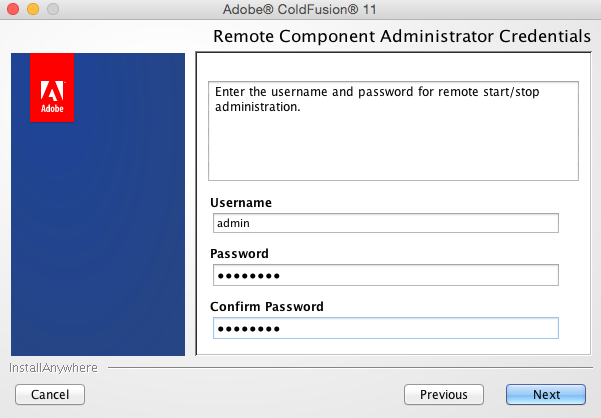
Remote Component Administrator Credentials
Enter a username and password for remote start/stop ColdFusion:
Select Installation Directory
Select the directory you'd like to install Coldfusion into. The default directory is fine (unless you have a specific reason to change this):

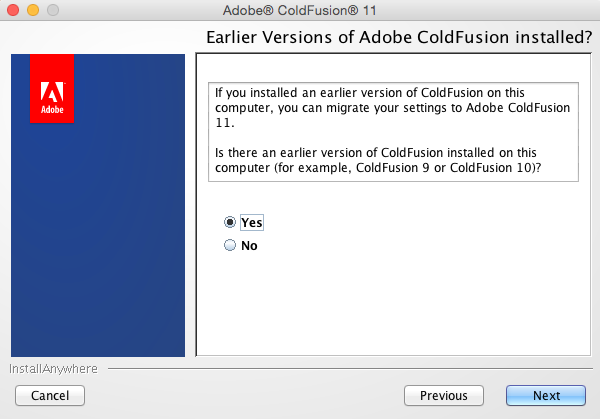
Earlier Versions of Adobe ColdFusion Installed?
If you have an ealier version of ColdFusion installed, you can migrate the settings over to the new version. Select Yes or No accordingly:
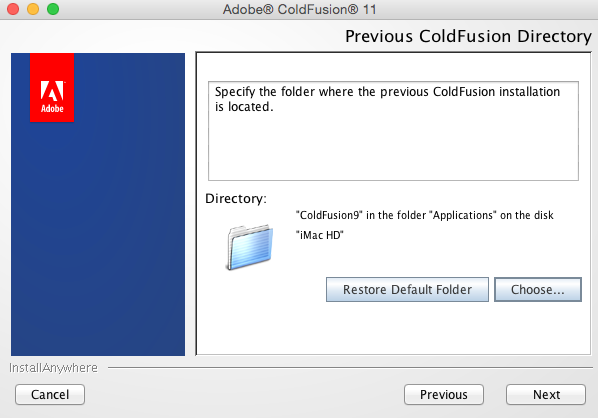
Previous ColdFusion Directory
If you selected Yes at the previous step, you will be asked where the previous version of ColdFusion was installed. Ensure this is correct and click Next:
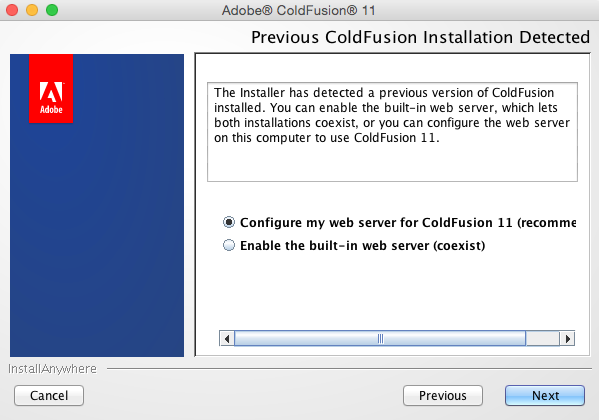
Previous ColdFusion Installation Detected
If you don't need to run a previous version of ColdFusion on the same machine with the new version that you're installing, ensure Configure my web server for ColdFusion 11 (recommended) is selected.
Otherwise, if you want to be able to run a previous version of ColdFusion as well as the new version on the same machine, select Enable the built-in web server (coexist):
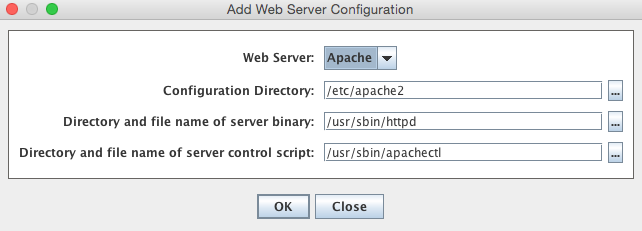
Add Web Server Configuration
If you run your own web server (such as IIS or Apache), this screen allows you to add it to be configured to serve ColdFusion pages. Select the web server from the drop down list that you'd like to configure for ColdFusion:
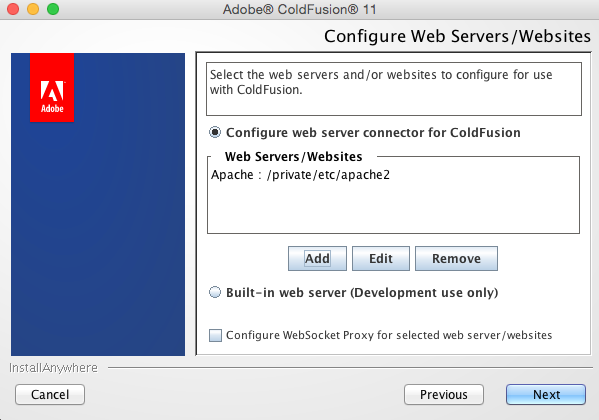
Configure Web Servers/Websites
This screen allows you to select which web servers/websites should be configured to use ColdFusion:
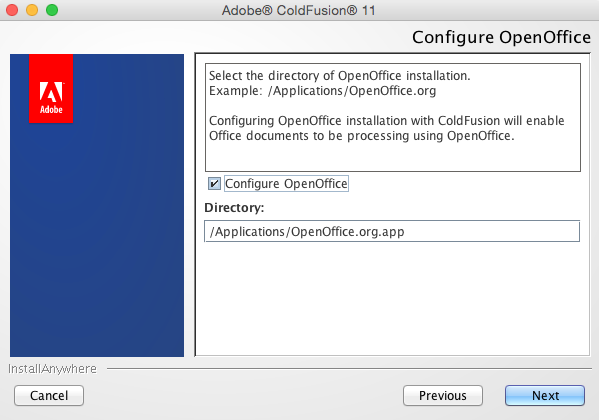
Configure OpenOffice
This step enables you to configure OpenOffice with ColdFusion so that Office documents are processed with OpenOffice. Select Configure OpenOffice or deselect it as you wish.
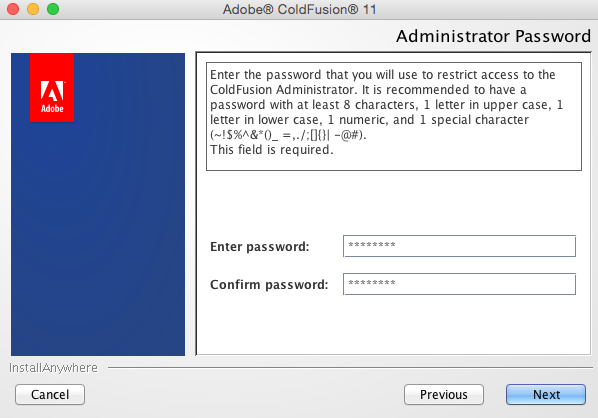
Administrator Password
You are required to enter a password which is used for accessing the ColdFusion Administrator.
Note that you can always disable the login requirements for accessing the ColdFusion Administrator (you can do this via the ColdFusion Administrator). In general, you should never disable this unless it is in a development environment (eg, on your own local machine).
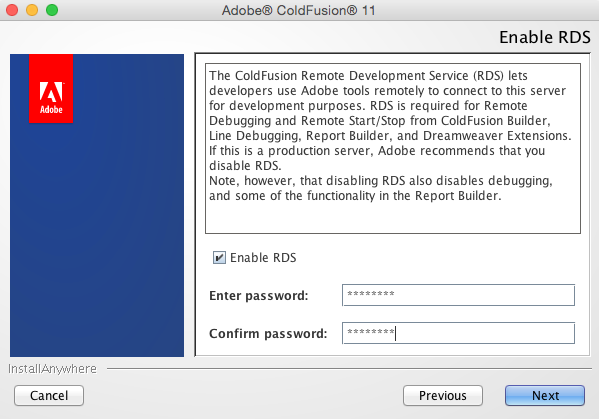
Enable RDS
You have the option of enabling RDS (Remote Development Service). Only enable RDS if you need to access the server remotely for development purposes. As a general rule, you should disable RDS on production servers (for security reasons).
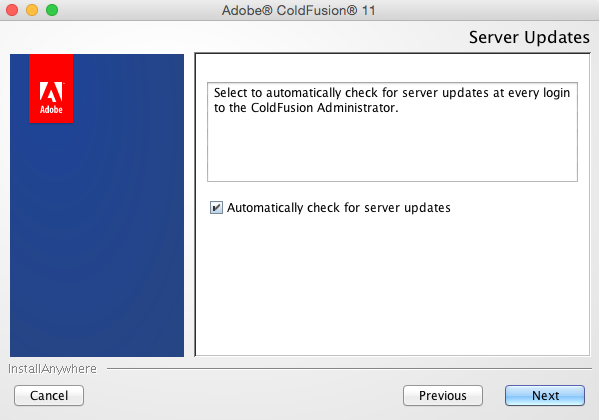
Server Updates
ColdFusion can automatically check for server updates whenever you log in to the ColdFusion Administrator. Select or deselect Automatically check for server updates as you wish.
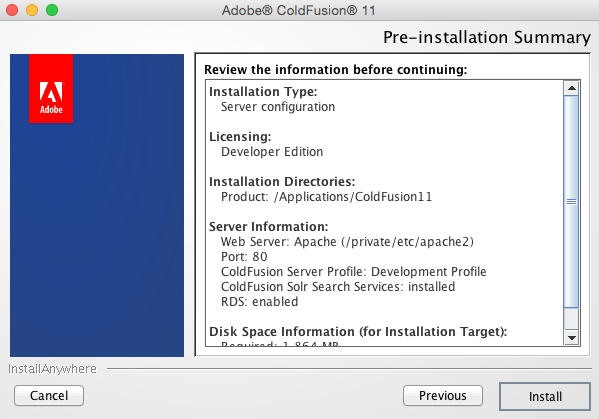
Pre-Installation Summary
Review your settings. You can go back and change anything that's incorrect. If all is correct, click Install. This is the bit that actually installs ColdFusion on your computer.
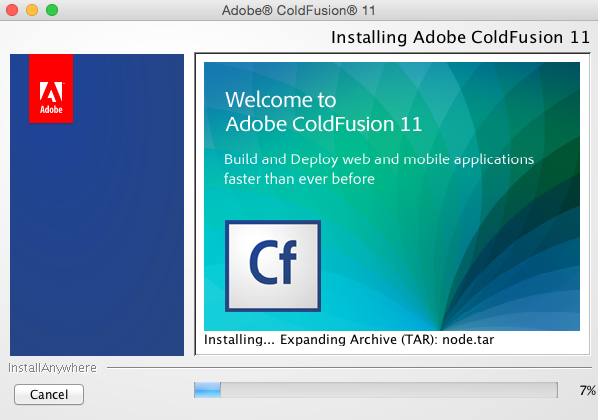
Installing ColdFusion
After clicking Install at the previous step, you should see the following screen. It could take around 5 to 10 minutes for installation to complete, and for the next screen to appear. You can sit and watch the status bar if you like or go and make yourself a cup of coffee.
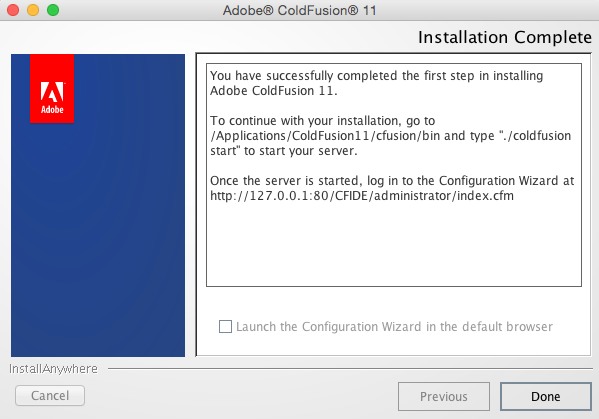
Installation Complete
Once ColdFusion has been installed, you will see the following screen. You will be notified of any errors that occurred during installation with instructions on how to view the log file.
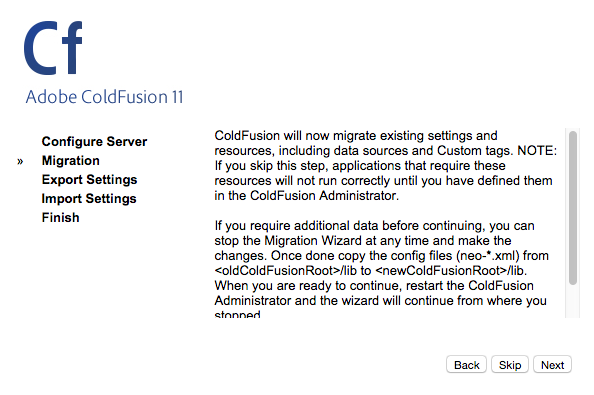
ColdFusion Migration
Here, ColdFusion migrates settings from any previous version of ColdFusion to the new version.
Starting ColdFusion
Once ColdFusion has been installed, your web server should be able to render any ColdFusion file. That is, if it has a .cfm extension, your web server will pass it to ColdFusion to process. However, this will only occur if ColdFusion has in fact, been started.
You may need to start ColdFusion once you've finished the installation. Here's how to do that.
Windows
- Open a Command Prompt window
- Change directory to {cfroot}\cfusion\bin
- Run the following command: coldfusion.exe -start -console
You can also stop and restart ColdFusion. To stop ColdFusion use coldfusion.exe -stop -console. To restart use coldfusion.exe -restart -console.
UNIX/Linux/Solaris/MAC OS X
- Open a Terminal window
- Change directory to {cfroot}\cfusion\bin
- Run the following command: ./coldfusion start
To stop ColdFusion use ./coldfusion stop. To restart use ./coldfusion restart.
Note that {cfroot} means the ColdFusion root directory — the directory that it is installed in. On my iMac, the default installation was /Applications/Coldfusion11.
Therefore, you could also use the following command to start CF: /Applications/Coldfusion11/cfusion/bin/coldfusion start.