Getting Started: Create your First Web Page!
Let's create a webpage using HTML, then view it in a web browser.
OK, lets get straight into it. Here, you will learn just how easy it is to create a web page. In fact, by the time you've finished with this web page, you will have created your own web page!
When you create a web page you will usually do something like this:
- Create an HTML file
- Type some HTML code
- View the result in your browser
- Repeat the last 2 steps (if necessary)
Create a Webpage
OK, let's walk through the above steps in more detail.
-
Create an HTML file
An HTML file is simply a text file saved with an .html or .htm extension (i.e. as opposed to a .txt extension).
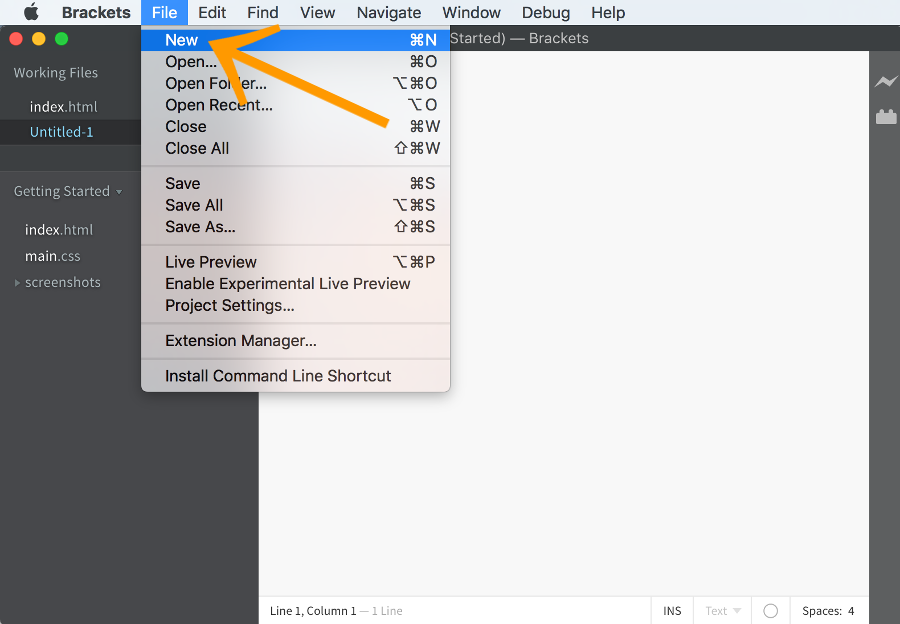
- Open up your HTML editor (such as Brackets or SeaMonkey). You could use you computer's normal plain text editor if you prefer (this will probably be Notepad if you're using Windows or TextEdit if you're using a Mac).
- Create a new file (if one wasn't already created)
- Save the file as html_tutorial_example.html
-
Type some HTML code
Type the following code:
-
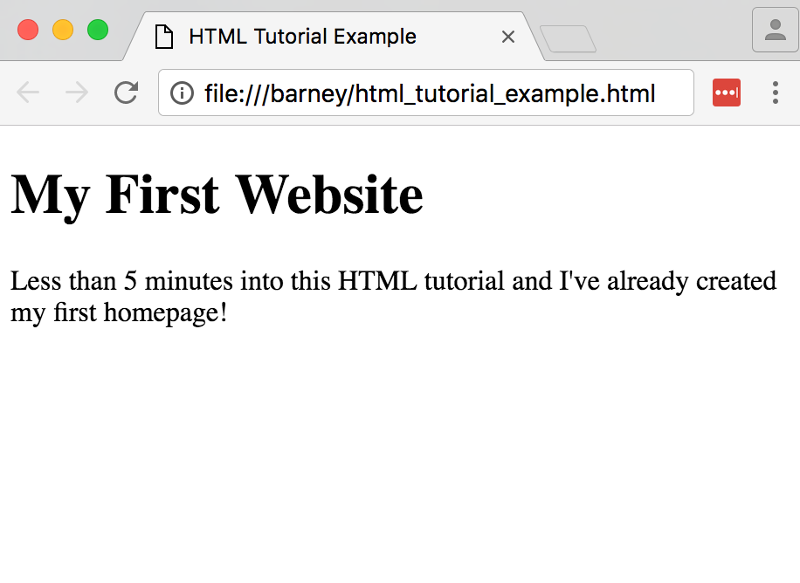
View the result in your browser
Either...
- Navigate to your file then double click on it
--OR--
- Open up your computer's web browser (for example, Internet Explorer, Firefox, Netscape etc).
- Select File > Open, then click Browse. A dialogue box will appear prompting you to navigate to the file. Navigate to the file, then select Open.
-
Repeat the last 2 steps until you're satisfied with the result
It's unrealistic to expect that you will always get it right the first time around. Don't worry — that's OK! Just try again and again — until you get it right.
Part of the fun of creating web pages is experimenting with different elements, styles, approaches, etc, and then checking out the result.
Explanation of code
OK, before we get too carried away, I'll explain what that code was all about.
We just coded a bunch of HTML tags. These tags tell the browser what to display and where. You may have noticed that for every "opening" tag there was also a "closing" tag, and that the content we wanted to display appeared in between. Most HTML tags have an opening and closing tag.
The next lesson goes into a bit more detail about HTML tags.