Create a Blog
The easiest way to start blogging today.
If you've read my article explaining how to create a website, you'll know that anyone can create a website within minutes using a website builder.
Blogs are the same. But instead of using a website builder, you can create a blog within a few minutes with WordPress hosting.
Here, I explain how to create a blog using managed WordPress. I'll also show you how to get a free domain name so that your blog has its own address on the web.
The Basics
First, let's look at the three basic requirements of a blog. These are the "must have" items that you need before you can start blogging.
- Web hosting puts your blog on the internet so the world can see it. This is where your blog and all its content reside.
- A domain name represents the address of your blog. It's the thing that looks like this: myblog.com.
- A blogging platform is the software that enables you to blog. It's what you use to add content to your blog, change its theme, add plugins, etc. WordPress is an example of a blogging platform.
Once upon a time, you had to get each one of these separately. You had to register your domain name, choose a hosting account, then "point" the domain name to the hosting account, download blog software, install it, configure it, etc.
But not any more.
Managed WordPress Hosting
Managed WordPress hosting is a special type of hosting plan made specifically for bloggers. WordPress is the world's most popular blogging software. Managed WordPress hosting is a hosting account that already has WordPress installed and configured.
Furthermore, some managed WordPress accounts are optimized for WordPress. That is, the hosting company configures the server in a way that geared towards WordPress blogs. Every website is different, but most WordPress blogs are very similar in the way they're built. The hosting company can capitalize on this knowledge by optimizing the server accordingly. These optimization techniques are usually designed to make your blog load faster and be more secure.
And when you use ZappyHost's Managed WordPress, your blog is already configured with a free domain name (you choose the domain). No need to "point" the domain to your blog, as this is all done for you.
(Full Disclosure: ZappyHost is a partner site and I earn a commission from any product sales).
Get a Managed WordPress Account
Below are the steps in opening a managed WordPress account with our partner site, ZappyHost, and getting your free domain name. This is the part that actually creates your blog, sets up the hosting, and applies your free domain name to your blog.
Of course, if you have a preferred hosting provider feel free to use them instead (although the exact steps and pricing may be different).
How to do this...
-
Choose your Account
Go to the Managed WordPress hosting plans at ZappyHost and click Add To Cart under the plan that suits you.
If you're just starting out, the Basic plan should be fine. But if you're expecting a lot of visitors you may need to choose one of the other plans.
Do this Now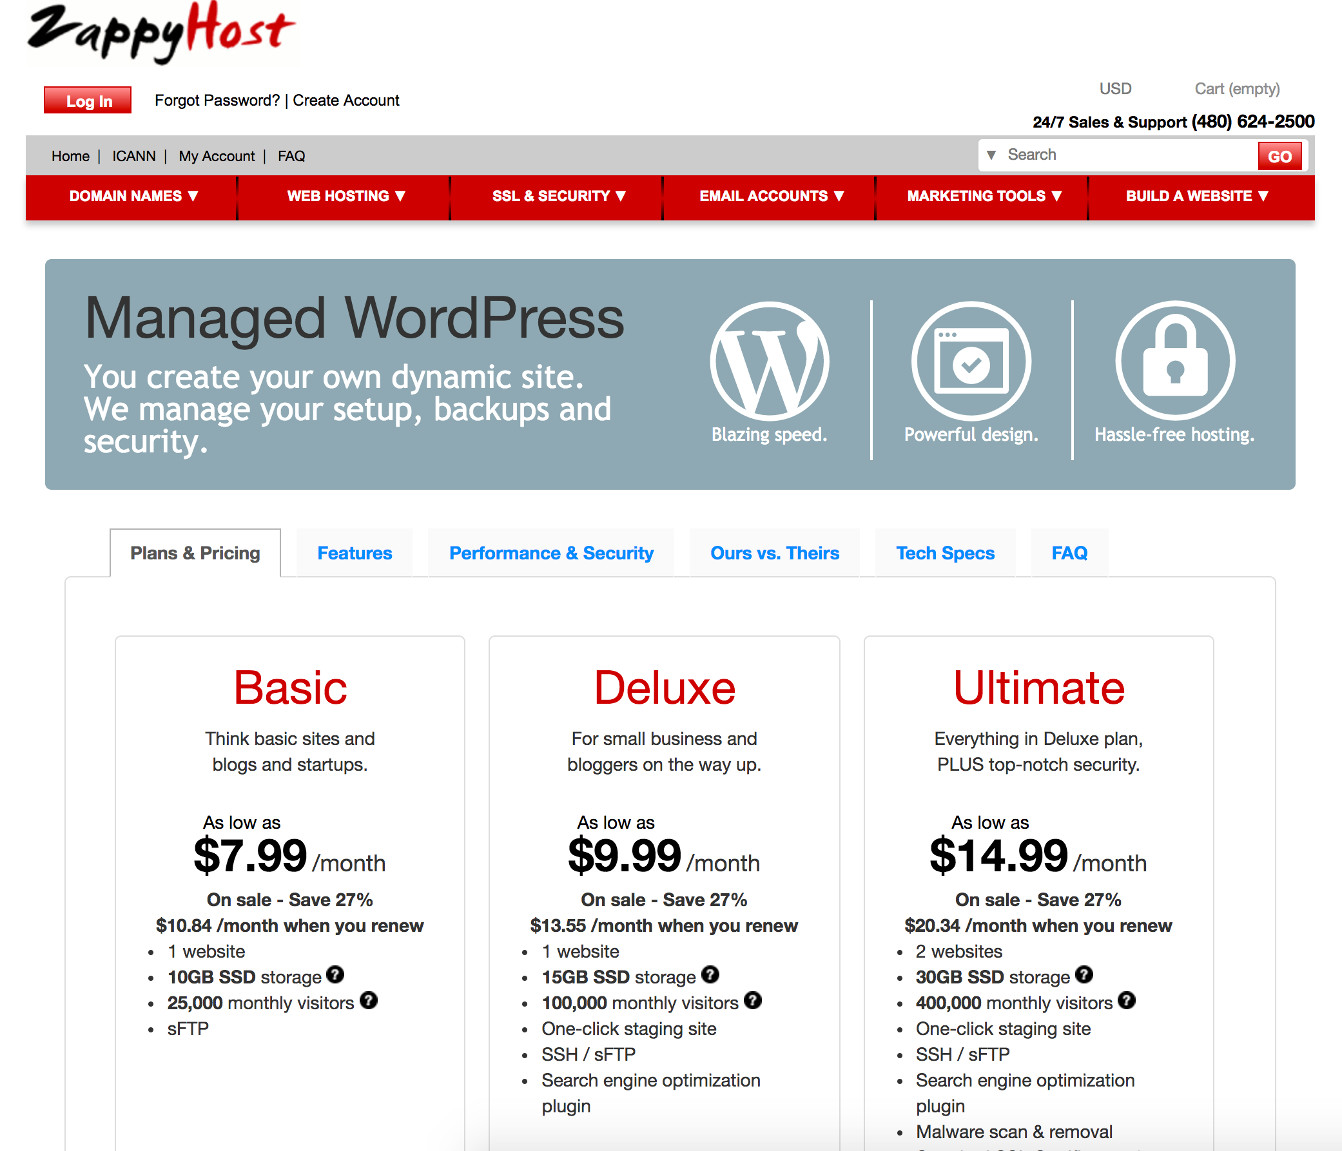
-
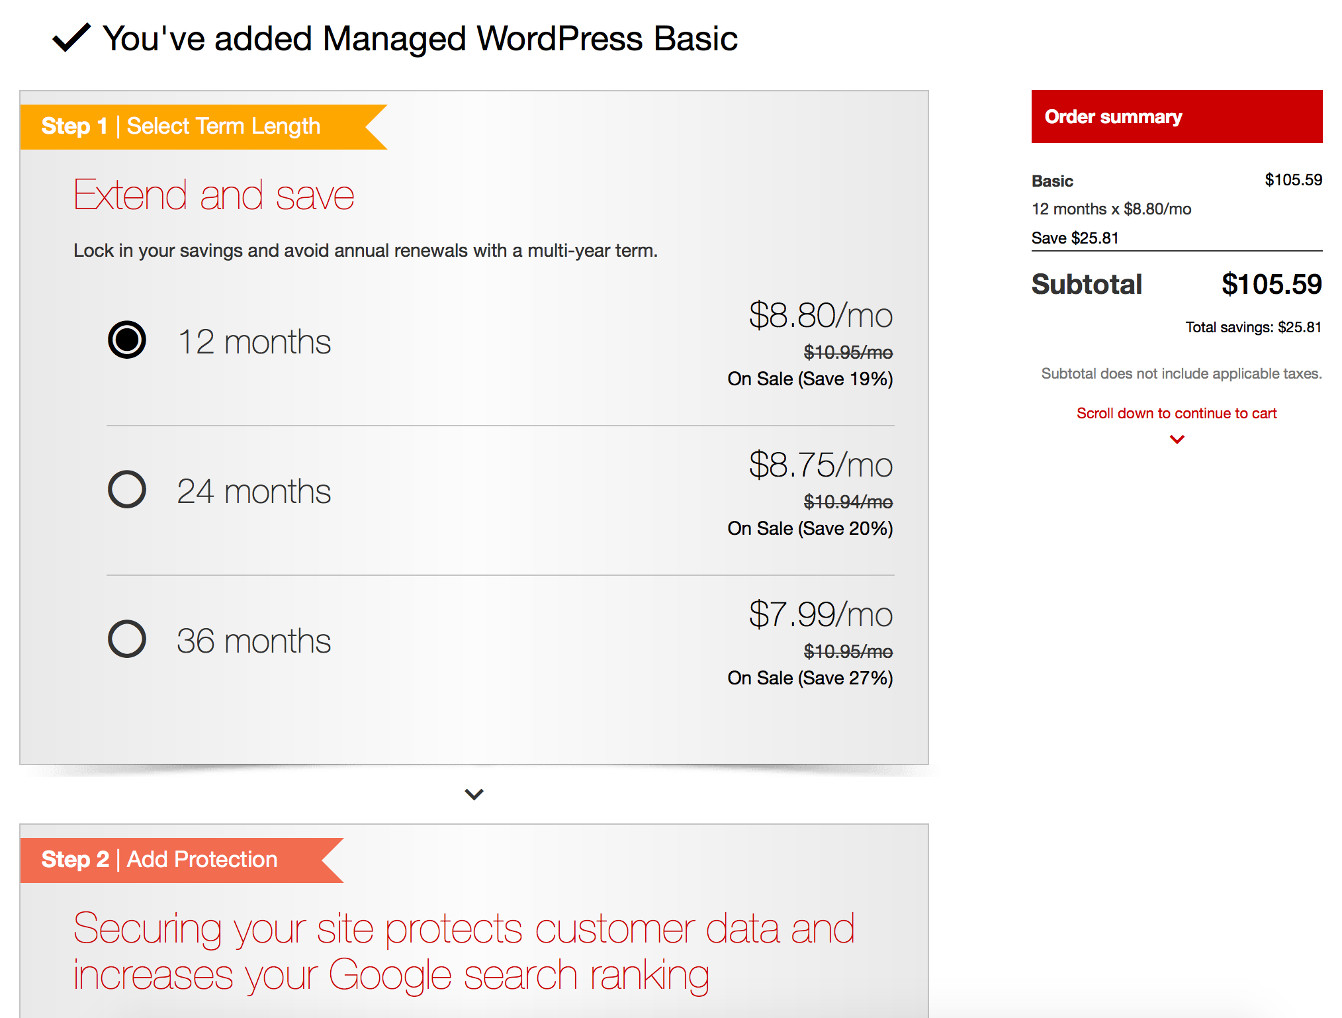
Select the Term Length
Select whether you want a 12, 24, or 36 month plan. The longer the term the cheaper it gets.
All of these plans will give you a free domain for your selected term length. For example, the 36 month plan gives you a free 3 year domain registration.
You may also be offered some optional extras (such as extra security). You can safely leave these deselected, but by all means select them if you prefer.
Once done, click Continue.
-
Get your Free Domain Name
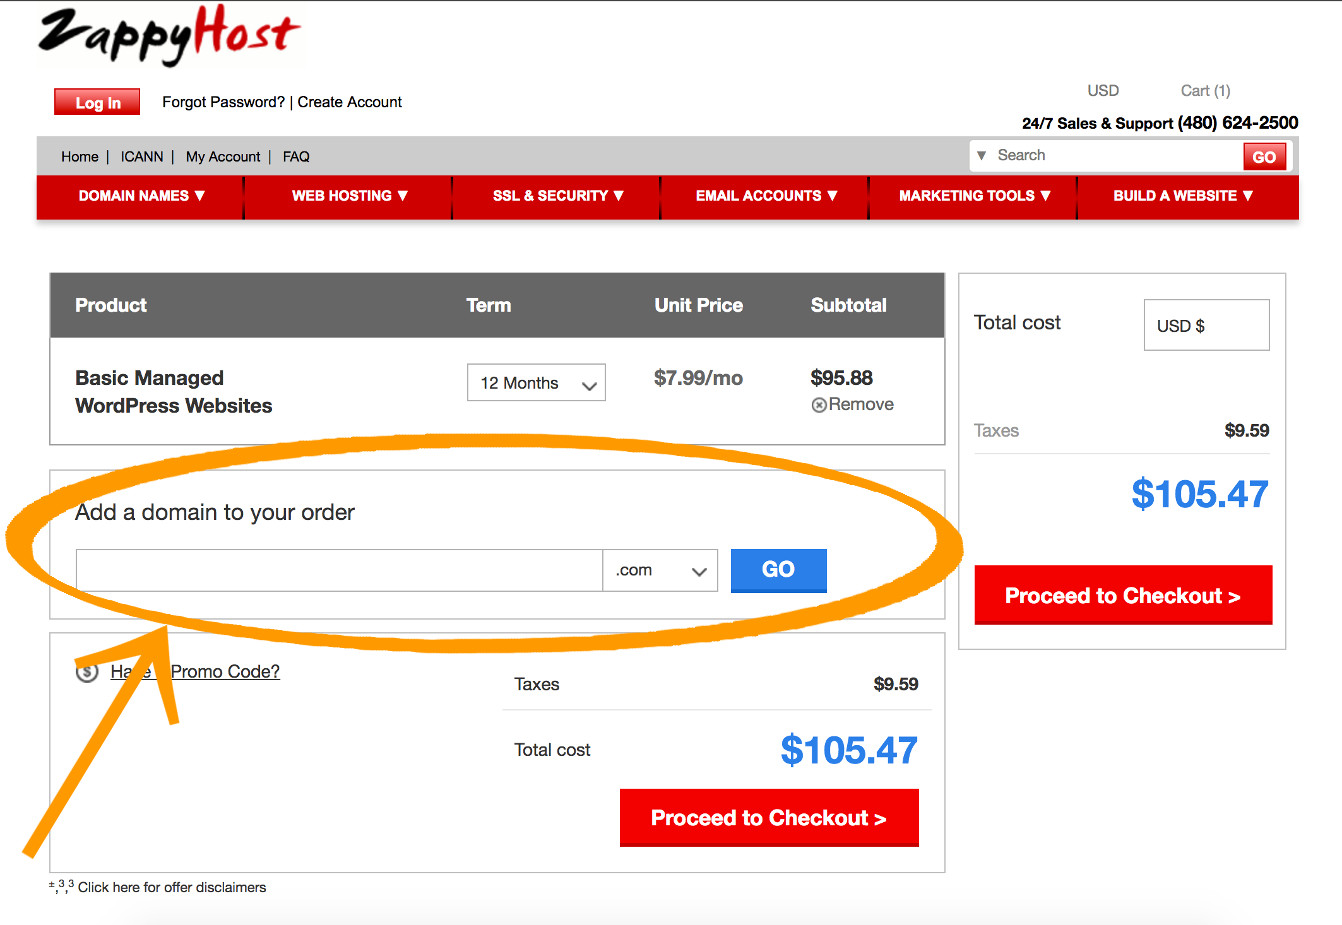
When you enter the shopping cart, you will see a section called Add a domain to your order. This will give you a free domain name for the length of your plan (available on 12, 24, and 36 month plans).
If you don't already have a domain name, you should get one now (this is the thing that looks like this: myblog.com).
Simply enter your preferred domain and click Go to check its availability. If it's available, you can add it to your order. If not, you can try again until you find one that's available.
-
Complete your Order
Follow the prompts until your order is complete.
Once your account is set up, you'll receive an email and further instructions. But basically, you'll be able to log in to your blog and start blogging immediately.
Start Blogging!
This is where all the fun begins!
Using WordPress to create a blog post is as easy as using Microsoft Word to write a letter.
How to do this...
-
Log in to your Admin Area
Open your admin page in your browser and use the login credentials that you provided when WordPress was being set up.
The admin page is usually located at http://myblog.com/wp-admin/ (although you can also use the alternative address provided by ZappyHost).
-
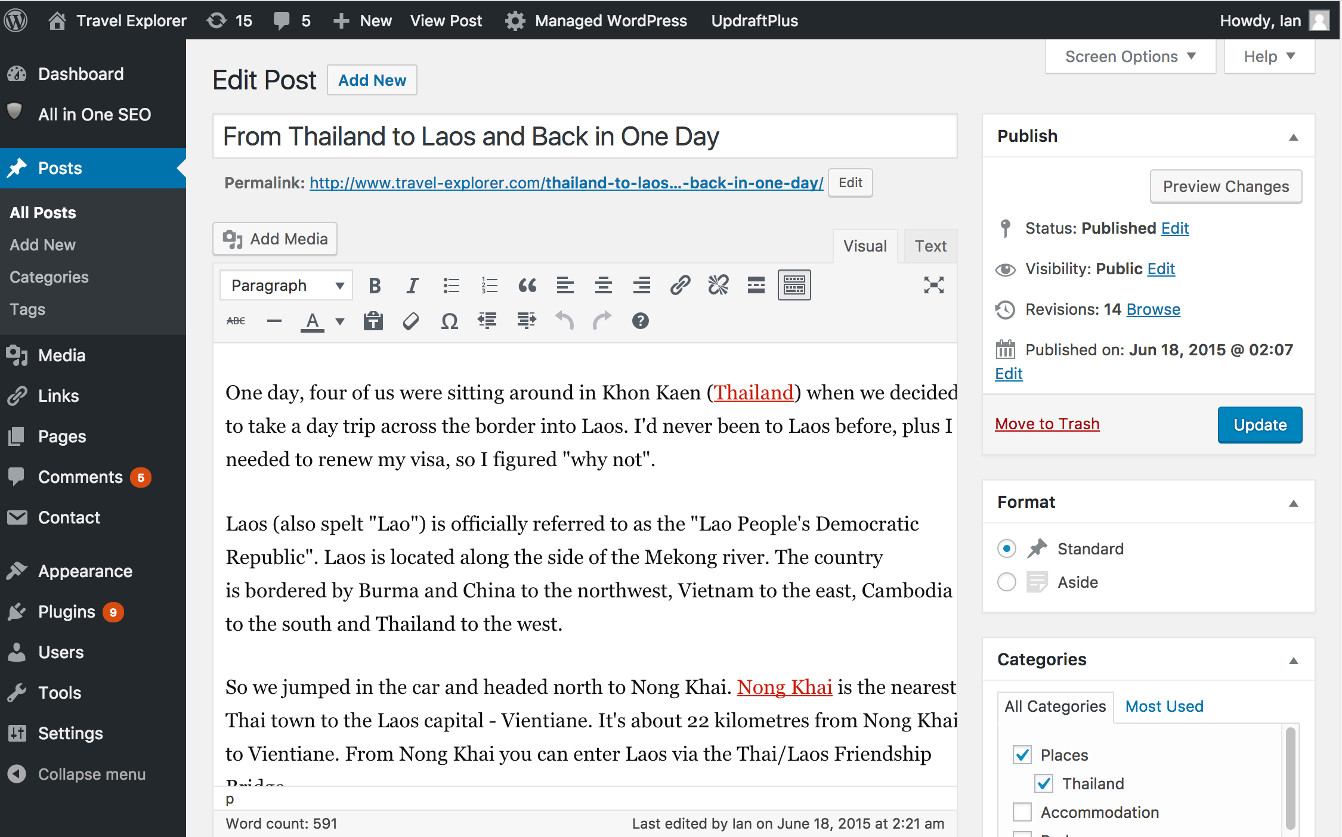
Add a New Post
Click Posts > Add New from the sidebar to create a new post.
You can now type directly into the editor while using the formatting toolbar to do things like bold text, set alignment, create blockquotes, and more. There's also a button for inserting links, as well as a button for adding images, audio, and video.
Before you publish your post, you can check to see what it will look like to your users by clicking Preview. You can also do things like add categories, tags, etc to help users find your post. You can add categories under Posts > Categories and tags under Posts > Tags.
Once your post is ready for the world to see, click Publish and it will automatically appear on your blog's homepage, as well as various other places (unless you customize your blog so that it doesn't do this).
Improving your Blog
You now have your own web presence, and an easy way to post content to the web. If you did nothing but post lots of great content, your blog could quite easily become very successful just as it is.
But as with anything, there are always things you could be doing to improve it. Fortunately, you don't need to be a tech wizard to make some pretty significant improvements to your blog.
One of the great things about WordPress is that it has a large community of developers who create themes and other plugins for WordPress. This means you — the blogger — can use these themes and plugins on your own blog.
Some themes and plugins are available completely for free. Others, you'll need to pay for. In any case, themes and plugins are an important part of any blog.
Change your Blog's Theme
Every WordPress blog has a theme. The theme determines the way your blog looks to your users. When you set up your WordPress hosting account, you'll either get a default theme or be asked to choose a theme. You can change this theme at any time.
Changing your blog's theme is a simple as a few clicks. Changing the theme will change the whole look and feel of your blog. No need to pay a designer to freshen up your blog every couple of years!
Changing your blog's theme does not change your content in any way. You can switch themes as often as you like and your content will remain the same. The theme will change the way your content looks to your users, but it won't change the content itself.
To change your blog's theme, click on Appearance > Themes in the sidebar of the admin area. You'll see a bunch of themes, as well as a search box for searching through hundreds more. You can start by previewing a theme (which means only you see it). You can preview as many themes as you like. Once you find one that you like, you can activate it. Once activated, your blog will officially use the new theme (i.e. all your users will see the new theme).
Add some Plugins
Plugins are similar to themes in that you can enable them with a click. The difference is that plugins provide extra functionality to your blog (as opposed to simply changing your blog's look — which is what themes are for).
For example, there are "SEO" plugins that optimize your blog for the search engines, "Backup" plugins that back up all your blog's content, "Related posts" plugins that automatically add a list of related posts, and more.
While your blog can only use one theme at a time, it can use as many different plugins as you like. However, a common mistake that new bloggers almost always do is to enable too many plugins. Enabling too many plugins can slow your blog down. Also, some plugins don't work well together, so it's a good idea to use only those plugins that you think are important to your blog.
To access your blog's plugins, click Plugins in the sidebar of the admin area.
More Help

Still not sure about how to go about creating a blog?
- Here are some frequently asked questions from the tutorial on creating websites. Most of these also apply to creating a blog.
- Think you might need a website instead of a blog? Check out this tutorial on creating a website.
- Web Hosting Tutorial Explains what web hosting is and how to choose a hosting provider. Although aimed towards websites, it is also applicable to blogs (technically, blogs and websites are the same thing).
- Info on domain names.
- Want to get more technical? Read this short tutorial on the essential web building skills. Although you don't need to learn all of these to become a blogger, it certainly helps to have a basic understanding of the key web building concepts.