ColdFusion Packaging and Deployment
The ColdFusion Administrator includes a Packaging & Deployment option, which enables you to easily migrate your ColdFusion application to different environments.
For example, you can use the Packaging & Deployment option to migrate a CF application from your development environment to your staging or test environment, then from your staging environment to your production environment.
You can use the Package & Deployment option to create and deploy:
- ColdFusion archives (CAR files) and/or
- JEE archives (EAR or WAR files)
In this article I provide an overview of the first option - ColdFusion archives.
Create a ColdFusion Archive
Creating a ColdFusion archive involves two steps; define the archive, then build the archive.
Here are the basic steps involved in defining a ColdFusion archive. This is where you specify the settings, files, etc that will go into the archive.
-
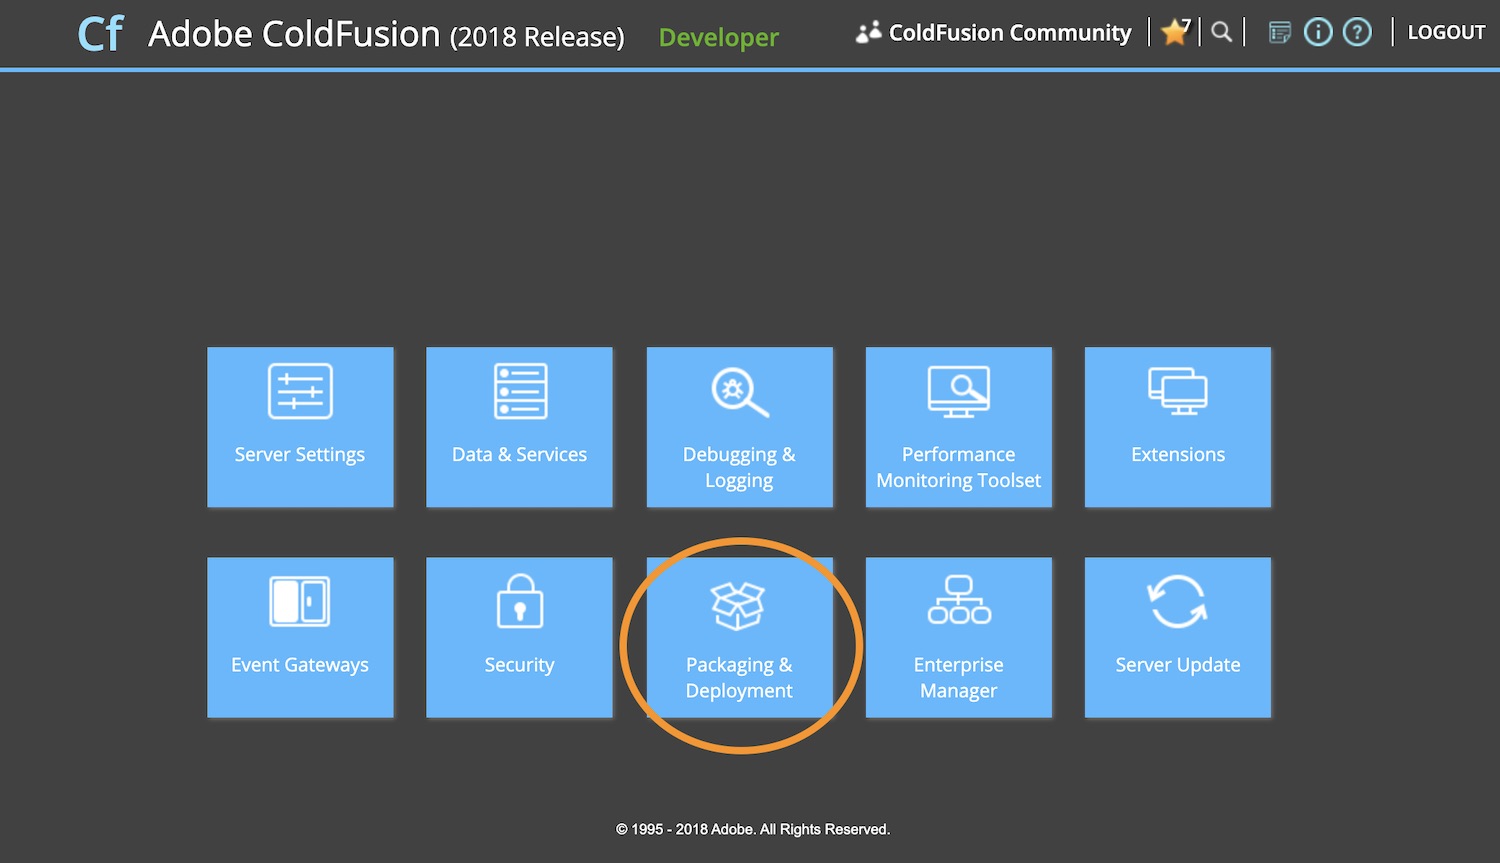
Open the Package & Deployment Screen
Log in to the ColdFusion Administrator and click the Package & Deployment icon.
-
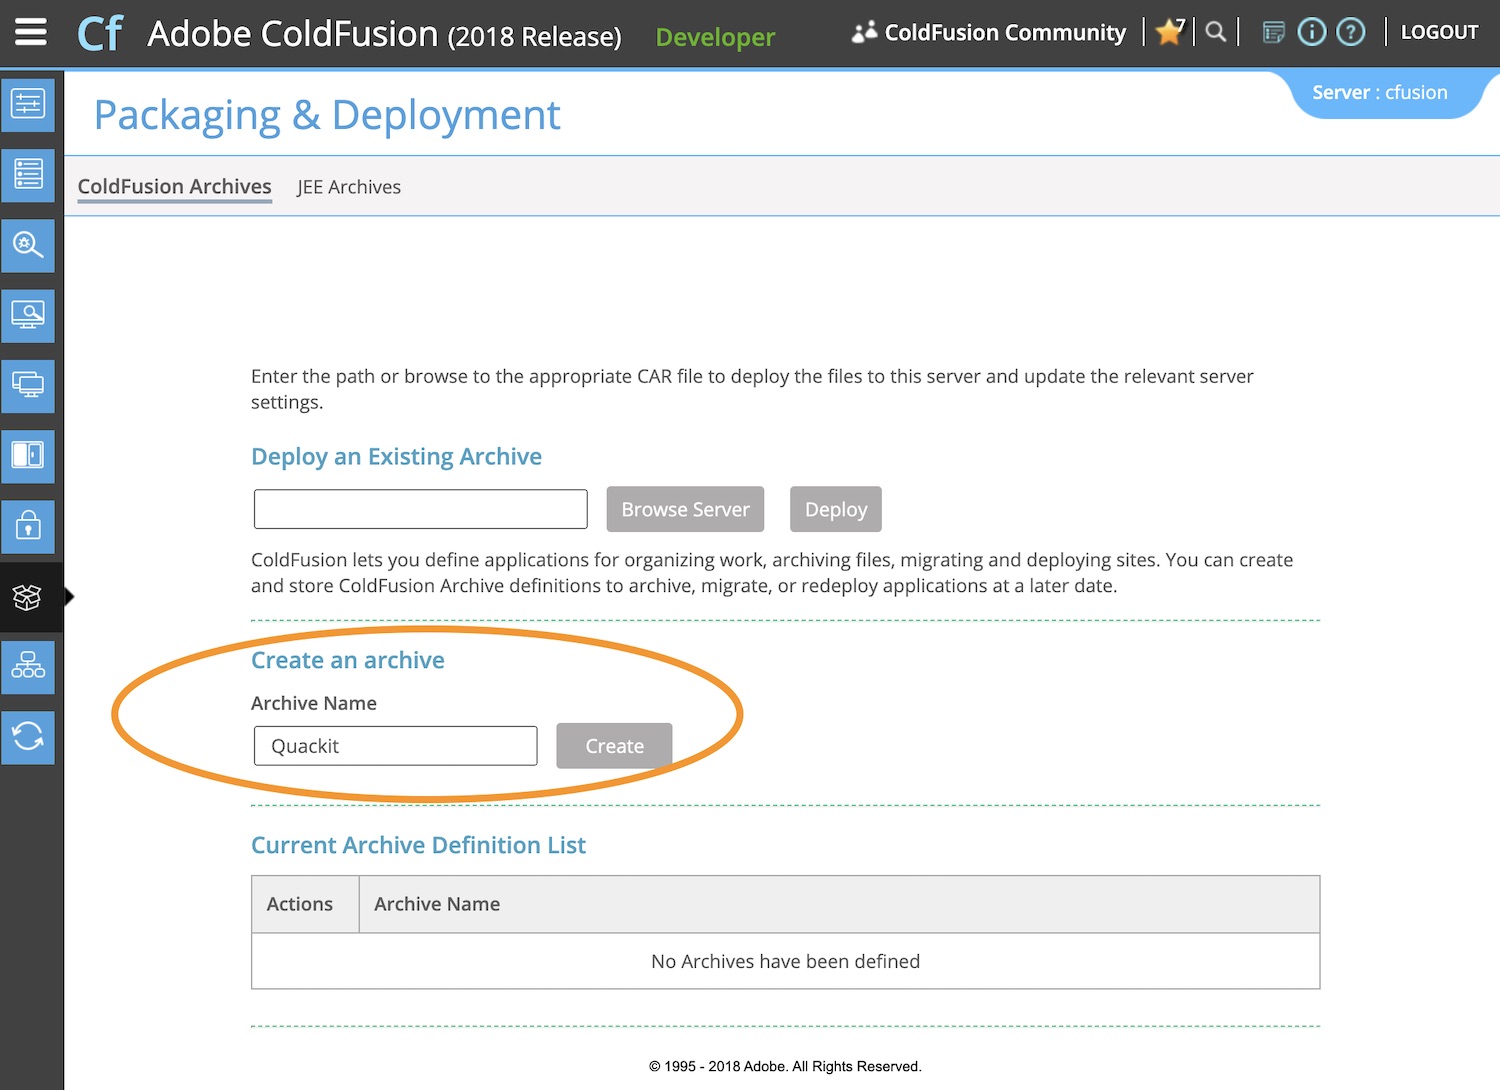
Name/Create the Archive
Enter a name for the archive (under Create an Archive) and click Create. This launches the Archive Wizard in a pop-up window.
-
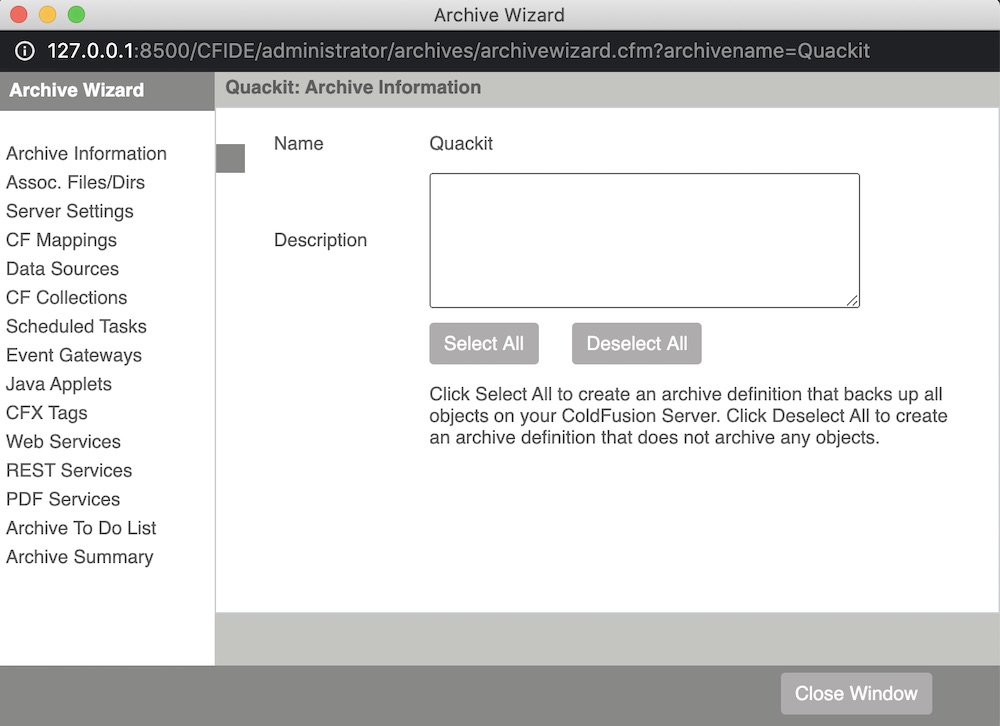
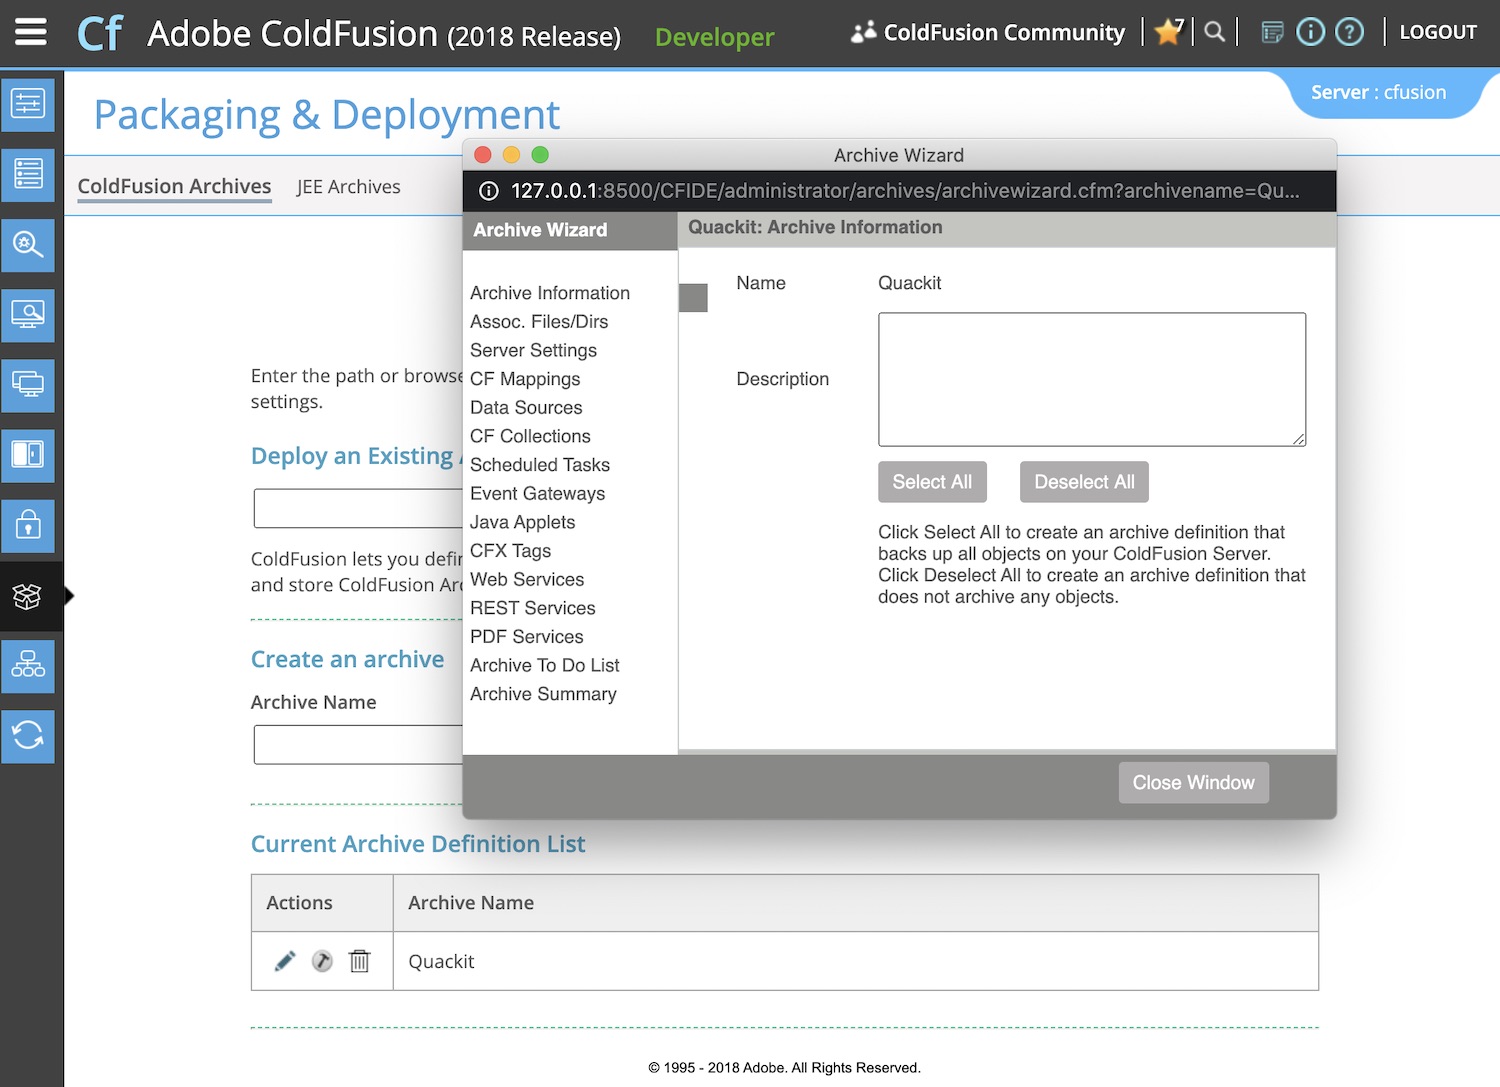
Define the Archive
In the Archive Wizard pop-up, you define what will be included in the archive. You can use the left menu to include/exclude items. You also have the option of clicking Select All to create an archive definition that includes all settings on your server.
Note that each environment may have slight differences for things like database names, usernames, passwords, etc. Sometimes it's easier to configure these manually on each environment.
-
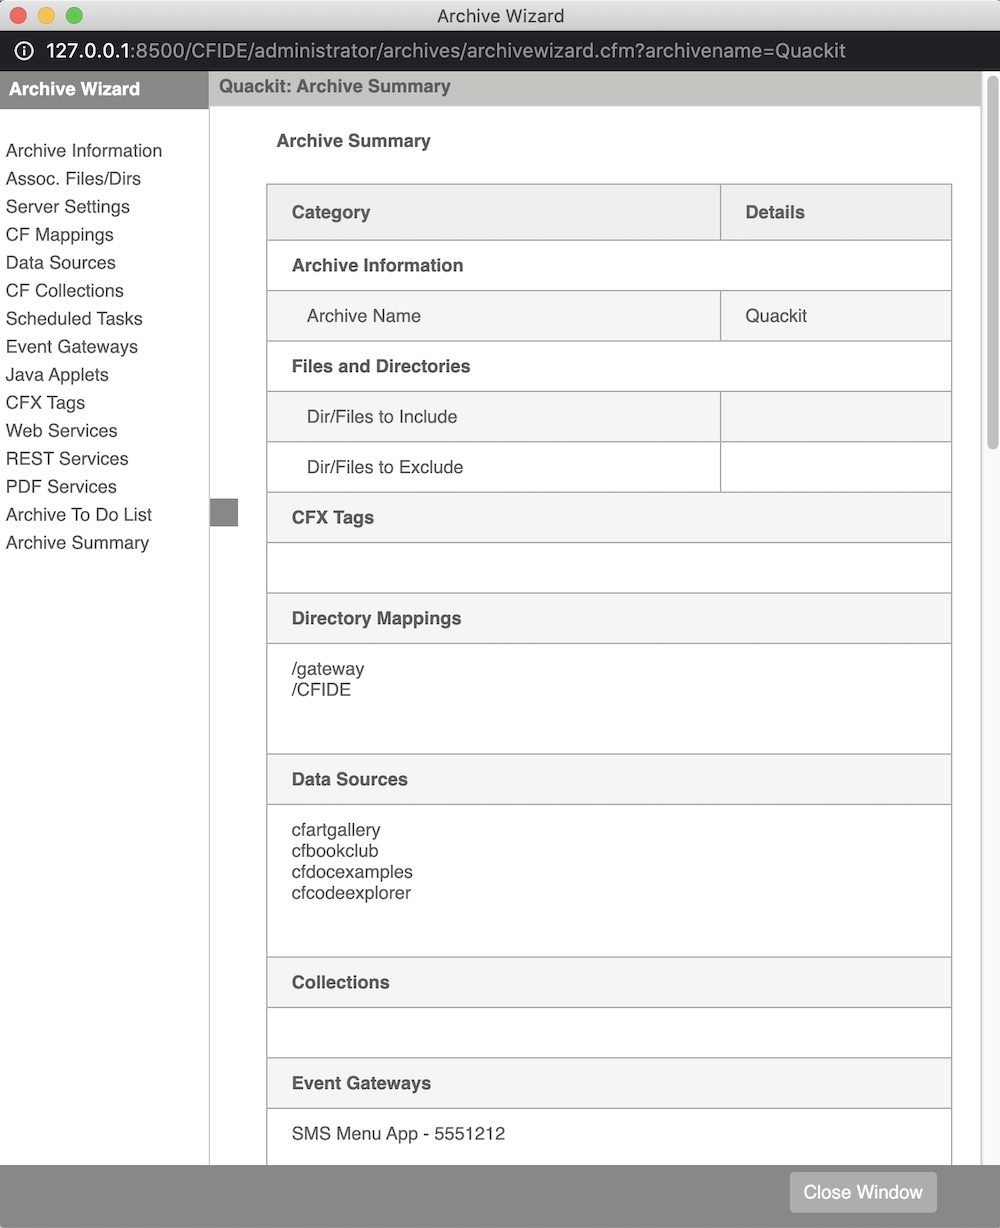
Review the Archive
You can click on Archive Summary to see what's included in the archive.
In this example, I used the default settings for the archive, and so you can see in the screenshot that I haven't selected any files yet. In practice, you would usually select files/directories for your archive.
Once you're happy with your archive definition, you can close the Archive Wizard by clicking Close Window.
Build your Coldfusion Archive
The previous steps created the ColdFusion Archive's definition. Once you've done that, you can go ahead and build the archive file (CAR).
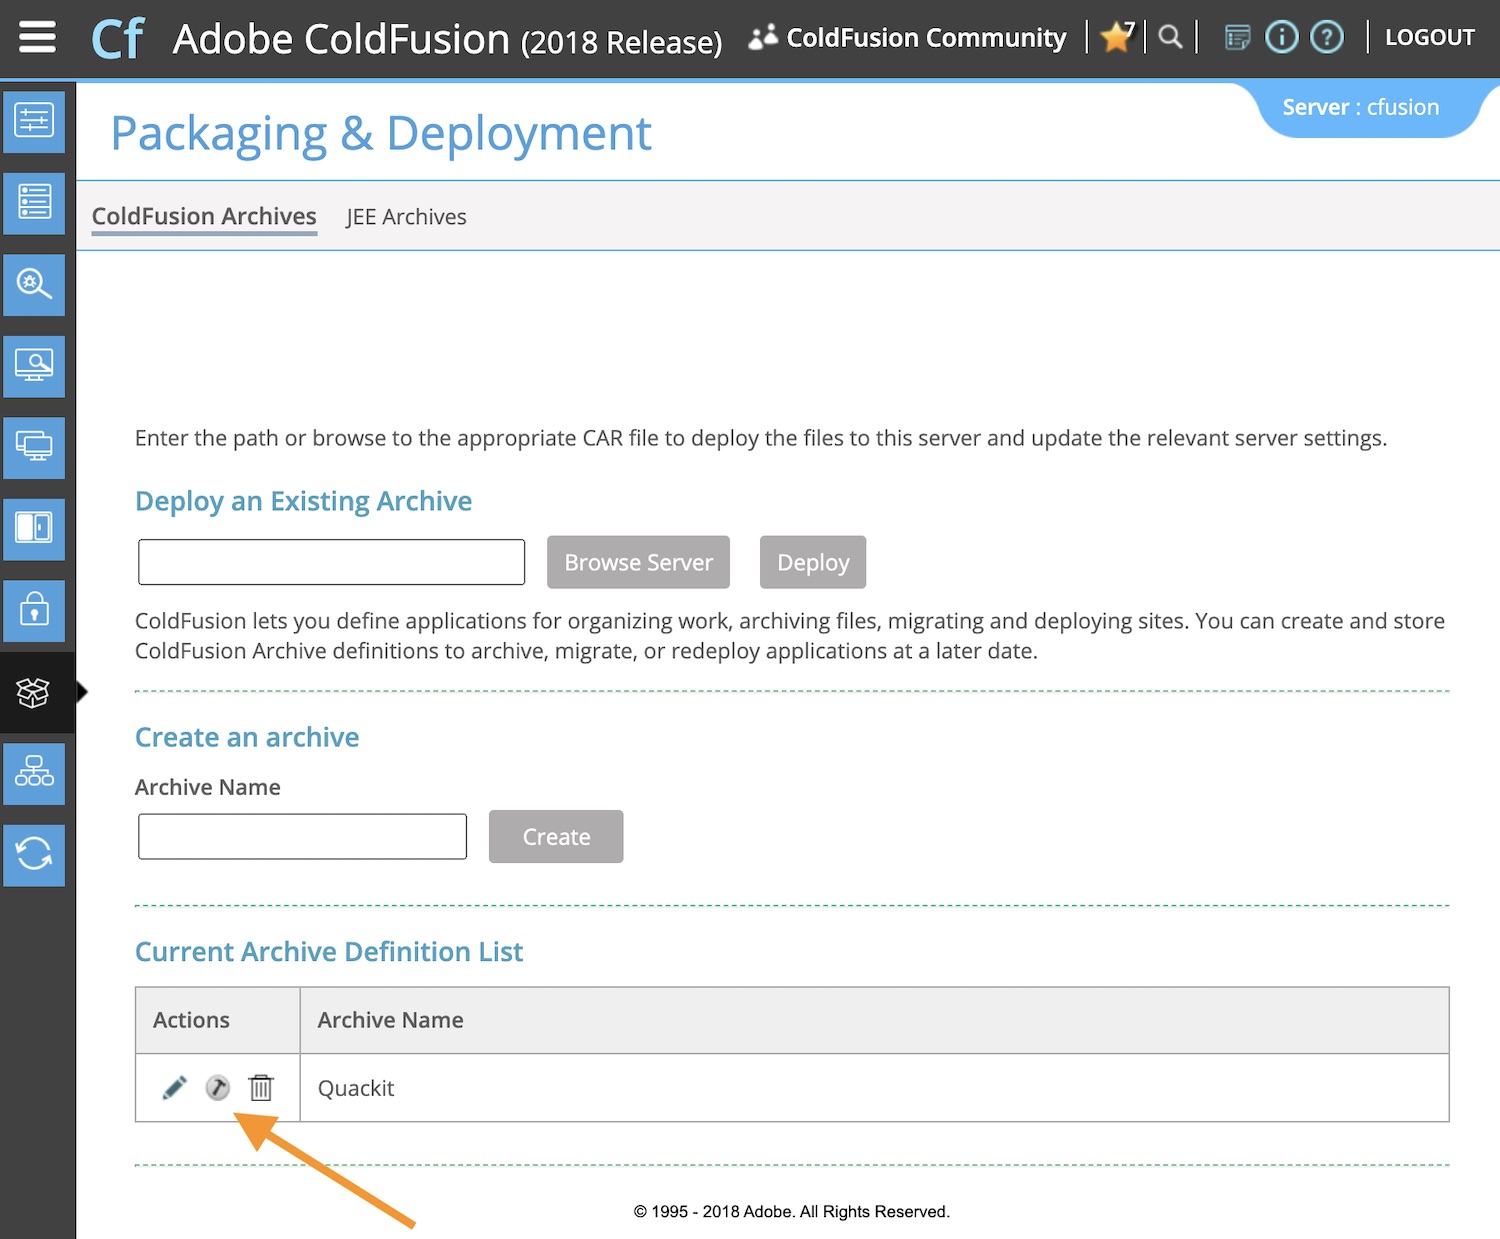
Building the ColdFusion Archive uses a pop-up wizard similar to the previous one. This one is called Build CAR File Archive. You can access this wizard from the main Package & Deploy screen by clicking on the middle icon next to the archive you want to build (in the Actions box under the Current Archive Definition List heading:
Here's what that pop-up screen looks like:
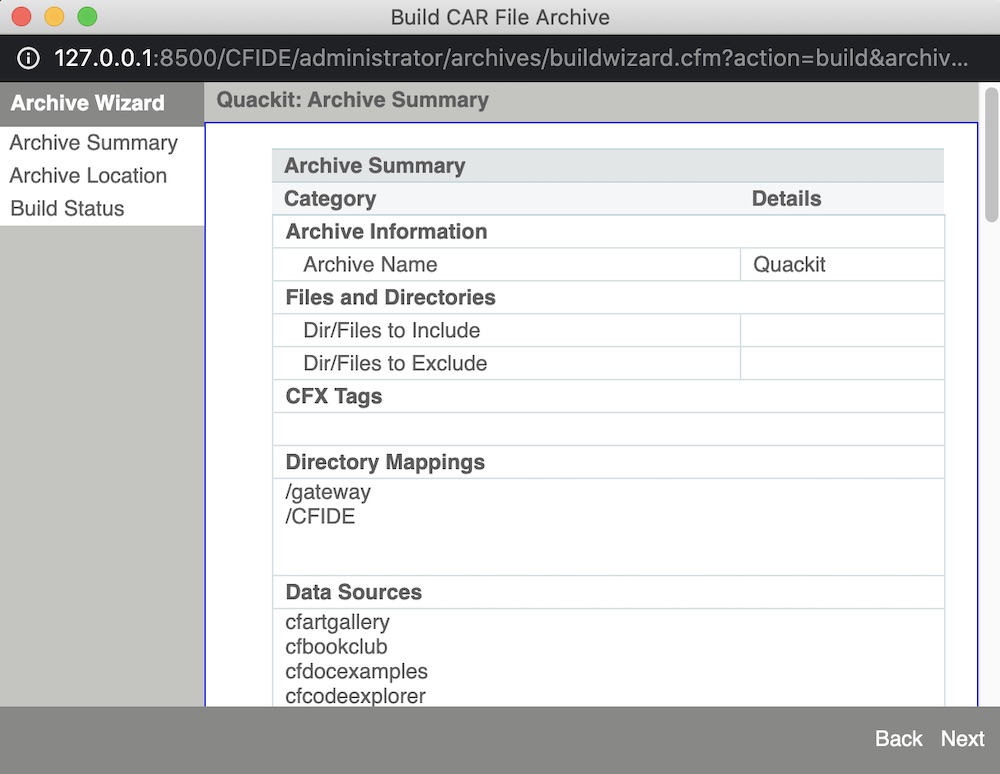
Click Next to proceed with building the archive. Once built, it can be deployed to the new environment.
Deploy your Coldfusion Archive
Once you're ready to deploy your archive to the new environment (or even the same environment), you can do so from the same Package & Deploy screen.
Under Deploy an Existing Archive, click Browse Server to browse to (and select) the archive file, then click Deploy and follow the prompts.