Microsoft Access - Modify a Form
Access provides many ways to modify a form. Here's a rundown on the various components available to you for doing this.
Form Views
There are three different views for working with forms:
- Design View
- Layout View
- Form View
You can switch between views as often as you like while you modify your form.
Switching views can be done by using the View button on the Ribbon, or the three icons at the bottom right of the Access window.
Here's an explanation of each view.
-
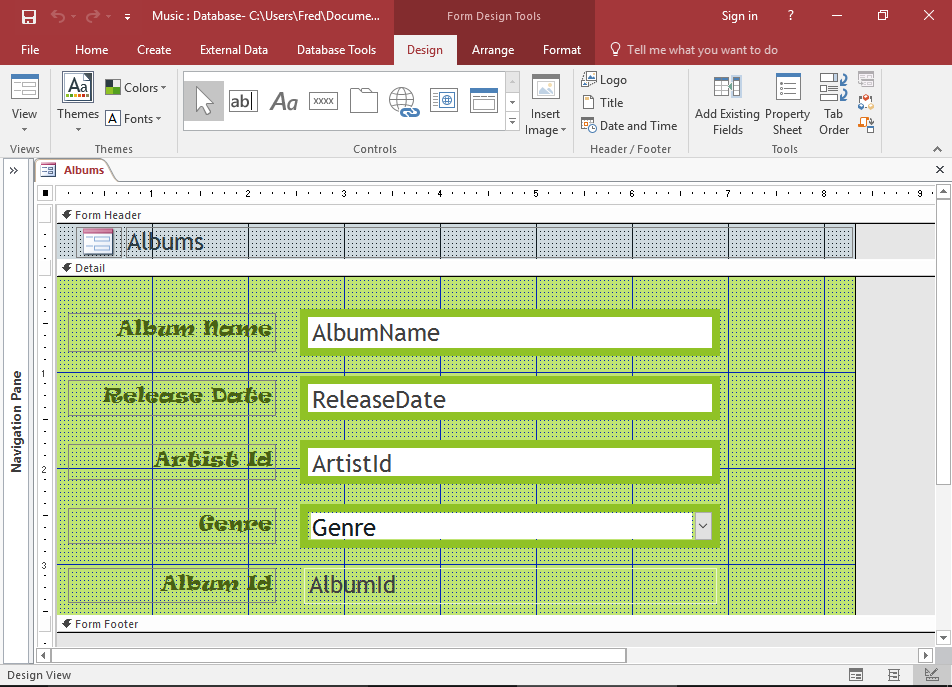
Design View
Design View provides a more detailed view of the form's structure than Layout View.
Design View also allows you to modify the form without having any data getting in the way.
Most tasks can be done in either Design View or Layout View, but there are some form properties that can only be changed in Design View.
-
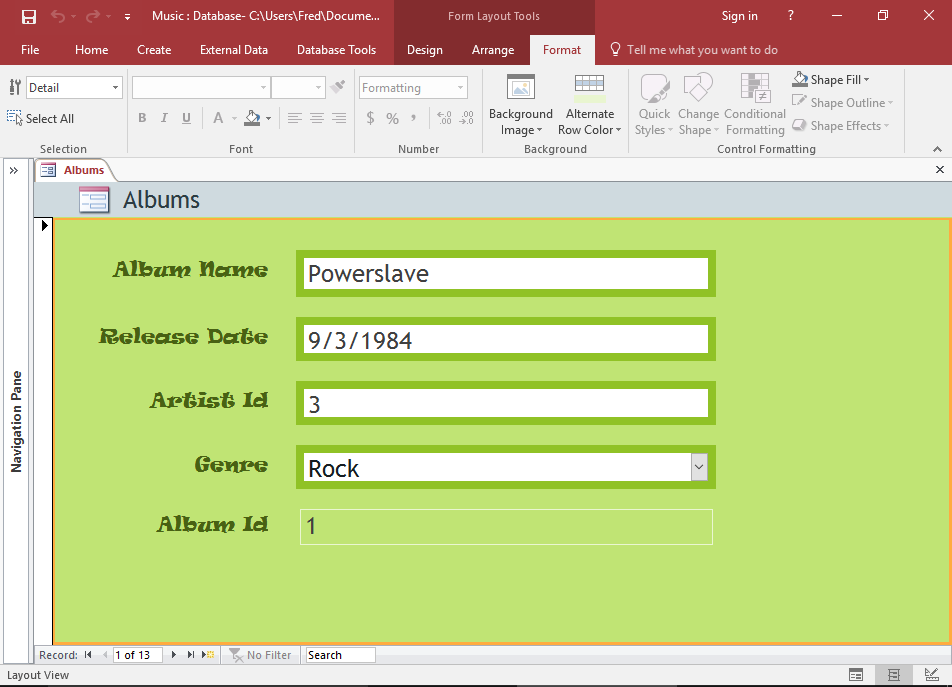
Layout View
Layout View provides a more visual layout for editing the form. It bears a close resemblance to the actual form that the user will see.
Layout View allows you to edit the form properties while it has real data.
Most form modifications can be done in Layout View, but in some cases, Access will tell you that you need to switch to Design View if you want to make a certain change.
-
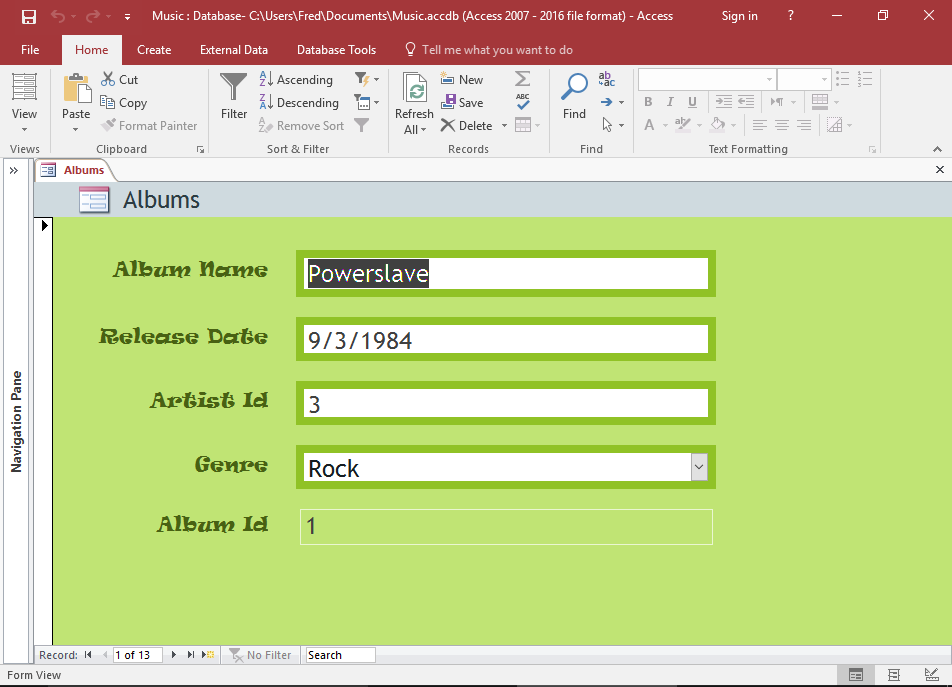
Form View
Form View is how the user will see the form. You can't modify the form, but you can use it just as a user would.
When modifying a form, it's a good idea to switch to Form View periodically to check how it looks for the user.
The Form Tabs
When you edit a form in either Layout View or Design View, three tabs appear on the Ribbon with specific options for editing forms.
Here's an overview of these tabs.
-
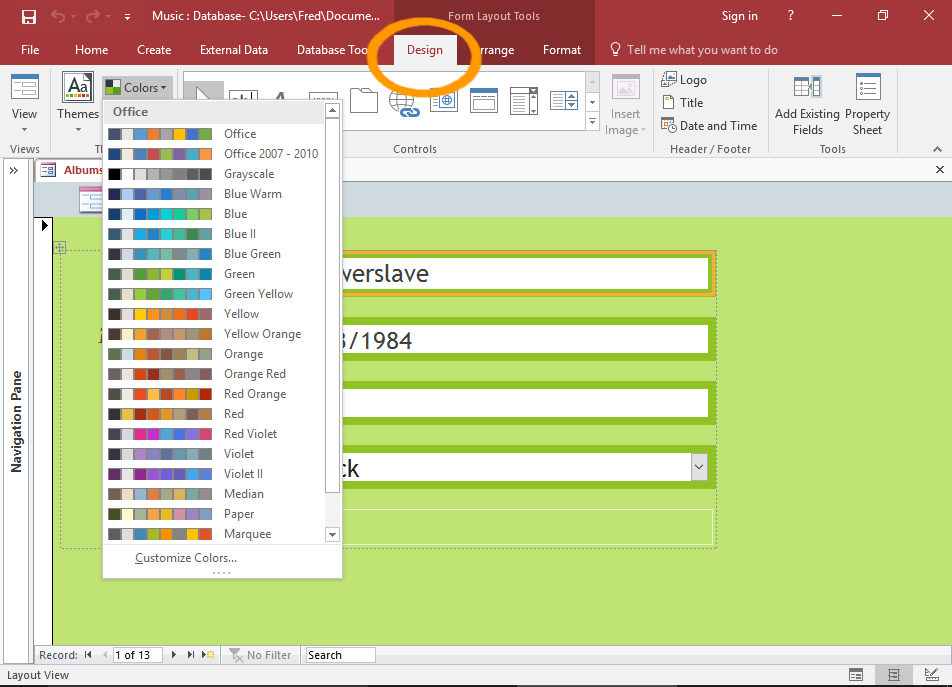
The Design Tab
You can use the Design tab to change the color of the form, change fonts, or change the whole theme.
This is also where you can upload a logo, add/edit a title, add the date and time, etc.
You can also add form controls such as buttons, text input, combo box, etc on this tab.
-
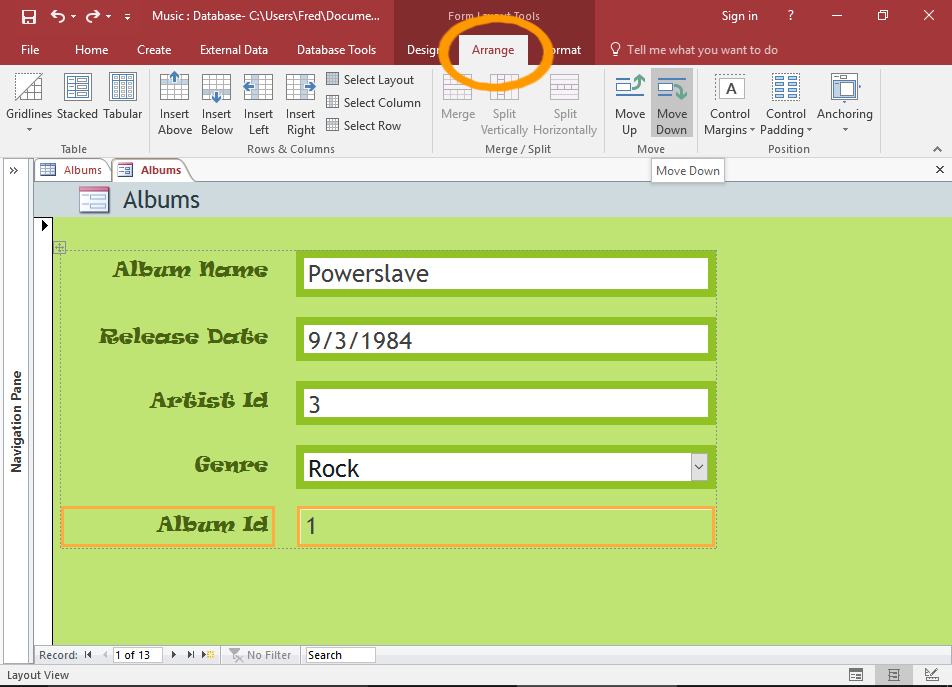
The Arrange Tab
You can use the Arrange tab on the Ribbon to arrange individual elements. Select the element/s and click an option to re-arrange them.
For example, you can move a field under the field beneath it by using the Move Down option. You can also set padding, margins, add arbitrary spaces, etc.
-
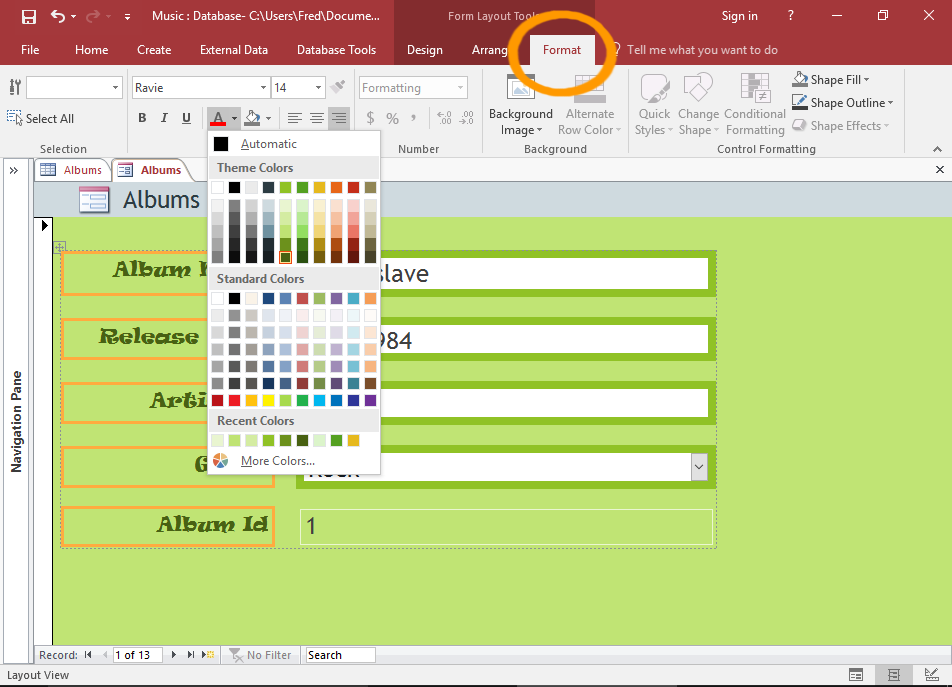
The Format Tab
You can use the Format tab on the Ribbon to format individual elements.
To style an individual element, simply select the element and apply a style.
Select multiple labels or fields by holding down the Shift key while selecting them.
Form Properties
Access provides the Property Sheet for setting properties against a form and its elements. Here's an overview.
-
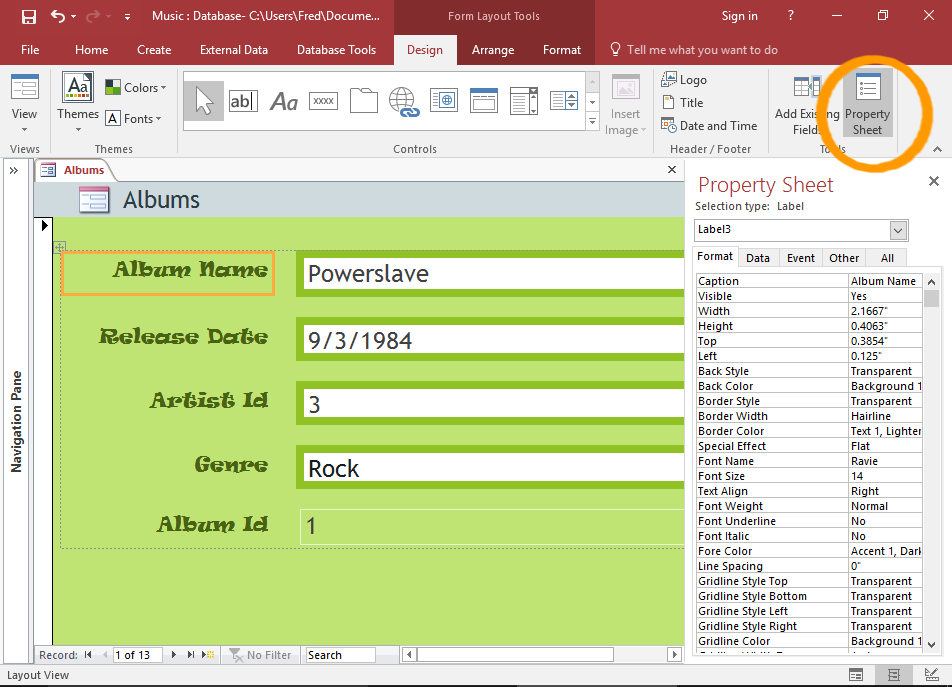
The Property Sheet
You can use the Property Sheet to apply settings to individual elements, or the whole form. There are many different properties that can be applied across a form. These aren't just limited to formatting properties, they include data validation properties, event based properties, and more.
The Property Sheet displays properties for the selected element. When you select another element, the properties in the Property Sheet will update to reflect the properties for that element.
To open the Property Sheet, click Property Sheet from the Design tab in the Ribbon.
You can also open the Property Sheet by right-clicking on an element and selecting Properties from the contextual menu.
-

The Date Picker vs The Input Mask
Access automatically sets date fields to use a date picker. However, if you have set an input mask, the date picker won't be shown on the form. In Access, you can't use a date picker on a field that has an input mask applied.
So, if you want to use a date picker, you'll need to remove the input mask. You can do this via the Property Sheet. The Input Mask is under the Data tab.
Removing the input mask on the form doesn't remove it on the table field. If you find yourself changing data rules on a form, you might want to consider whether it's better to change/remove it on the table instead. You can do this by opening the table in Design View and adjusting the property.
Form Modification Examples
Here are some of the more common form modifications.