Access 2016: Create a Query
Create a query with the Query Wizard or go straight to the Query Design option.
One of the main functions of a database is to provide the ability to query the data. The ability to create complex queries across multiple tables with various data types is one of the features that distinguishes a database management system from a simple spreadsheet application.
As you might expect, Access makes it easy for beginners to create queries.
Access has a Query Wizard that allows you to choose the type of query you want to run, then walks you through the creation of the query.
Access also allows you to go straight to Query Design view which gives you more control over creating the query.
And for more advanced users, Access provides a SQL View that allows you to construct your queries using SQL code.
But today, we're going to use Query Design to create a query.
First, Ensure Data is in your Tables
-
Before we run a query, we need to make sure our tables contain data.
So far in our tutorial, we have added data to the Genres table and imported data into the Artists table.
We now need data in our Albums table.
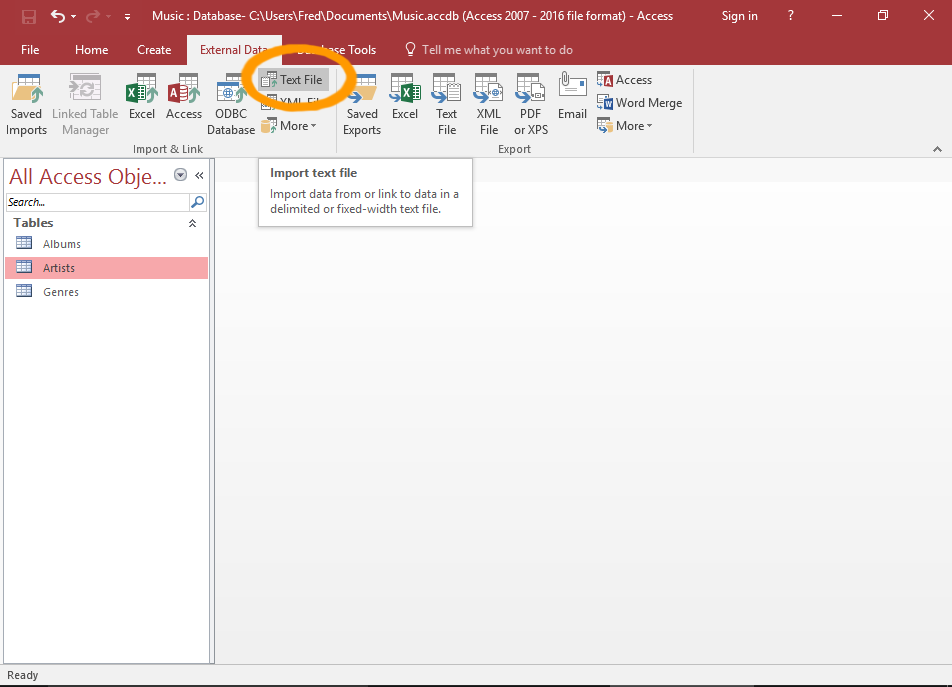
If you're following along with the exercises, download and import the following file into the Albums table: albums.csv
It contains thirteen records to get us started. This file contains a header row, so be sure to check that option when setting up the import.
Use the Text File option on the External Data tab of the Ribbon to set up the import. Or see Import Data into Access for detailed instructions on importing a CSV file.
How to use Query Design
We will now create a query that queries and returns data from both the Artists and Albums tables.
-
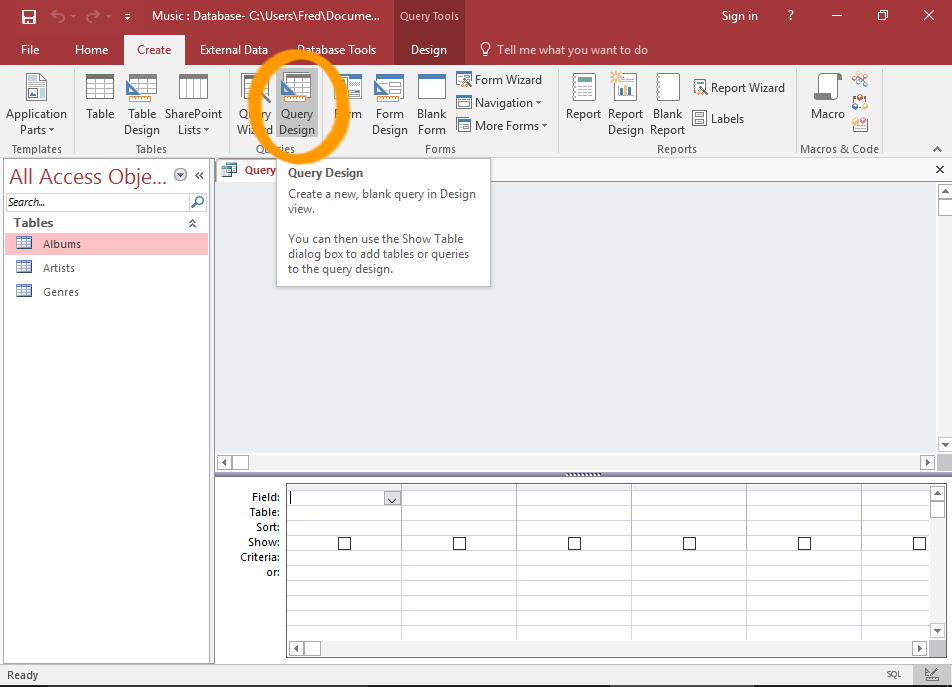
Launch the Query Designer
Click Query Design from the Create tab on the Ribbon.
The Show Table dialog box will appear.
-
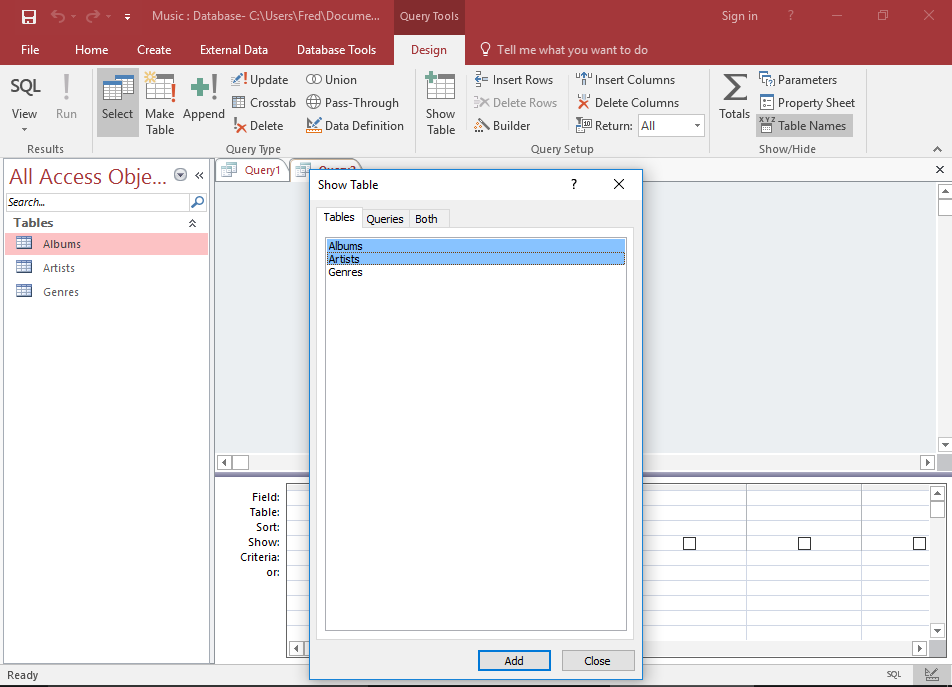
Select the Tables for the Query
Select both the Artists and Albums tables and click Add.
Click Close to close the dialog box.
-

Design the Query
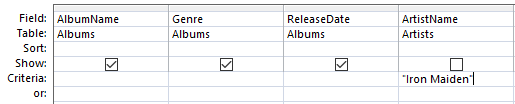
Now we get to design our query. We'll keep it simple, and create a query that returns all albums from Iron Maiden.
Select the options as per the screenshot.
Run the query by clicking the ! Run button on the Ribbon.
If you can't read the screenshot, the query options are:
- Fields:
- Albums.AlbumName
- Albums.Genre
- Albums.ReleaseDate
- Artists.ArtistName
- Show: All except Artists.ArtistName.
- Criteria: Apply "Iron Maiden" to the Artists.ArtistName field.
- Fields:
-
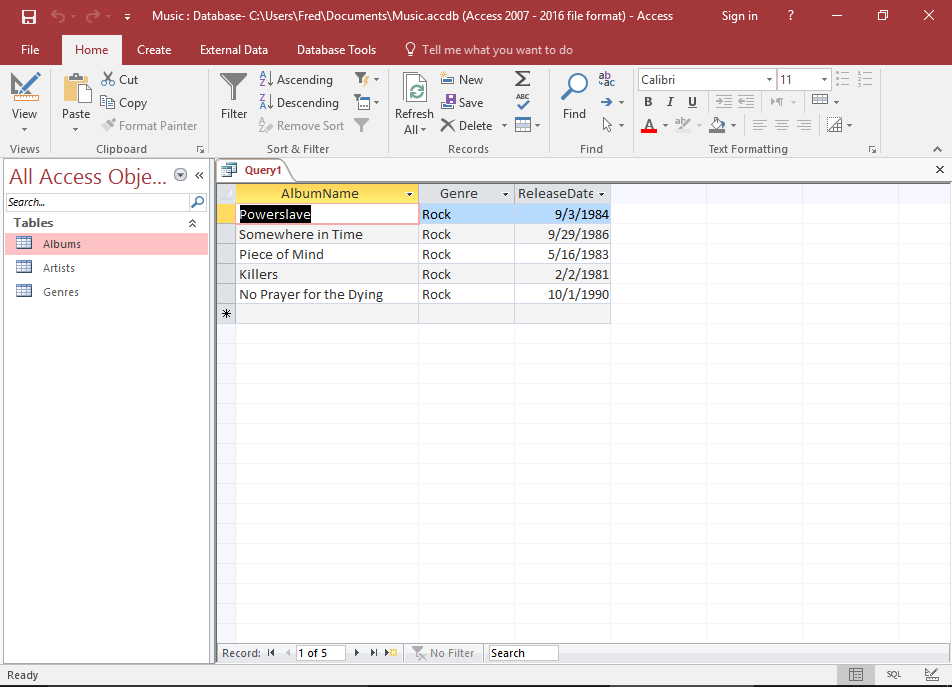
View the Query Results
The query results are displayed in Datasheet View.
Notice that the results only display the fields for which we selected Show against.
We specified criteria for the Artists.ArtistName field but we chose not to display that field in the results. If we had, Iron Maiden would be repeated five times — once for every record.
You can also run the query by clicking the View button.
You can switch between the query design and the results by clicking this button (just as you do when switching between Design View and Datasheet View when working with tables).
-
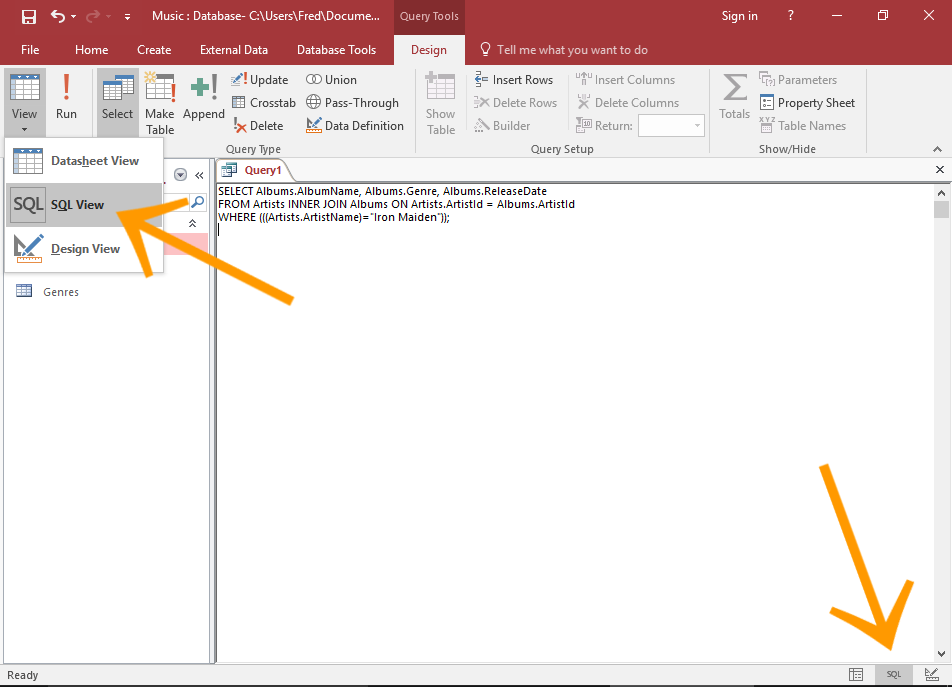
View the Query in SQL View
You can view the code that Access generates behind the scenes by switching to SQL View.
To switch to SQL View, click on SQL in the bottom right corner.
Alternatively, you can use the View button on the Ribbon to switch to SQL View. To use this option, click the little "down arrow" below the word View. This will expand all of the "View" options. Click SQL View from the list.
You can also modify the query in this view if you know SQL.
-
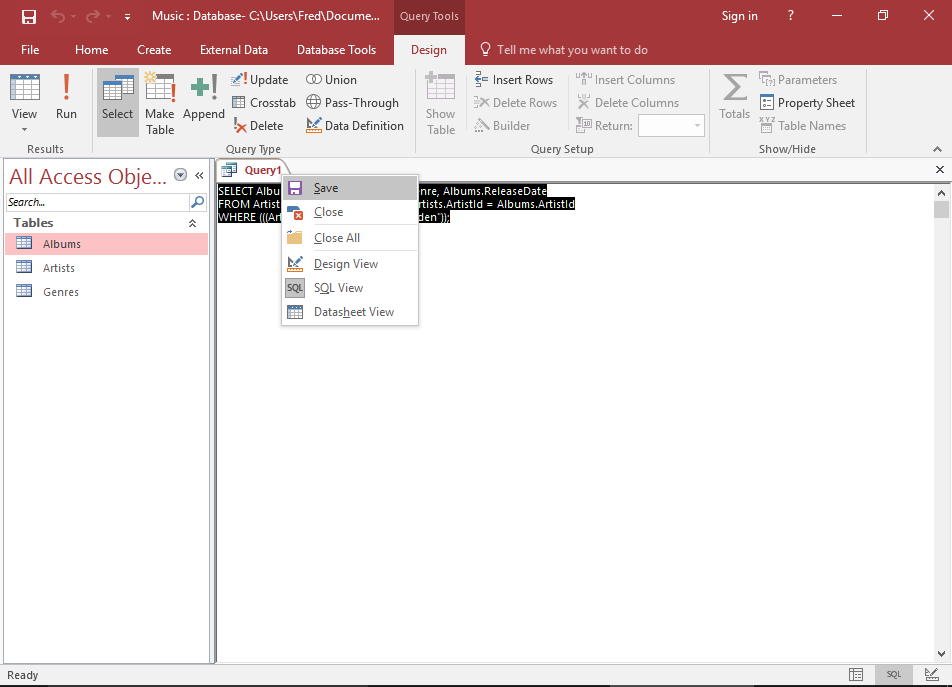
Save the Query
You can save a query so that you can run it again later. Any time you run the query, it will return the current (up to date) data. In other words, the query results will reflect whatever data is in the table/s at the time it is run.
To save the query, right-click on the query tab and select Save.
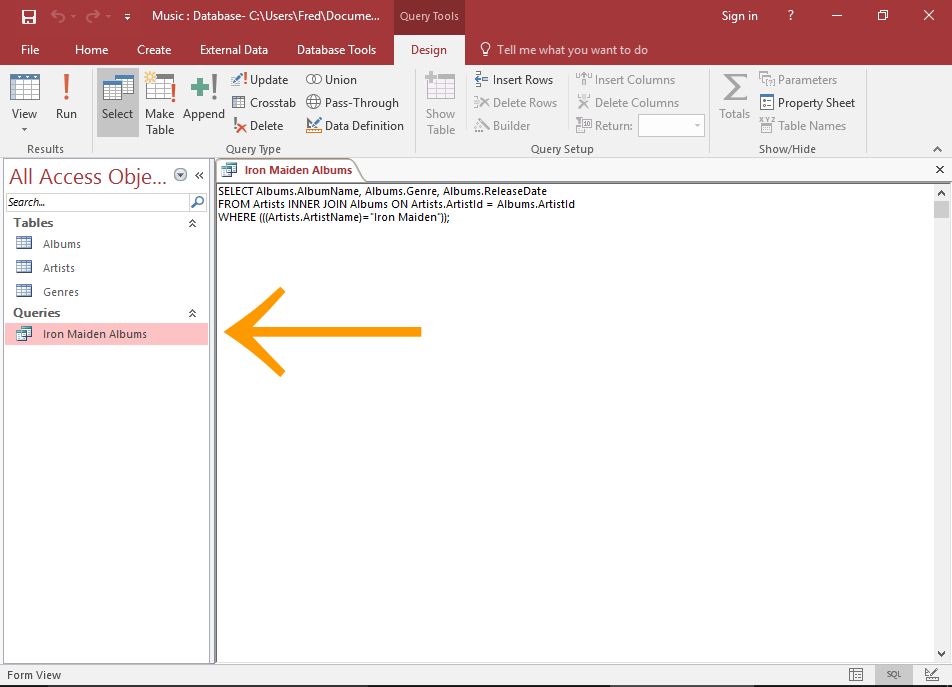
Name the query Iron Maiden Albums. The query will appear in the left menu under a Queries heading.
Alternatively, you can click the X icon to close the tab and you will be prompted to save the query.
Now it's unlikely that the user will want to spend all their time searching for Iron Maiden albums.
So what we'll do next, is take a copy of the above query, then modify it so that the user can specify which artist they want to see albums from.