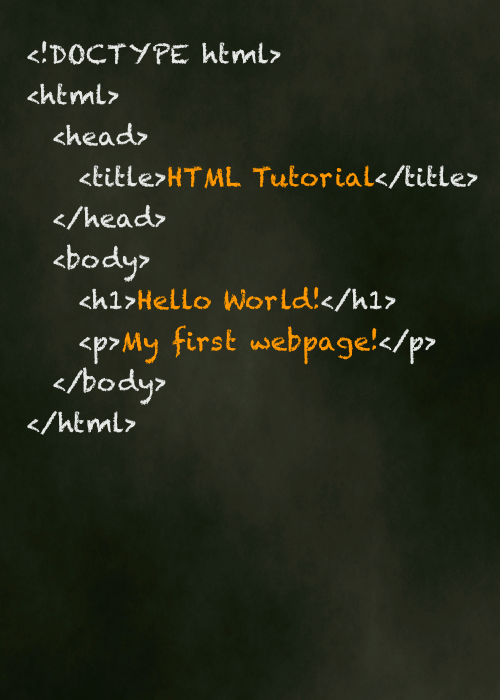
HTML Tutorial
This tutorial is for beginners. It teaches you HTML from the ground up — starting with the basics. Coding HTML is actually quite easy, as this tutorial will demonstrate.
This HTML tutorial is separated into the following lessons:
- Introduction to HTML
- Getting Started
- HTML Elements
- HTML Formatting & Semantics
- HTML Attributes
- HTML Styles
- HTML Colors
- HTML Links
- HTML Images
- HTML Meta Tags
- HTML Comments
- HTML Forms
- HTML Tables
- HTML Image Maps
- HTML iFrames
- HTML Entities
- HTML Layouts
- HTML Scripts
- HTML Website Templates
- Website Hosting
- Summary
HTML Reference Material
Here's some further HTML reference material if you need it.
-
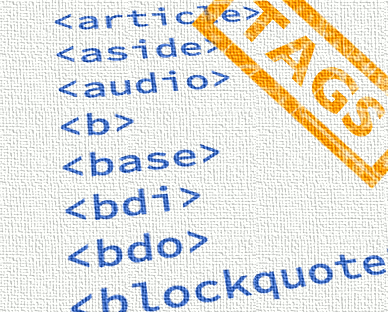
HTML Tags
Full list of all HTML elements.
This is an alphabetical list of HTML element, linking to a full page of details for each element.
All elements are based on the official HTML5 specification, and include usage notes, full attribute list, as well as links to the various specifications for each element (i.e. HTML4 spec, HTML5 spec, WHATWG spec).
Go to HTML Tags -
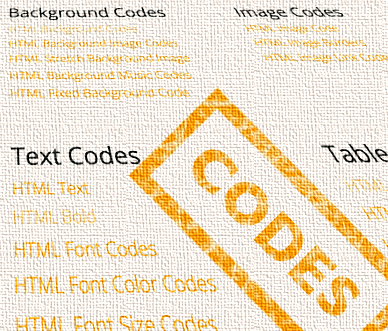
HTML Codes
Extensive list of copy/paste code examples. Copy and paste straight into your website, blog, or newsletter.
Most examples include a live, interactive preview. Change the code on the fly and see how it looks before copying it.
Go to HTML Codes -

HTML Templates
Free downloadable templates that you can use to start your website from.
Responsive templates that automatically adjust their layout according to the screen size.
Includes corporate, gallery, and portal style templates.
Also fully customizable. Once you've downloaded a template, you're free to do whatever you want with it.
Go to HTML Templates